
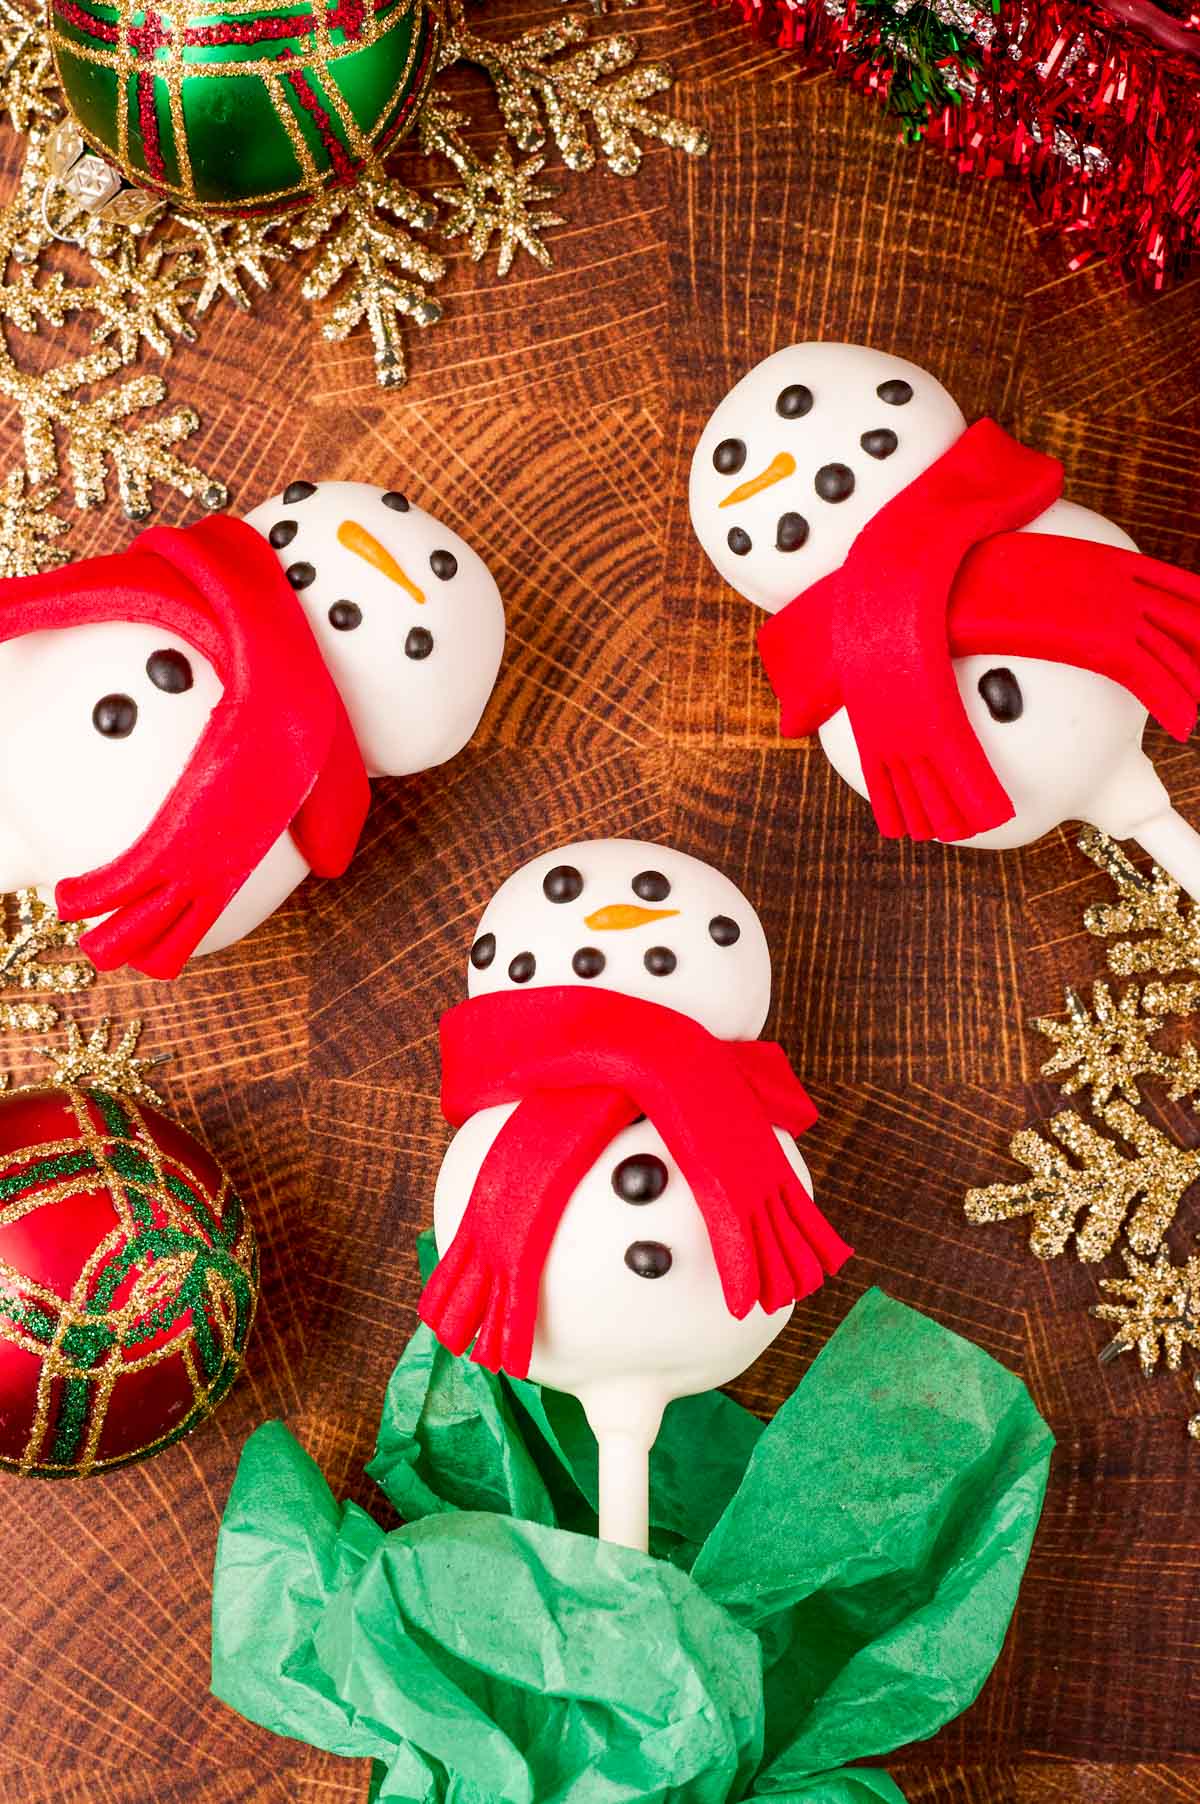
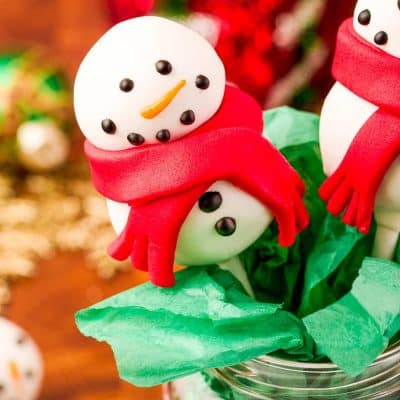
Adorable Snowman Cake Pops

These Snowman Cake Pops are such a fun, sweet winter treat that’s easy to make using a boxed cake mix, melted chocolate, icing, and fondant!

All About These Snowman Cake Pops
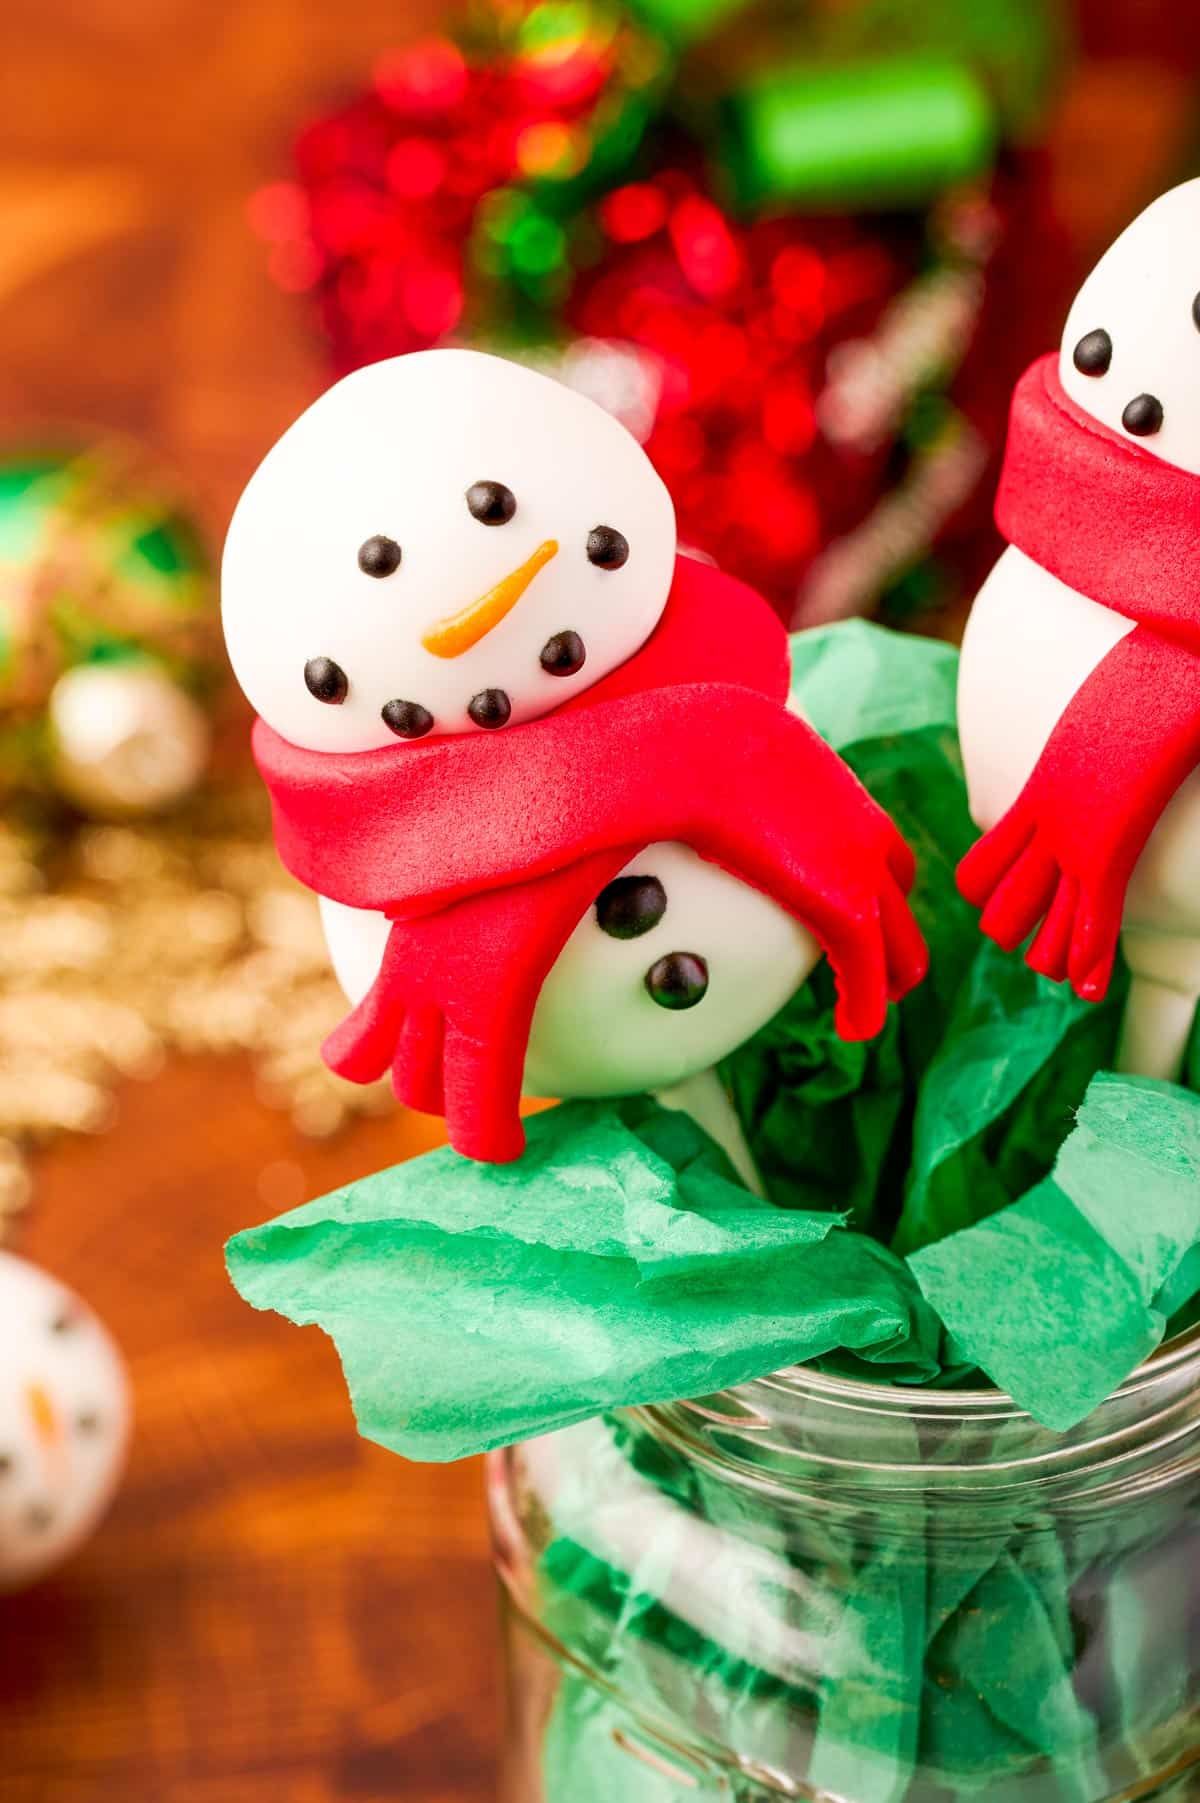
Snowman Cake Pops are perfect for those winter parties or as a fun after-school snack for the kids! I also love to gift them in cellophane bags that are tied off with a pretty ribbon!
Rebecca’s Recipe Review
Taste: The ingredients for cake pops include red velvet cake mix, cream cheese frosting, and white chocolate candy melts! Making for a treat that looks fun yet also has a high quality of taste!
Making this cake pop recipe with a cake mix means you can easily change up the flavors! Simply switch it up by using a different flavor of cake mix and frosting.
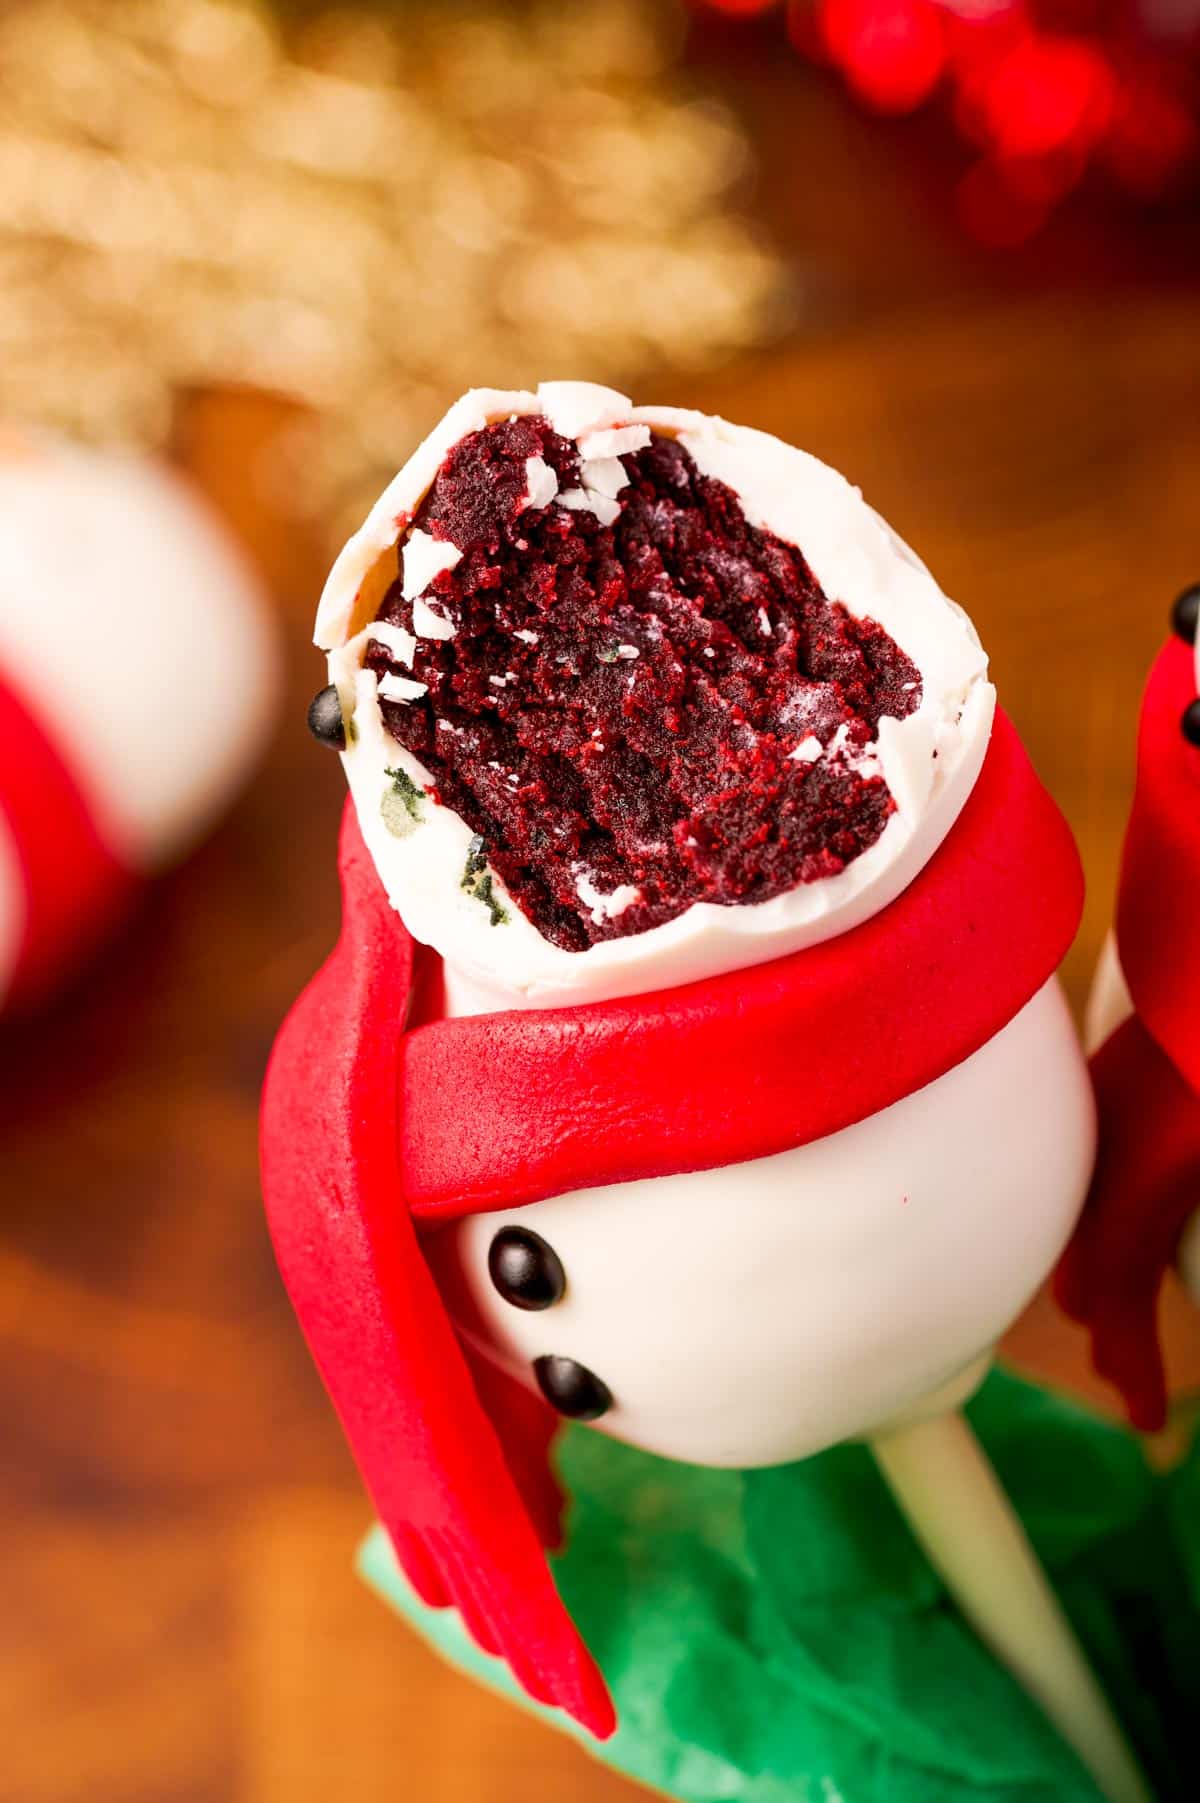
Texture: Inside these Snowman Cake Pops are filled with a moist, tender cake filling! While the exterior has a smooth chocolate coating that’s decorated with icing and fondant!
Ease: 7/10
Pros: Edible fun with easy-to-follow instructions and simple ingredients.
Cons: Assembling and decorating take some time.
Would I Make This Again? Yes, these cute little snowman pops are lots of fun to make…and tasty!
Ingredients For Snowman Cake Pops
- Box of Red Velvet Cake Mix, plus the additional ingredients that are called for on the box mix.
- Cream Cheese Frosting
- White Chocolate Melting Wafers
- Vegetable Oil
- Black Icing
- Orange Icing
- Red Fondant
How To Make Snowman Cake Pops
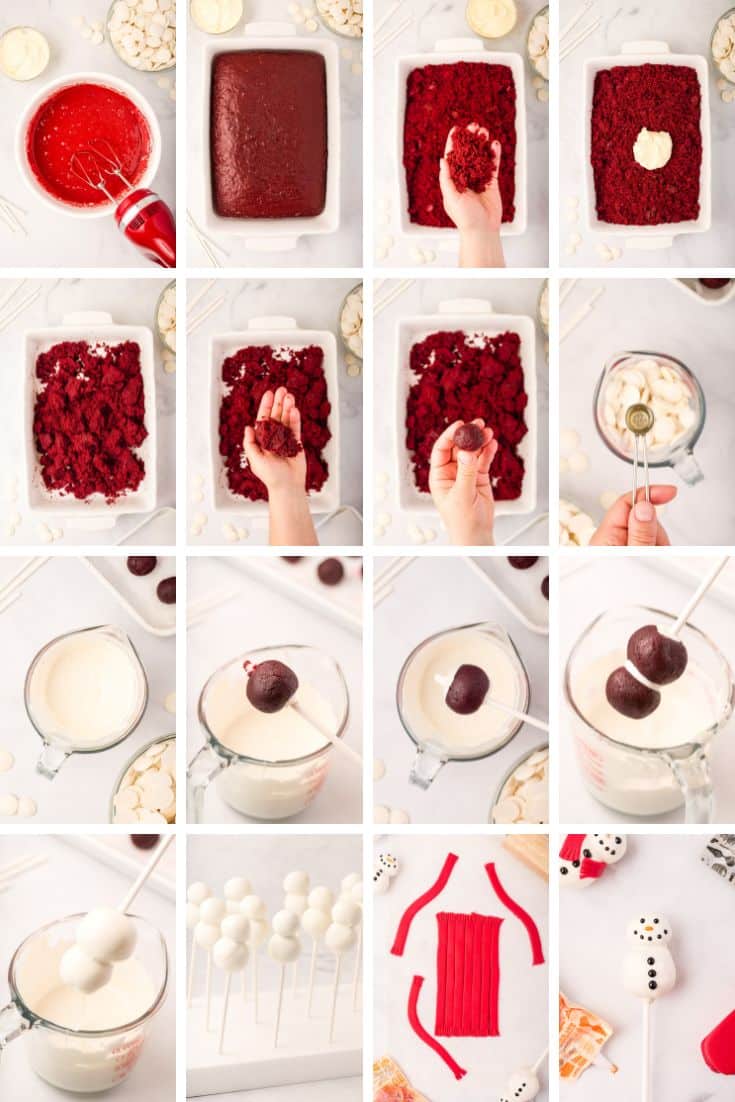
- Bake the cake according to the instructions on the back of the box with the ingredients that it calls for. Then allow it to cool completely.
- Line a baking sheet with parchment paper and set it asdie.
- Crumble the cooled cake with your hands and then mix in the cream cheese frosting. Add additional frosting a little at a time until the consistency allows you to easily roll the cake into smooth balls.
- Roll the cake mixture into balls and transfer them onto the lined baking sheet. Then transfer the baking sheet of cake balls into the freezer to chill.
- Combine the candy melts and vegetable oil in a measuring cup and microwave until melted and smooth.
- Dip the end of a stick into the candy melts and insert the wet tip into the center of one of the larger balls, popping through the top. Dip the tip of the stick again and top it with one of the small cake balls. Submerge the double stacked caked balls into the melted candy melts.
- Insert the bottom of the stick into Styrofoam to keep it upright as it dries and hardens. Repeat this process with the remaining cake balls and candy melts.
- Draw the eyes, mouth, and buttons onto the snowman with black icing. Add the nose with orange icing.
- Roll the red fondant out to make the scarves for each of the snowmen. Cut the rolled-out fondant into strips at least seven inches long. Then create scarf fringe by cutting small lines at both ends of the strip. Wrap the scarf around the snowman’s neck. Repeat this process until each snowman has a scarf.
Rebecca’s Tips
- Mixing The Cake -I find that mixing the baked, cooled cake with the frosting by hand works best. It allows me to feel the consistency of the dough to judge if it’s ready to be rolled into cake balls. If you prefer, an electric mixer using a beat attachment can be used to crumble the cake at low speed. It can also be used to mix the frosting into the crumbled cake.
- Dough Consistency – The mixture is ready when you can roll it into smooth balls that hold their shape. If it falls apart when you pierce it with the cake pop stick, it’s a sign that you need to add more frosting.
- Freeze The Cake Balls – Don’t skip popping the rolled-up cake balls in the freezer before dipping them. This allows the ball to firm up before getting dipped in the melted chocolate! If you accidentally leave them in the freezer for too long, just allow them to warm up on the counter at room temperature. This way, the melted chocolate doesn’t crack when it’s dried. Cracked chocolate happens when the contrast of the temperature between the chilled dough balls and the melted chocolate is too great.
- Dipping – A 2-cup measuring cup worked great for melted chocolate. I found it was the perfect depth for dipping the snowmen completely! You’ll also need to do a second round of melted chocolate to ensure all the cake balls get dipped. It’s very important to wash and dry the measuring cup before reusing it though. If not the leftover melted chocolate from the first round will harden in the second round. Ultimately causing the newly melted chocolate to have hard lumps, ruining it!
- Styrofoam Block – Sticking the cake pops into a Styrofoam block was very helpful as they dried. If you don’t have a Styrofoam block a cardboard box would also work!
Fun Snowman Cake Pop Variations
These fun snowman cake pops can be made two other ways! One way is to skip the double-stacked cake balls and do just one!
To do this, I roll a larger-sized ball per cake pop and then draw on the snowman’s eyes, mouth, and nose. The hand-held desserts will then turn out like the snowman cake pop Starbucks is known for in the winter!
The second variation is to do a melting snowman! For this, you place the stick at the top of the snowman’s head and let it harden sitting on parchment paper.
Allowing the candy melt to pool out at the bottom, giving them their melted snowman look. Both variations still turn out exciting and delicious but are just a little bit less work on your part!
How To Store Cake Pops
These cake pops will last for up to 2 weeks when stored in the refrigerator in an airtight container. Following this recipe does require them to be stored in the fridge since it includes cream cheese frosting.
However, if you use a vanilla buttercream frosting or one made with room temperature safe ingredients, then they can be stored at room temperature. These can then be enjoyed for 3 to 5 days.
More Winter Treats To Enjoy:
- Snowman Oreo Balls – Frosty, sweet fun topped with a Rolos candy hat!
- Easy Oreo Penguin Cookies – Made with peppermint candies ear muffs!
- Oreo Snow Globe Cookies – Edible fun that you can get creative with!
- Easy Oreo Snowman Cookies – A budget-friendly edible craft the whole family can enjoy!
- Cute Melted Snowman Cookies – The perfect snow day treat to make with the kids!
Did You Make This Recipe?
If you’ve tried this recipe, please let leave a review in the comments below. I love hearing from you! Don’t forget to tag me – @sugarandsoulco – on Instagram and Pinterest with your photos, or join our Sugar & Soul Show-offs Community and share them there.
Snowman Cake Pops
Equipment
- 9×13-inch cake pan
- Cake pop sticks
- Styrofoam block (or cardboard box)
- Rolling Pin
Ingredients
- 1 (15.25oz.) box red velvet cake mix plus additional ingredients as called for on the box
- ½ cup cream cheese frosting may need an additional ¼ cup
- 4 cups white chocolate melting wafers or white candy melts
- 1 teaspoon vegetable oil
- Black icing
- Orange icing
- 6 ounces red fondant
Instructions
Cake
- Bake the cake according to the box directions and let it cool completely.1 (15.25oz.) box red velvet cake mix
- Line a baking sheet with wax or parchment paper and set it aside.
- Once the cake has cooled crumble it with your hands and add ½ cup of cream cheese frosting and mix into the crumbles. Add additional tablespoons of frosting one at a time until you can easily roll the cake into a smooth ball.½ cup cream cheese frosting
- Roll the cake mixture into balls: roll half of them into 1 tablespoon-sized balls and half into 1½ tablespoon-sized balls (there should be 18 of each, 36 in total). Place the balls on the baking sheet lined with parchment paper.
- Once they’re all rolled out, place the baking sheet with the cake balls in the freezer for 15 minutes.
Assembling & Decorating
- Add half the candy melts and vegetable oil to a two-cup measuring cup and microwave for 1½ minutes. Stir, and then microwave for an additional 15 seconds. Stir again until smooth. Microwave for an additional 15 seconds if needed.4 cups white chocolate melting wafers, 1 teaspoon vegetable oil
- Dip the end of a stick a ½-inch into the candy melts. Then insert it through the center of one of the larger balls, with ¼-inch of the stick popping through the top. Dip again in the candy melt coating the top of the stick. Top with one of the smaller balls. Submerge the cake pop fully into the candy melts. To remove the excess candy melt, gently tap the stick of the cake pop against the edge of your measuring cup while slowly twirling it.
- Then, insert the bottom of cake pop stick into a block of styrofoam to keep upright as it dries and hardens. Repeat with the remaining cake pops. You’ll need to melt the second half of the candy melts in a clean or new measuring cup about halfway through.
- By the time you’ve finished assembling the last snowman, the first ones should be dry enough to draw on the eyes, mouth and buttons with black icing and the nose with orange icing.Black icing, Orange icing
- Make the scarves by rolling out the fondant to about ⅛-inch thickness and at least seven inches long. Cut into ½-inch wide strips. Trim the edges so that you now have ½-inch wide by 7-inch long strips.6 ounces red fondant
- Then, create the scarf fringe by cutting three small lines at both ends of the strip. Wrap each strip around a snowman styled as a scarf. Ball and roll out the scraps of fondant, repeating until each snowmen has a scarf.
Notes
- Storage: If using cream cheese frosting, these cake pops should be stored in the refrigerator in an airtight container. However, if you use a vanilla buttercream or one made with room temperature-safe ingredients, you can leave the cake pops on the counter for 3 – 5 days.
- Can I Re-Crumble The Cake Ball Mixture If I Find They Crumble When They’re Pierced With The Stick? Yes, absolutely! This happened once during testing; all I did was re-crumble the dough and add more frosting. And the cake pops still turned out just fine! Just be sure to also pop them back in the freezer when you reshape the cake balls!
- What If I Leave The Cake Pops In The Freezer For More Than 15 minutes? No problem, just allow them to warm up on the counter at room temperature. This way the melted chocolate doesn’t crack when it’s dried. Cracked chocolate happens when the contrast of the temperature between the chilled dough balls and melted chocolate is too great.
- How Do I Prevent The Dipped Cake Pops From Dripping? After you dip the cake balls, gently tap the side of the measuring cup as you swirl the stick. This allows any excess melted chocolate to drip off of them. The trick is to do this gently though, too hard and the cake pops will split or fall apart.
- Can I Use An Electric Mixer To Make The Cake Ball Dough? Yes, an electric mixer using a beat attachment can be used to crumble the cake at low speed. It can also be used to mix the frosting into the crumbled cake.
- What Other Ways Can I Draw The Snowmen Faces On? Decorating gel would work and is even easy to apply! However, when I tested this, I found that the gel had a noticeably thinner appearance. I also tried using Wilton’s Candy Melt Writing Pen and found that it didn’t work well at all!
- Can I Just Melt Chocolate Chips To Use For Dipping? I find that the chocolate melting wafers really impact the overall flavor of these Snowman Cake Pops! The melting wafers also achieved a smooth consistency that’s perfect for dipping. Therefore, I’d really stick to the melting wafers if possible!
- Fun Snowman Cake Pop Variations: These fun snowman cake pops can be made two other ways! One way is to skip the double-stacked cake balls and do just one!
- To do this, I roll a larger-sized ball per cake pop and then draw on the snowman’s eyes, mouth, and nose. The hand-held desserts will then turn out like the snowman cake pop Starbucks is known for in the winter!
- The second variation is to do a melting snowman! For this, you place the stick at the top of the snowman’s head and let it harden sitting on parchment paper. Allowing the candy melt to pool out at the bottom, giving them their melted snowman look. Both variations still turn out exciting and delicious but are just a little bit less work on your part!
Nutrition
Did You Make This Recipe?
Don’t forget to share it with me on Instagram @sugarandsoulco and follow on Tiktok @sugarandsoulco and Pinterest @sugarandsoulco for more!


Share your thoughts!
Love this recipe? Share your thoughts with me and leave a review! And don’t forget to connect on your favorite social platform below!