
The Famous Crack Pie (Milk Bar Pie Recipe)

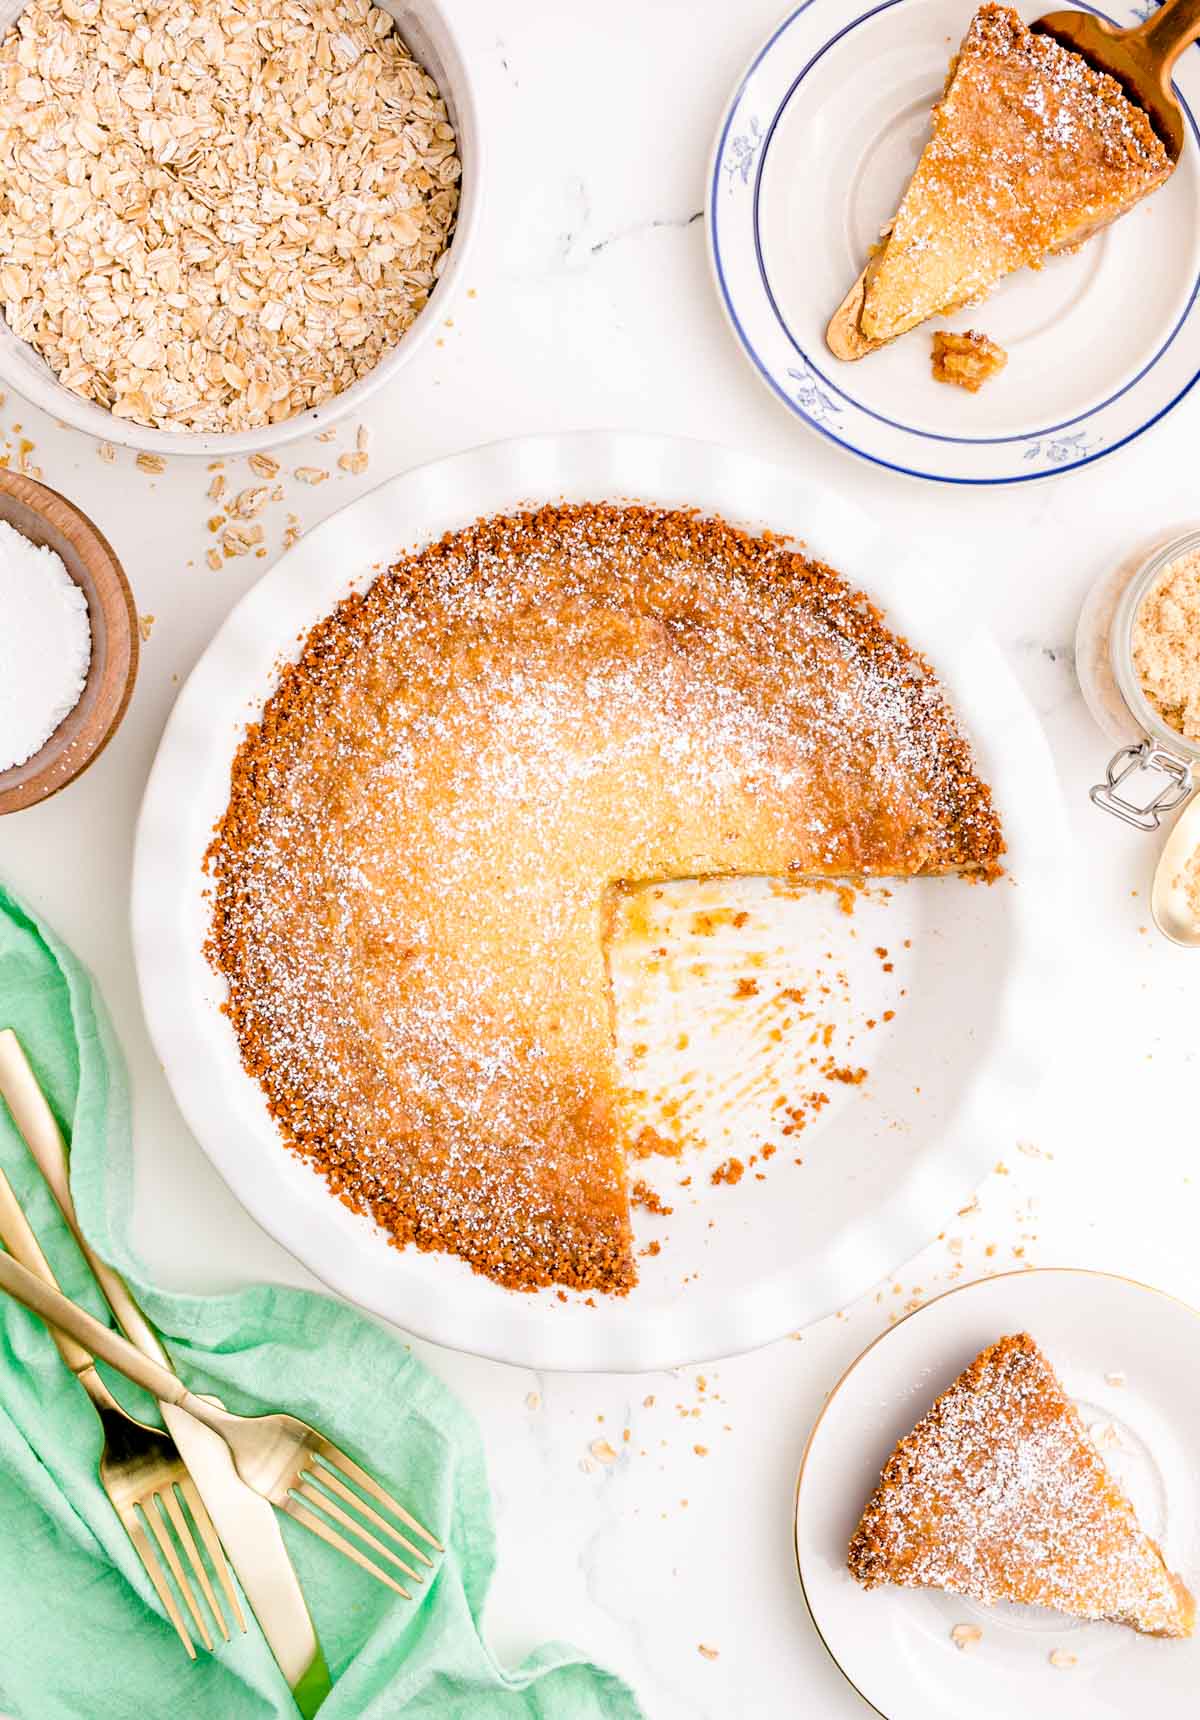
Milk Bar Pie, a.k.a Crack Pie, is the delicious copycat recipe for Milk Bar’s most popular pie! It piles an irresistible salty, sweet filling into an oatmeal cookie crust!

Grabbing A Slice Of This Crack Pie!
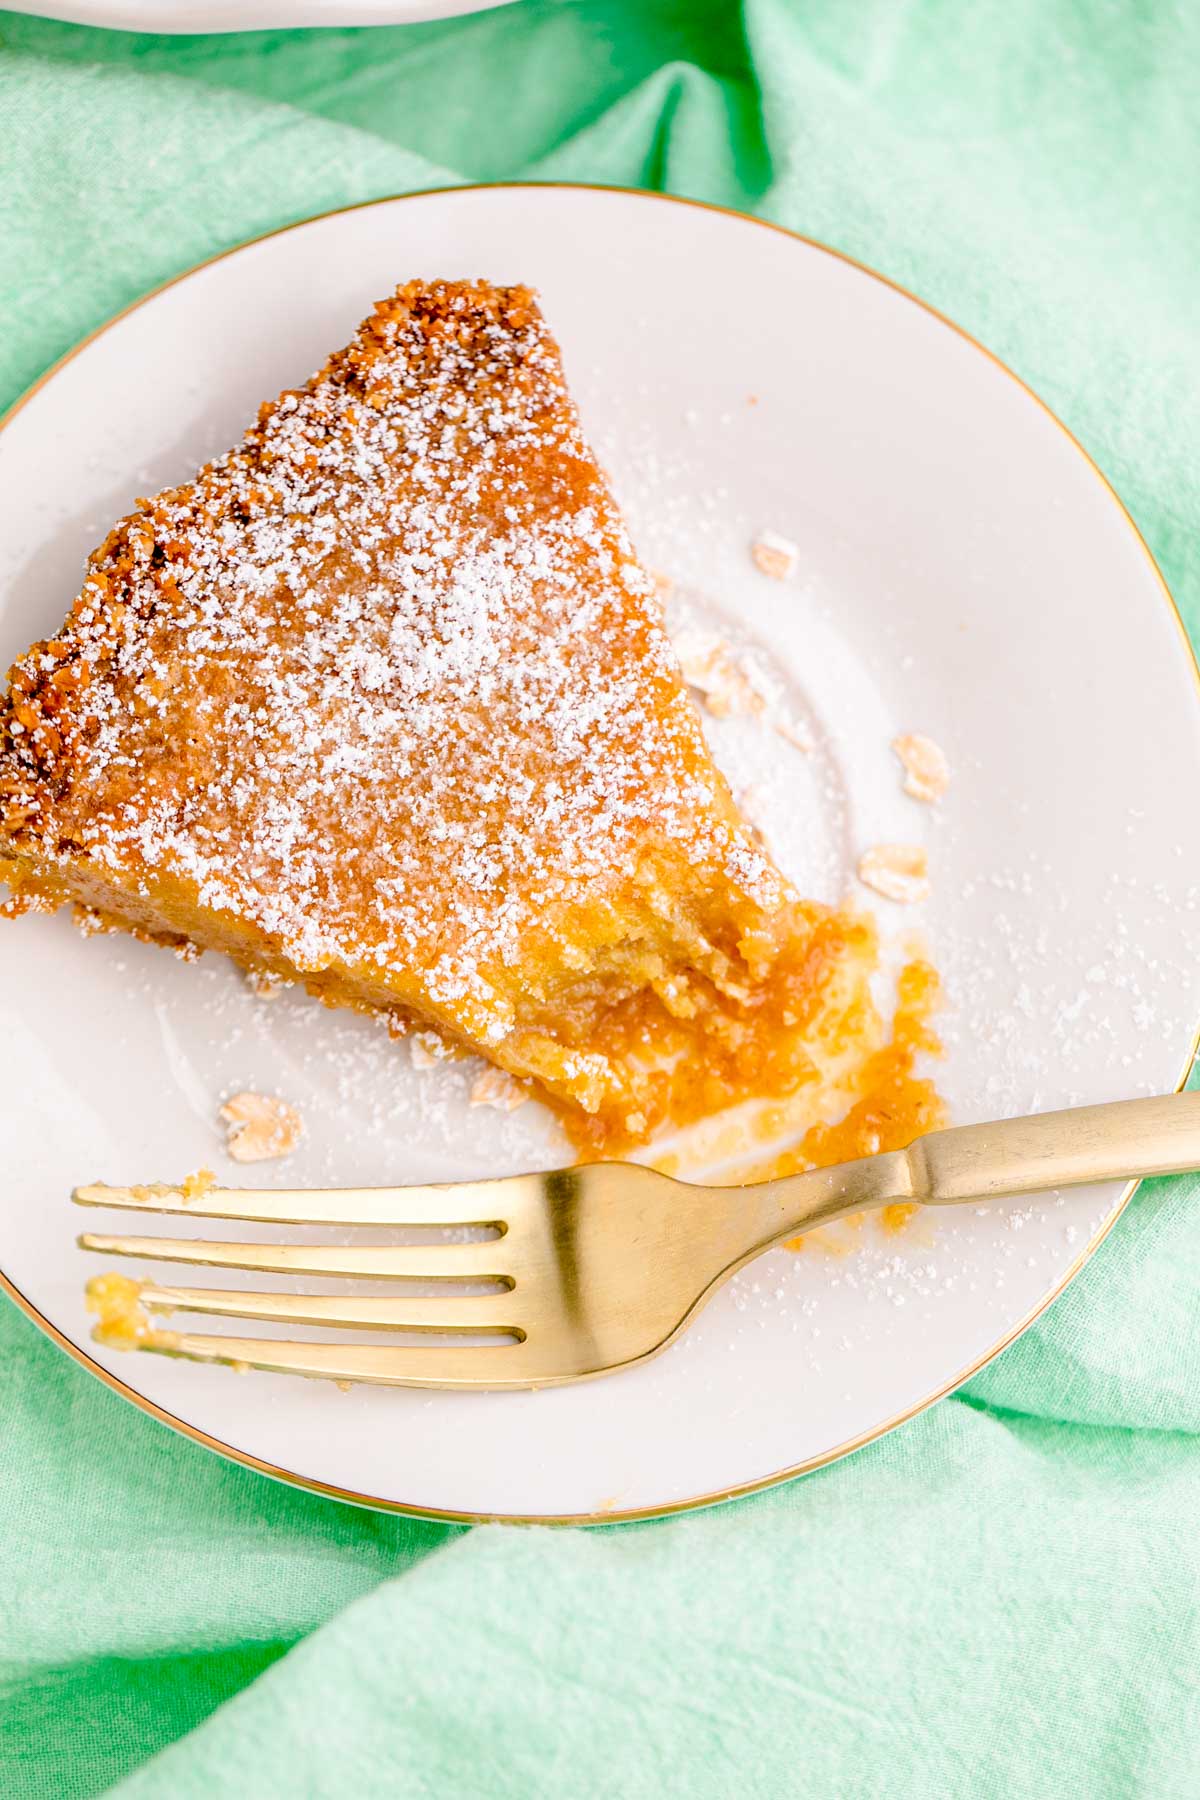
Grab a fork and snag a slice or two of this delicious homemade Crack Pie! A recipe that’s made with common pantry and fridge ingredients that takes just 15 minutes to prep!
If you’ve ever wondered, “What IS crack pie?” You’re not alone! And you certainly don’t have to wonder anymore, thanks to this copycat recipe that you can make right at home.
Rebecca’s Recipe Review
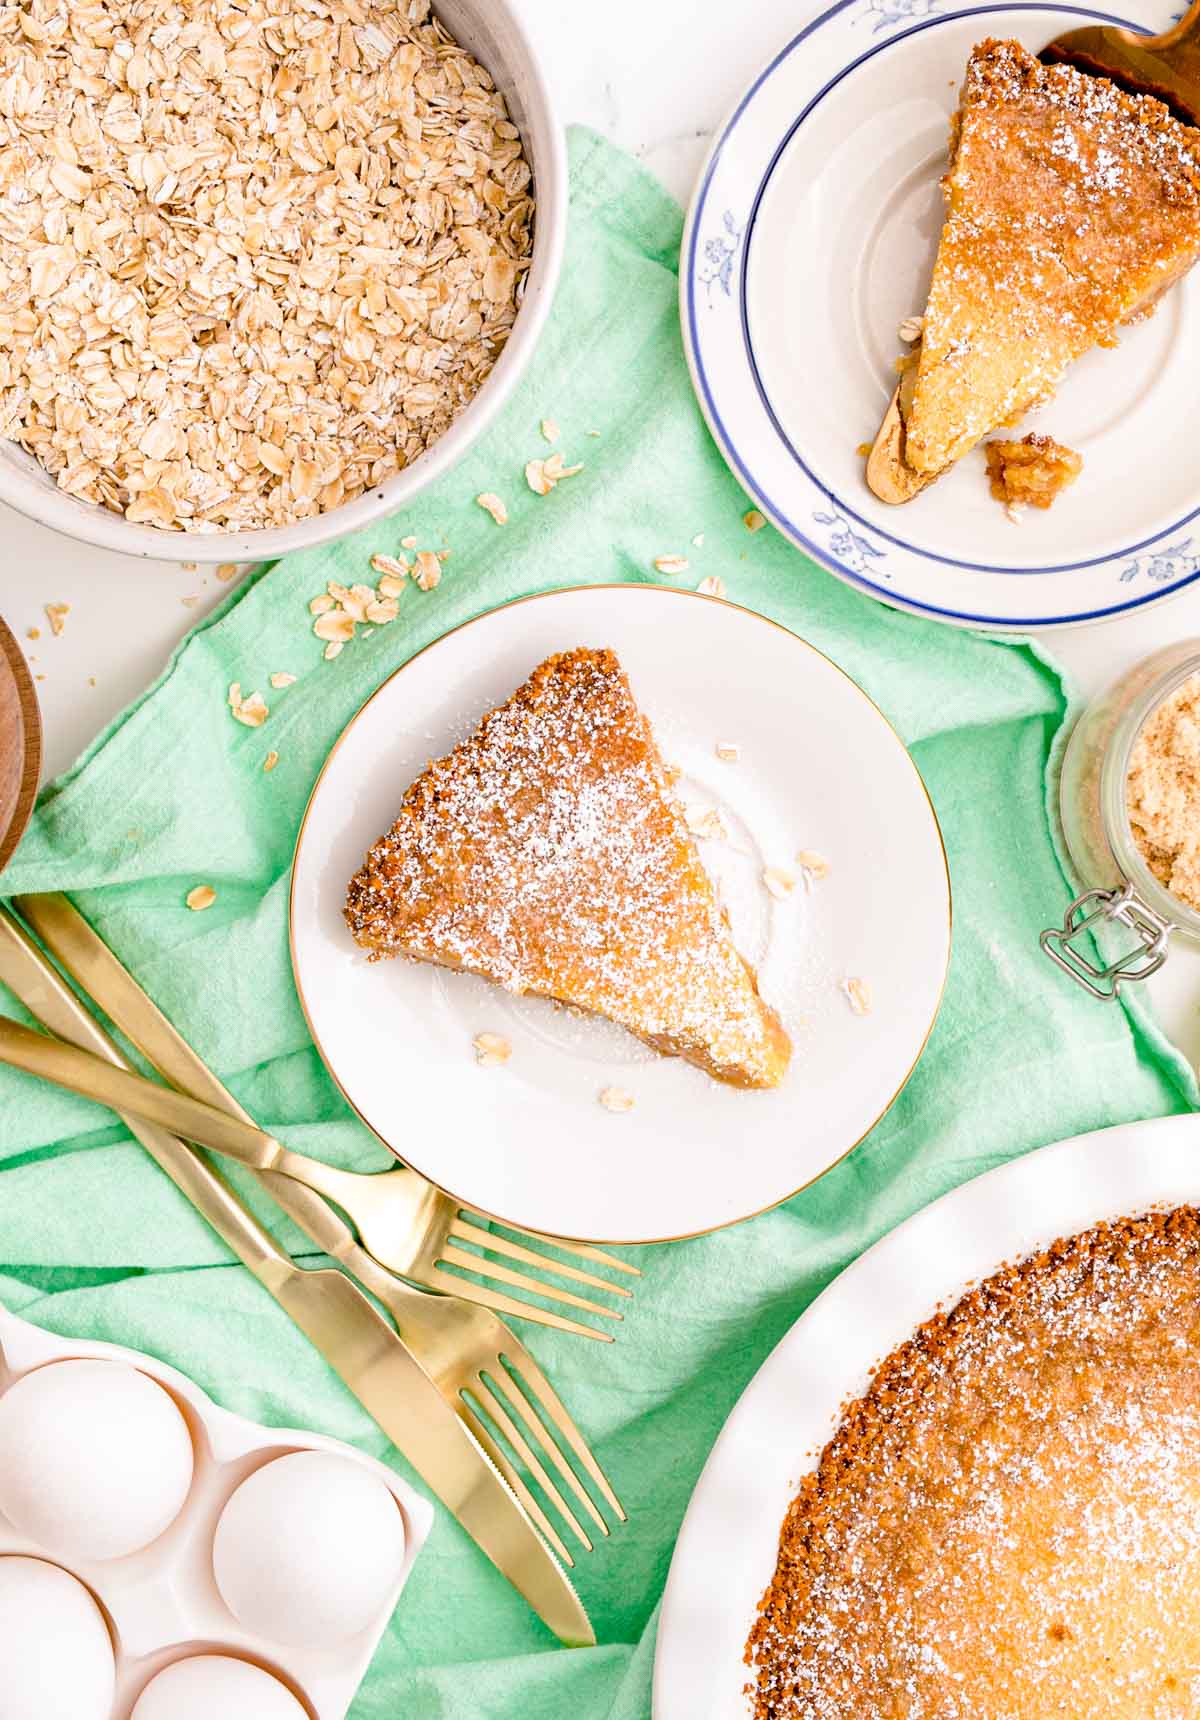
Taste: This homemade copycat pie is filled with one of my favorite dessert combinations – a salty and sweet flavor! The buttery, custard-like filling is made of ingredients such as butter, egg yolks, milk powder, heavy cream, and more! All of that filling goodness is then nestled into a hearty oatmeal cookie crust!
Texture: Prepare yourself for an ooey-gooey crack pie filling paired with a crisp, crumbly oat cookie crust. When it’s time to finally enjoy your slice, make sure to sprinkle on some light, fluffy powdered sugar to complete this texture-rich dessert!
Ease: 7/10
Pros: The BEST Milk Bar Copycat Recipe for Crack Pie made with easy-to-follow instructions.
Cons: Some may not enjoy a custard-like filling.
Would I Make This Again? Yes!
Ingredients For Milk Bar Crack Pie
- Crust:
- Salted Butter
- Light Brown Sugar
- Granulated Sugar
- Large Egg
- Vanilla Extract
- Rolled Oats
- All-Purpose Flour
- Salt
- Baking Powder
- Baking Soda
- Filling:
- Granulated Sugar
- Light Brown Sugar
- Milk Powder
- Salt
- Salted Butter
- Heavy Cream
- Vanilla Extract
- Egg Yolks
- Garnishes:
- Powdered Sugar
What Is Milk Bar Crack Pie?
Crack Pie is the very pie that made Milk Bar popular! It was first made by Christina Tosi when she was working at David Chang’s Momofuku as their Pastry Chef.
Christina Tosi tossed ingredients together and served this to their staff, not expecting it to be a hit. After enjoying the pie, a coworker claimed the pie to be similar to crack!
However, the Momofuku Milk Bar Crack Pie Recipe officially changed its name from “Crack Pie” to “Milk Bar Pie” in April 2019. This is because they felt the name was insensitive.
So, this is still the same great pie that put them on the map; it’s just under a new name! I highly recommend watching her episode of Chef’s Table on Netflix (Season 4, Episode 1).
Brilliant instruction, very clear and easy to follow. Baked this at the request of my son-in-law (out of the blue) as he tasted it on a trip to America many years ago. He was delighted with it and brought back many happy memories. – Lynda
How To Make Milk Bar Crack Pie
- Preheat the oven and line a baking sheet with parchment paper.
- Cream the salted butter, light brown sugar, and granulated sugar together at medium speed until it becomes light and fluffy.
- Beat in the large egg and vanilla extract.
- Mix in the rolled oats, all-purpose flour, salt, baking powder, and baking soda.
- Spread this cookie dough onto the prepared baking pan. Then transfer it into the preheated oven to bake until the top begins to turn golden brown.
- Remove the pan from the oven and allow it to cool.
- Break the cooled cookie up into pieces and transfer them into a food processor, pulsing until crumbly.
- Press the cookie crumbs into the bottom of a pie dish and up the sides.
- Beat the granulated sugar, light brown sugar, milk powder, and salt together on low speed.
- Mix in the melted salted butter until well combined.
- Mix in the heavy cream and vanilla extract and beat until fully incorporated.
- Add in the egg yolks while mixing at low speed until the mixture becomes glossy.
- Transfer the pie dish onto a baking sheet and then pour the milk bar filling into the pie plate.
- Transfer the baking sheet with the pie on it to the middle rack of the oven and bake at the preheated oven temperature for 15 minutes and then reduce the oven temperature and finish baking the pie.
- Remove the Crack Pie from the oven and allow it to cool. Afterward, wrap the pie with tin foil and place it in the freezer. Then move the pie from the freezer to the fridge an hour before serving and enjoying it.

Rebecca’s Crack Pie Recipe Tips
- Making The Cookie Dough – When preparing the cookie dough on the baking pan, don’t worry about filling the whole pan. The big cookie will just be crumbled later anyway, so size and appearance won’t matter!
- Food Processor – To create the best consistency for the cookie mixture for the pie crust, I recommend using a food processor. This way, you can toss broken pieces of the cookie into the processor and pulse, getting a perfectly crumbly mixture that feels like coarse wet sand! If you don’t have a food processor, this part can be done by hand. To do so, place the broken up cookie inside a gallon Ziploc bag, seal it, and roll it with a rolling pin until fine crumbs form. Then mix in the 2 Tablespoons of melted butter.
- Filling Consistency – To reach the desired smooth consistency for the filling, a stand mixer works best. Without using one, it’d be very difficult to achieve!
- Pie Dish Size – I found a 9 to 10-inch glass or ceramic pie dish worked best for this Milk Bar Pie recipe! But I personally think disposable pie tins are the way to go for this recipe if you are planning to freeze it.
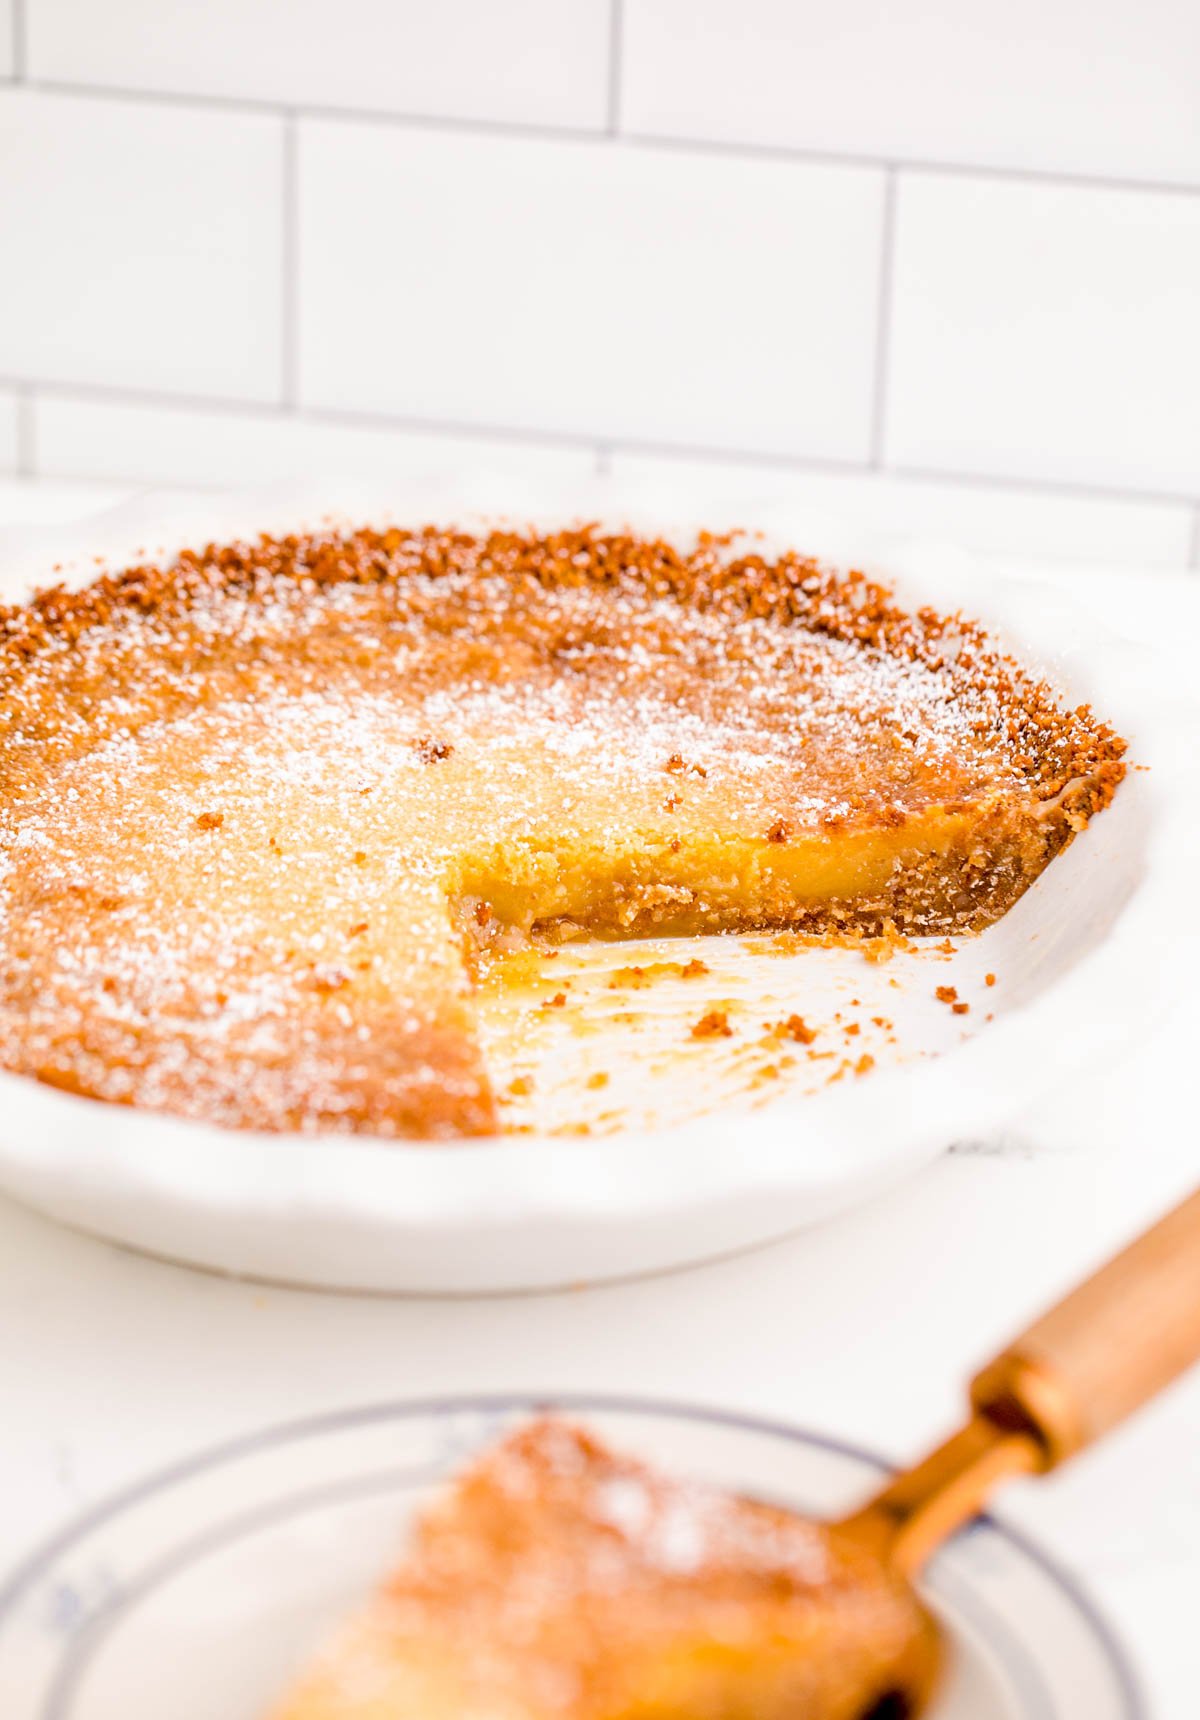
- Baking The Pie – The Crack Pie is done baking when the top edges are golden brown, and the center of the buttery filling is still pale yellow. If it’s still really jiggly after the baking time, then give it 5 more minutes.
- Chilling – Once the pie has cooled to room temperature, it is tightly wrapped in tin foil and placed in the freezer for 2 hours or overnight. This allows the Crack Pie to achieve a similar dense, chewy consistency that the Milk Bar Pie has. You’ll need to move it to the fridge about 1 hour before serving.
A Great Pie To Make Ahead Of Time!
There are lots of occasions that call for making a pie ahead of time. It could be for Thanksgiving or Christmas, a family dinner, or even an office potluck.
Some pies aren’t great make-ahead-of-time options, but this Milk Bar Pie definitely is! You can make the cookie dough ahead of time, making the process of making the crust a lot quicker.
You can even freeze it for up to 3 months or simply store it in the fridge for a few days. The filling can also be prepared ahead of time and stored in the refrigerator for up to 3 days.
This way, you can essentially make the crust, dump the filling in, and bake! Cutting down on doing both the prep and baking on the same day!
How To Store Crack Pie
To store, wrap the pie tightly with plastic wrap or place slices in an airtight container. Store the pie or slices in the refrigerator to enjoy for up to 7 days.
The pie and/or slices can also be frozen for up to 1 month.
More Of The Best Copycat Recipes:
- Sausalito Cookies (Pepperidge Farm Copycat) – Store-bought cookies made right at home!
- Country Fried Steak (Cracker Barrel Copycat) – Topped with homemade creamy sawmill gravy!
- Key Lime Pie Cookies (Crumbl Copycat) – A dense cookie filled with creamy lime filling!
- Cranberry Bliss Bars (Starbucks Copycat Recipe) – Made for a fraction of the cost!
- Copycat Levain Bakery Cookies – World-famous cookies loaded with chocolate and walnuts!
Did You Make This Recipe?
If you’ve tried this recipe, please let leave a review in the comments below. I love hearing from you! Don’t forget to tag me – @sugarandsoulco – on Instagram and Pinterest with your photos, or join our Sugar & Soul Show-offs Community and share them there.

Crack Pie (Milk Bar Pie Recipe)
Equipment
- Baking Sheet
- Parchment paper
- Stand mixer
- Food processor
- Pie dish/plate
- Wire rack
- Powdered sugar shaker (or sifter)
Ingredients
Crust
- 8 tablespoons salted butter 113g, softened and divided
- ⅓ cup light brown sugar 67g, packed
- 2 tablespoons granulated sugar
- 1 large egg
- ½ teaspoon vanilla extract
- 1 cup rolled oats 100g
- ⅓ cup all-purpose flour 43g
- ½ teaspoon salt
- ¼ teaspoon baking powder
- ⅛ teaspoon baking soda
Filling
- ¾ cup granulated sugar 150g
- ½ cup light brown sugar 100g, packed
- 2 tablespoons milk powder
- ¼ teaspoon salt
- 8 tablespoons salted butter 113g, melted
- 6 tablespoons heavy cream
- 1 teaspoon vanilla extract
- 4 egg yolks
Garnish
Instructions
- Preheat the oven to 350°F and line a baking sheet with parchment paper.
- In a stand mixer fitted with a paddle attachment, cream together 6 Tablespoons of the 8 tablespoons salted butter, ⅓ cup light brown sugar, and 2 tablespoons granulated sugar at medium speed for 3 minutes until light and fluffy. Scrape down the sides of the bowl as needed.
- Beat in 1 large egg and ½ teaspoon vanilla extract for another 2 minutes.
- Reduce the speed to low, and mix in the 1 cup rolled oats, ⅓ cup all-purpose flour, ½ teaspoon salt, ¼ teaspoon baking powder, and ⅛ teaspoon baking soda. Scrape down the sides, and be sure that this is well mixed and there aren't any unmixed ingredients on the bottom of the bowl.
- Spread this cookie dough about ¼ inch thick on the prepared baking pan. It does not have to fill the whole pan, as it will just be broken up later.
- Bake for 15 minutes or until the top is turning golden.
- Remove the pan from the oven and place it on a cooling rack.
- Once the cookie has completely cooled, break it up into pieces and put them in a food processor. Add the remaining 2 Tablespoons of 8 tablespoons salted butter to the food processor. Pulse until crumbly.
- Press the cookie crumbs into the bottom and up the sides of a 9 or 10-inch pie dish.
- While the cookie cools, beat together the ¾ cup granulated sugar, ½ cup light brown sugar, 2 tablespoons milk powder, and ¼ teaspoon salt with a paddle attachment at low speed.
- Add the melted 8 tablespoons salted butter and mix until all the ingredients are well combined. Scrape down the sides of the bowl.
- Mix in 6 tablespoons heavy cream and 1 teaspoon vanilla extract and beat for 2 to 3 minutes until fully incorporated, scraping down the sides as needed.
- Keep the speed set to low as you add in the 4 egg yolks. Mix this until the mixture is glossy, about 3 minutes.
- Place the pie dish onto a baking sheet then pour the filling into the pie dish.
- Carefully transfer the baking sheet with the pie on it to the middle rack of the oven and bake for 15 minutes.
- Reduce the oven temperature to 325°F and bake for 15 more minutes. The pie should be fairly brown on top. It may still be a little jiggly. If it is very jiggly, give it 5 more minutes.
- Remove the pie from the oven and place the pie pan on a cooling rack and allow it to cool for 30 minutes. Then wrap it with tin foil and place it in the freezer for at least 2 hours, or overnight. Move the pie from the freezer to the fridge 1 hour before you are planning to serve it.
- Dust it with powdered sugar before serving.
Notes
- Does Crack Pie Need To Be Refrigerated? Yes, it does. To store, wrap the pie tightly with plastic wrap or place slices in an airtight container. Store the pie or slices in the refrigerator to enjoy for up to 7 days. The pie and/or slices can also be frozen for up to 1 month.
- What Size Pie Pan Is Best To Use When Making This Crack Pie? I found a 9 to 10-inch glass pie dish worked best for this recipe!
- Can I Just Whisk The Ingredients Together Instead Of Using A Stand Mixer? To reach the desired smooth consistency for the filling a stand mixer works best. Without using one it’d be very difficult to achieve!
- How Do I Prepare The Crust If I Don’t Have A Food Processor? Easy, this can be done by hand! Just place the broken-up cookie inside a Ziploc bag, seal it, and roll it with a rolling pin. Do so until fine crumbs form. Then, mix in the 2 Tablespoons of melted butter. You’ve reached the desired consistency when the mixture is a sandy texture.
Nutrition
Did You Make This Recipe?
Don’t forget to share it with me on Instagram @sugarandsoulco and follow on Tiktok @sugarandsoulco and Pinterest @sugarandsoulco for more!
Share your thoughts!
Love this recipe? Share your thoughts with me and leave a review! And don’t forget to connect on your favorite social platform below!


Would there be a substitute for the milk powder for lactose intolerant folks? Thanks!
You could replace it with powdered sugar.
This pie is absolutely amazing! We have a local restaurant that serves this pie and I have been looking for the recipe. This was it! I served Salted Caramel Gelato. It was perfection!
I live in denver and followed recipe to T. Did not work. The crust absorbed all the filling and the butter literally leeched out of it. Does not work at any altitude….too much sugar.
I encourage you to try making this again, Sonny. I made it in Loveland with excellent results.
Just a heads up; do not make the crust w/o a food processor. It doesn’t work, even though the recipe says you can( mash in a bag) no, not everyone has one, so I borrowed my neighbor’s. Also it’s very jiggly, and had to be careful that I didn’t let it in the oven too long, and get too brown?
Yes, this is a fairly soft/gooey pie. It will set up more once it cools and chills.
The ingredient list does not include milk powder, but in step eight of the instructions it says milk powder. I found another recipe that has one tablespoon. Should that be in there? Help. Making now
Hi Debbie, it’s listed under the “filling” ingredients – you need 2 tablespoons.
Thx for answer- somehow overlooked- but is it 6 or 8 Tablespoons of butter in crust. Says 1/2 cup divided in crust ingredients. Then in detailed instructions it say 6T in bold. Is it that you start with 6 and add 2 more if needed/too dry?
Easy to follow and had amazing flavor. We followed the recipe to a T and froze it overnight. The next day we let it thaw and cut into it and the filling was very runny like Carmel and never set. What did we do wrong? Flavor was amazing and we want to make it again. Thanks!
Sounds like it didn’t cook quite long enough or you oven possible runs a bit cooler. Did you make sure to bake for the 30 minutes at the two different temperatures? Did you possibly use x-large eggs instead of large?
What if I don’t have a paddle attachment? Can I use a whisk attachment?
You can use a whisk attachment for the creaming and eggs, but would need to mix the flour and Oats in with a rammer spatula because the dough will become too thick for the whisk attachment. You can use a hand mixer also, if that is an option for you.
Brilliant instruction, very clear and easy to follow. Baked this at request of my son in law (out of the blue) as he tasted it on a trip to America many years ago. He was delighted with is and brought back many happy memories.
I’m so glad you were able to make it for him, and he loved it! Thanks for coming back to share and leave a comment!