
The Best Whoopie Pies Ever
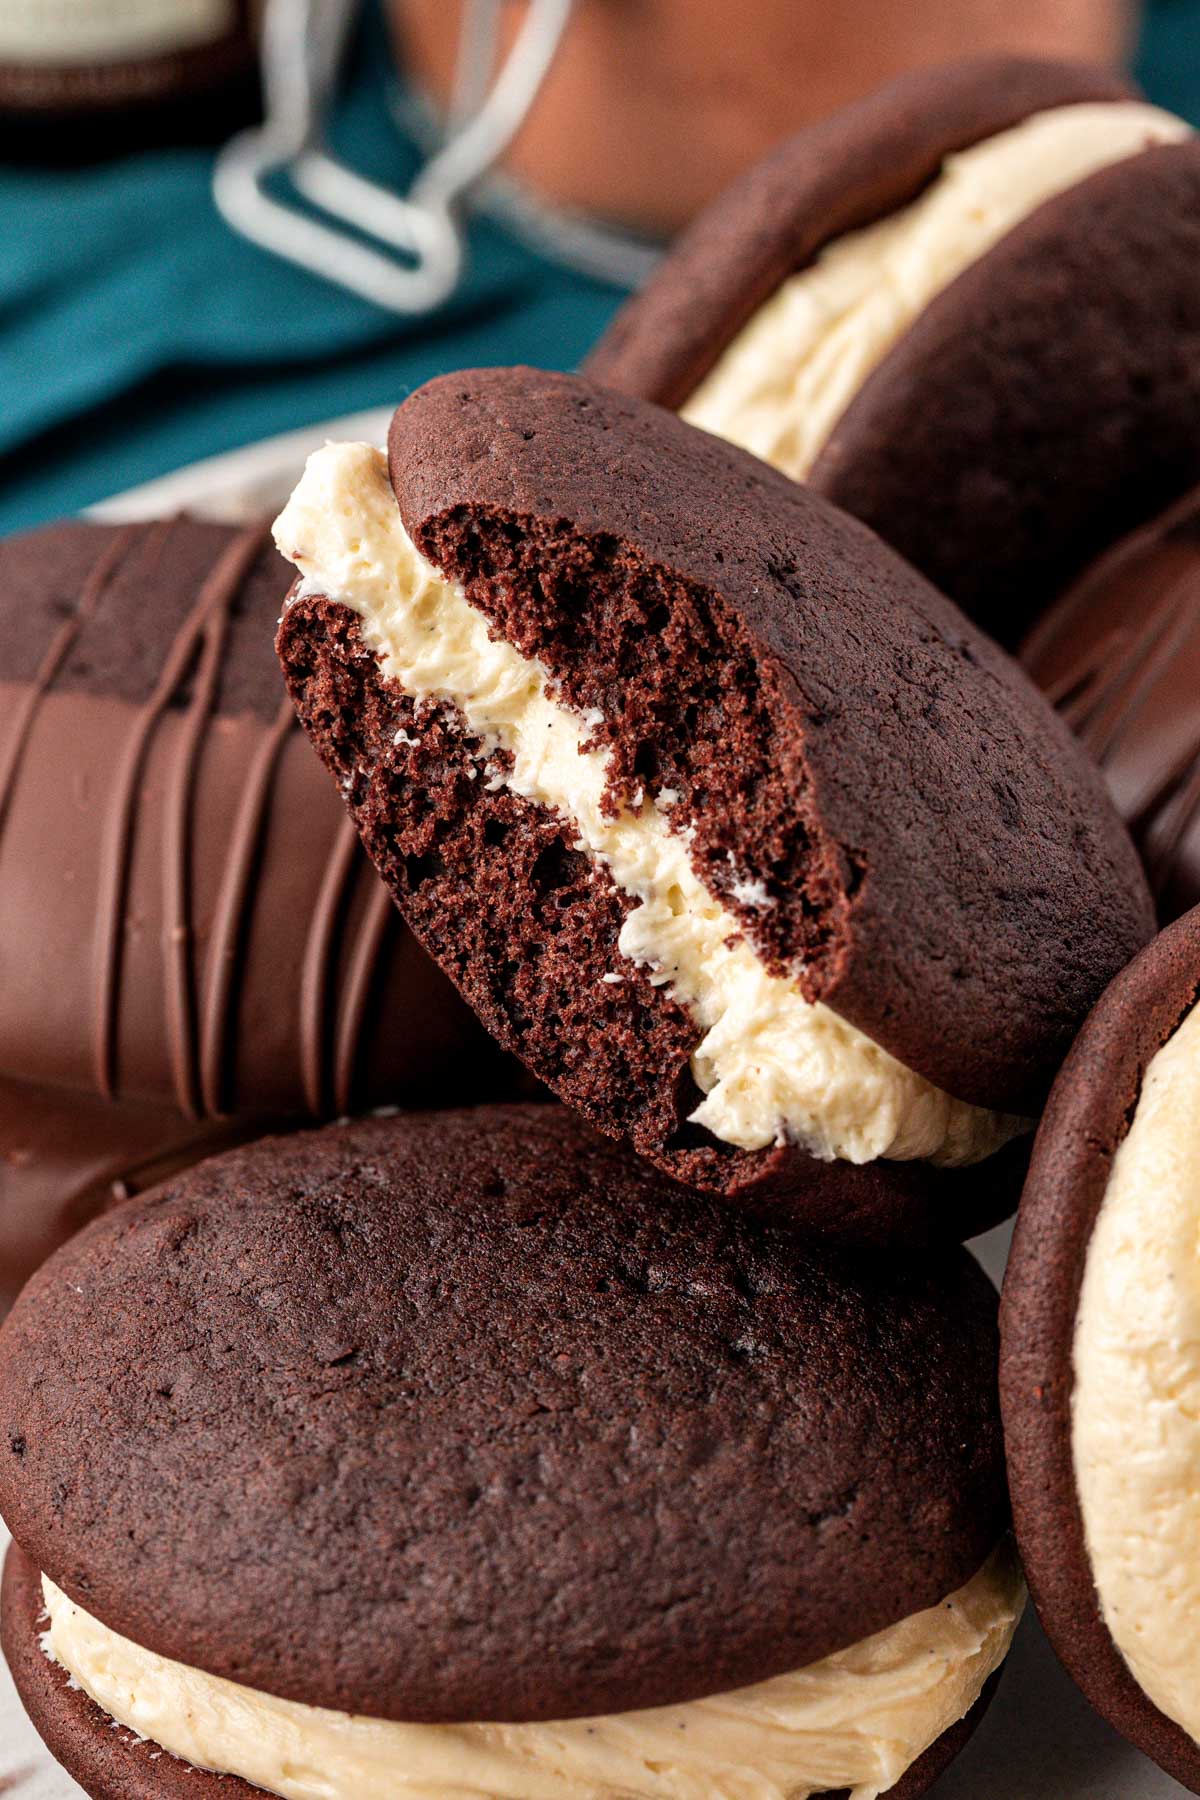
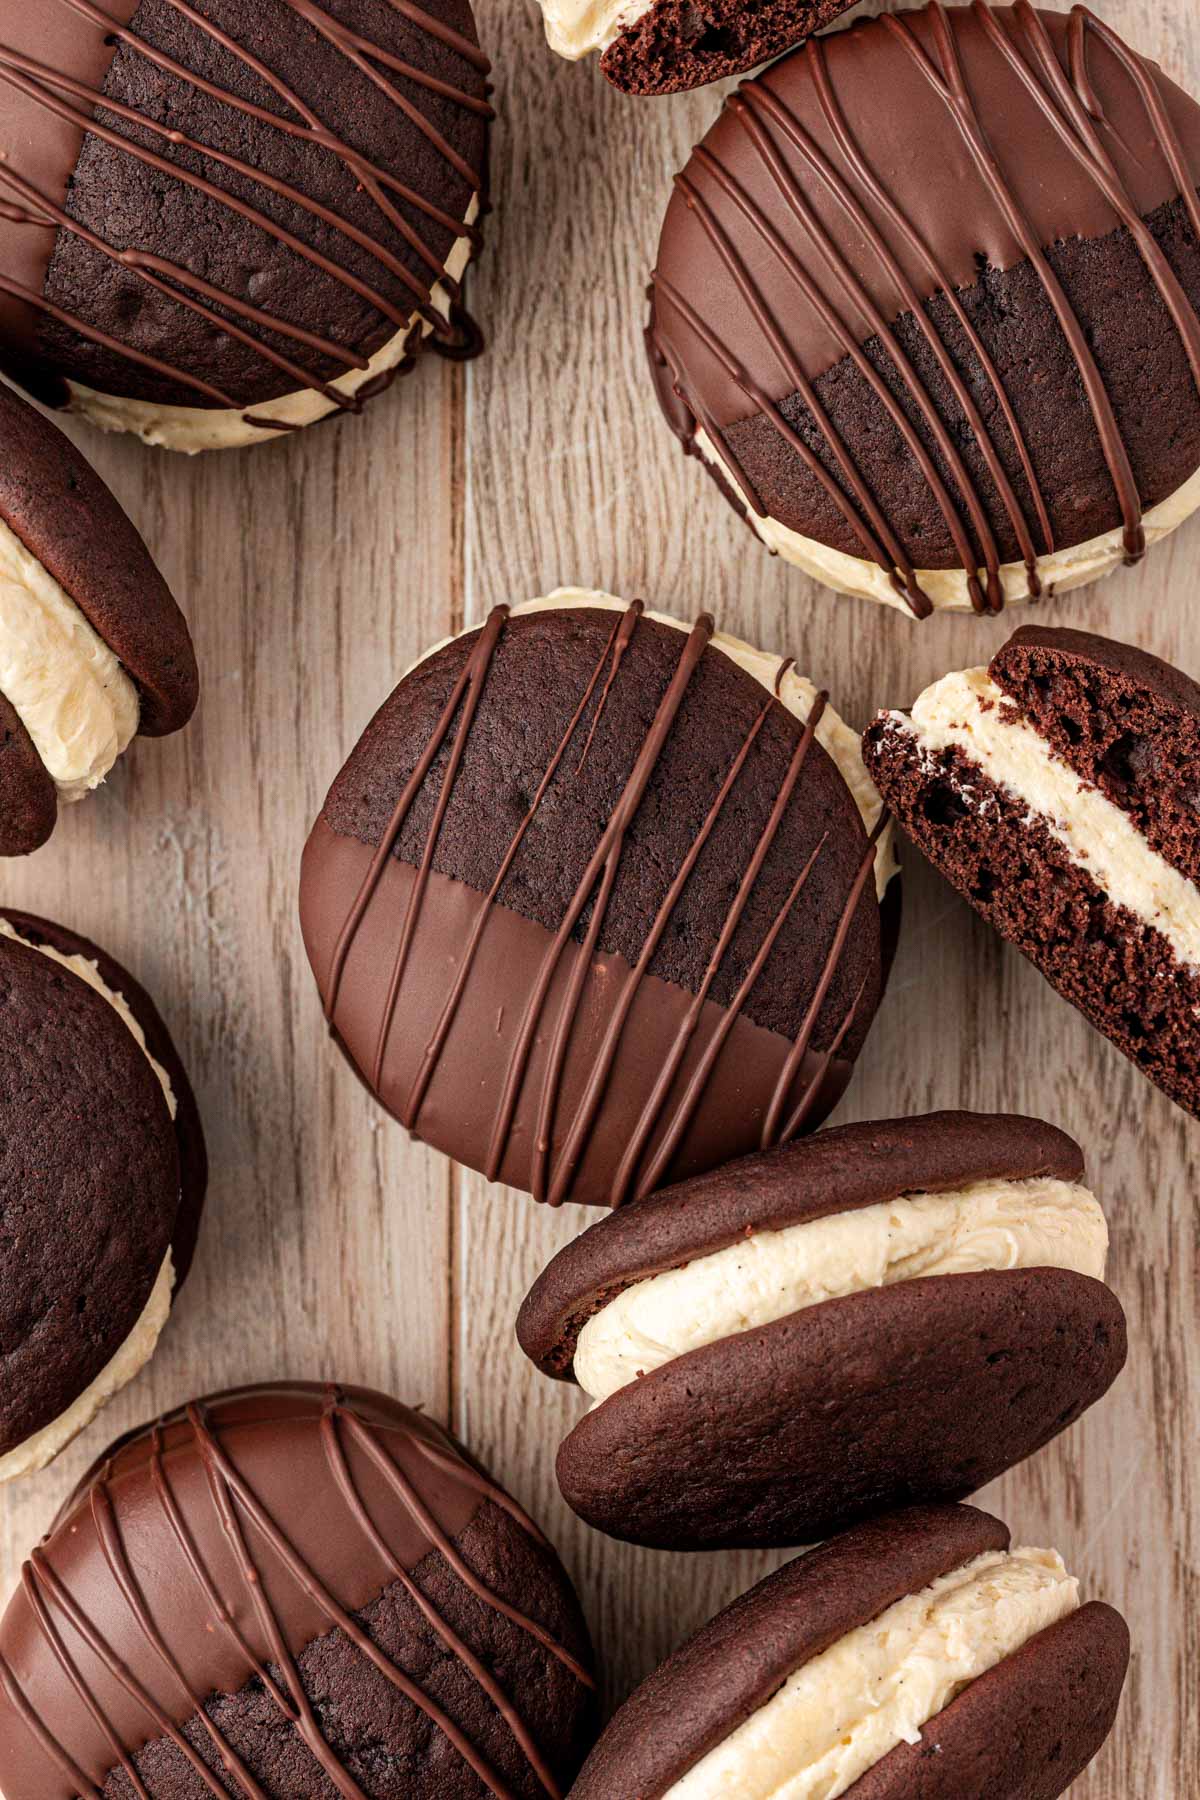
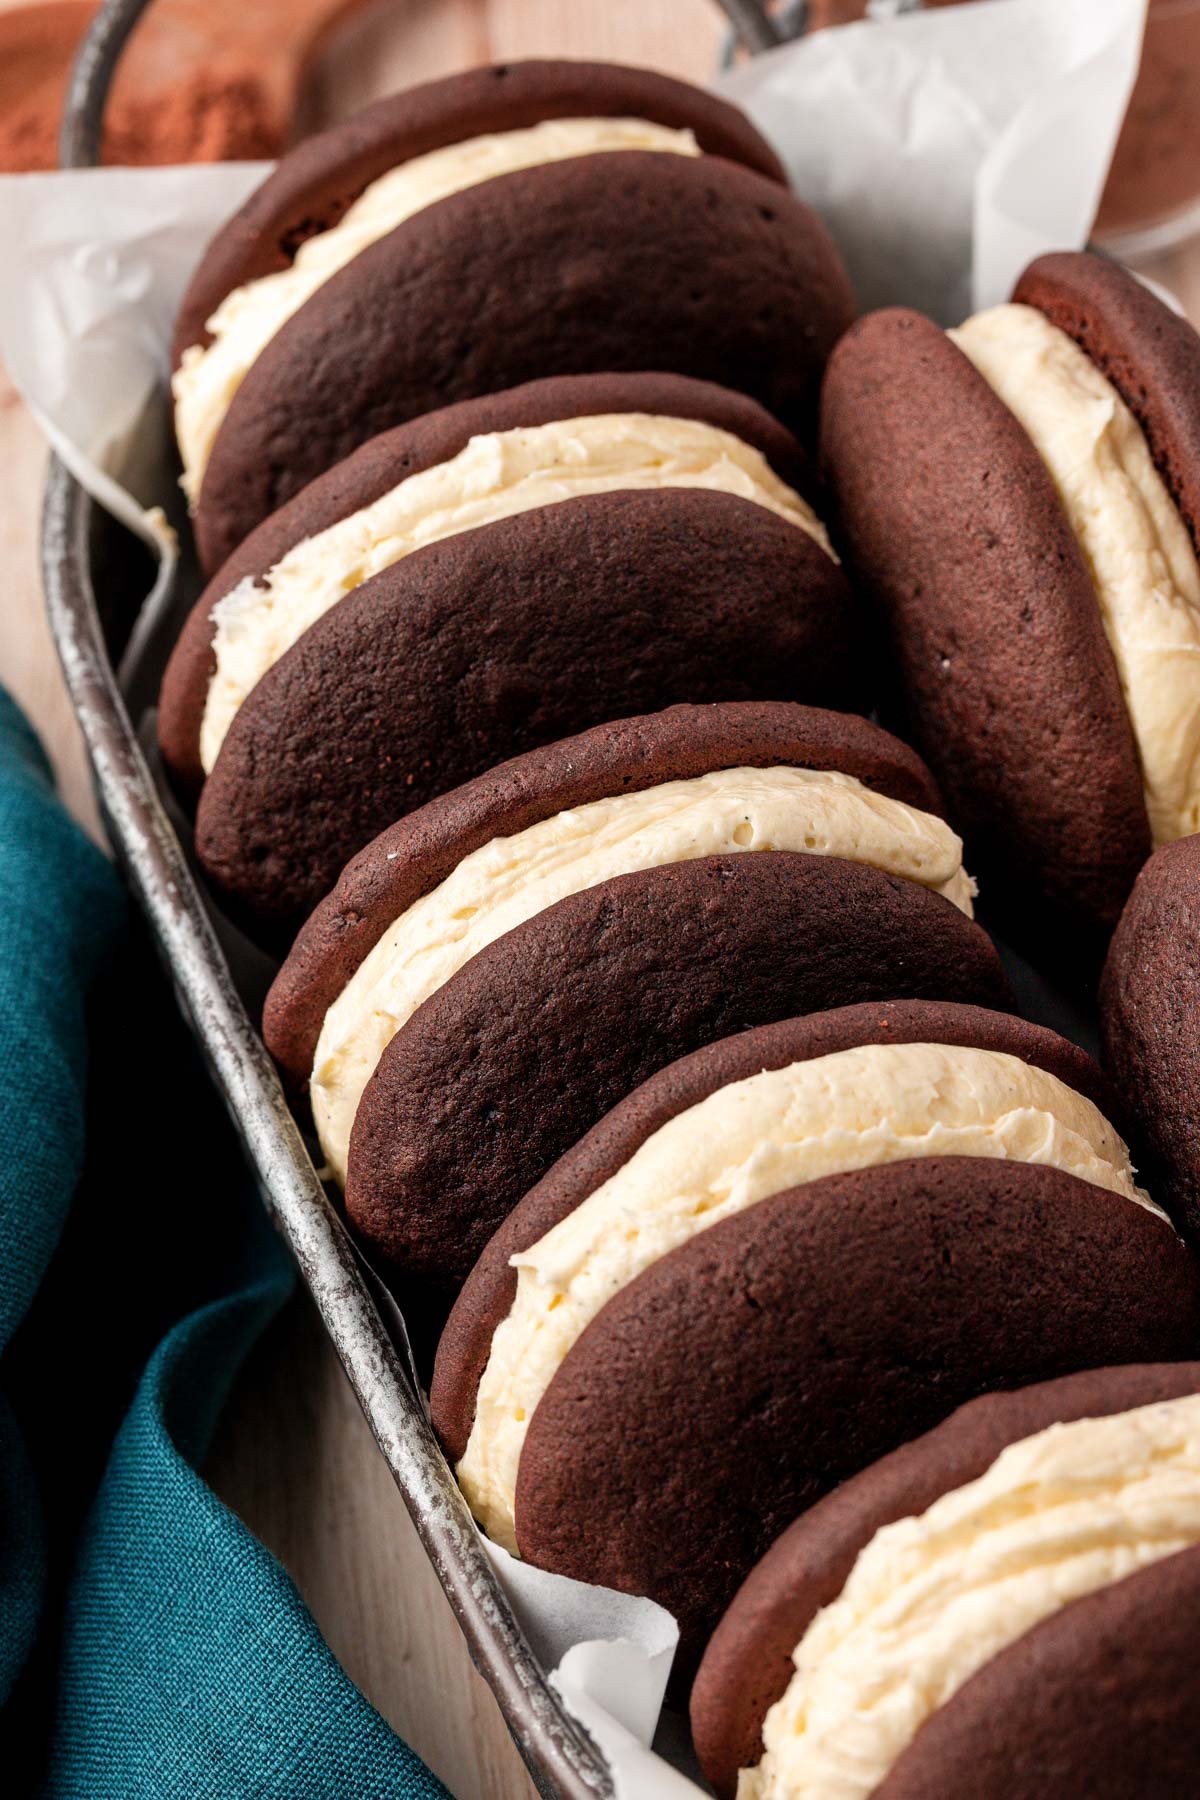
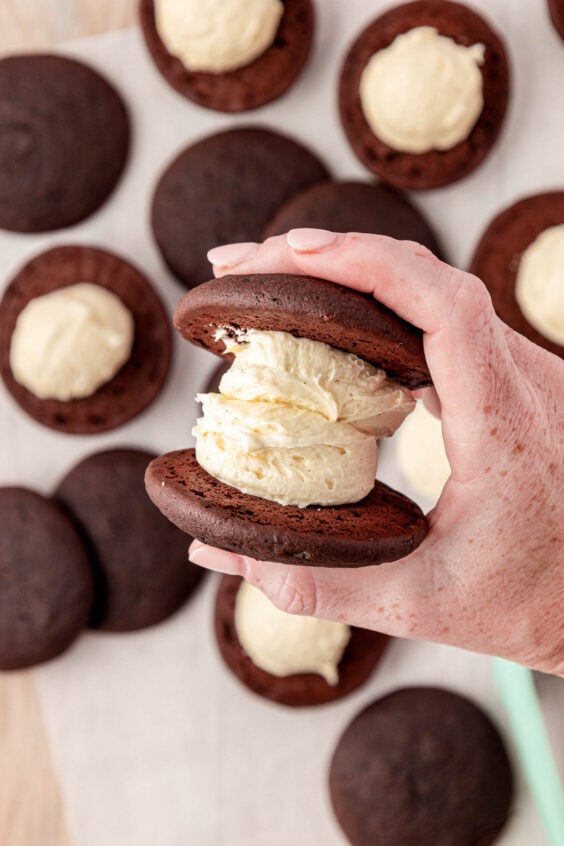
Bake up a batch of the Best Whoopie Pies that you’ll ever sink your teeth into! Two rich, pillowy soft chocolate cakes with sweet vanilla frosting sandwiched between them create this handheld dessert that will win everyone over in one single bite!

Meet The Best Whoopie Pie Recipe That You’ll Ever Eat!
I know that claiming something to be ‘the best’ is a tall order. Especially when it comes to a recipe, since everyone’s taste buds are different.
But as a self-proclaimed whoopie pie connoisseur living in New England, where these beauties originated, I’ve eaten plenty to know what makes a whoopie pie ‘the best’.
To deliver the very best whoopies, I built, tested, and refined this recipe to create a cake with a rich chocolate flavor. I achieved this by using two types of cocoa powders, then incorporating coffee extract and espresso powder to intensify the overall chocolate flavor. I also wanted a tender crumb that wouldn’t be dry or gummy; therefore, I incorporated cake flour and buttermilk into the recipe to achieve that!
The whoopie pies are then finished off with a homemade sweet vanilla filling that’s made with marshmallow fluff! A dessert dream in the shape of a handheld treat that pairs well with a glass of ice-cold milk!
Rebecca’s Recipe Review
Taste: Rich dark chocolate pairs with a silky salted vanilla marshmallow filling!
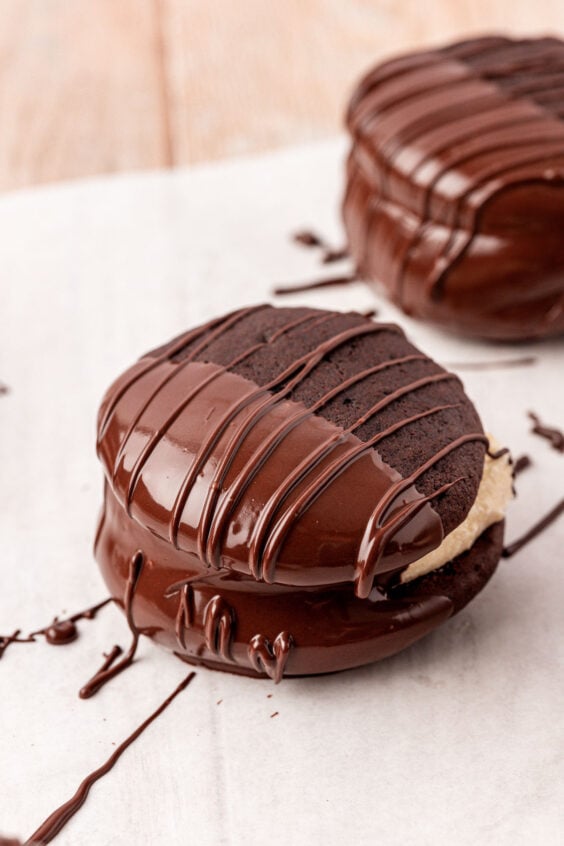
Texture: Tender cakes, thick frosting filling, and an optional chocolate dip that gives swiss roll vibes.
Ease: 6/10
Pros: Incredible flavor and texture – not dry and actually tastes like chocolate.
Cons: Creates a lot of dishes
Would I Make This Again? Yes, I am from New England after all.
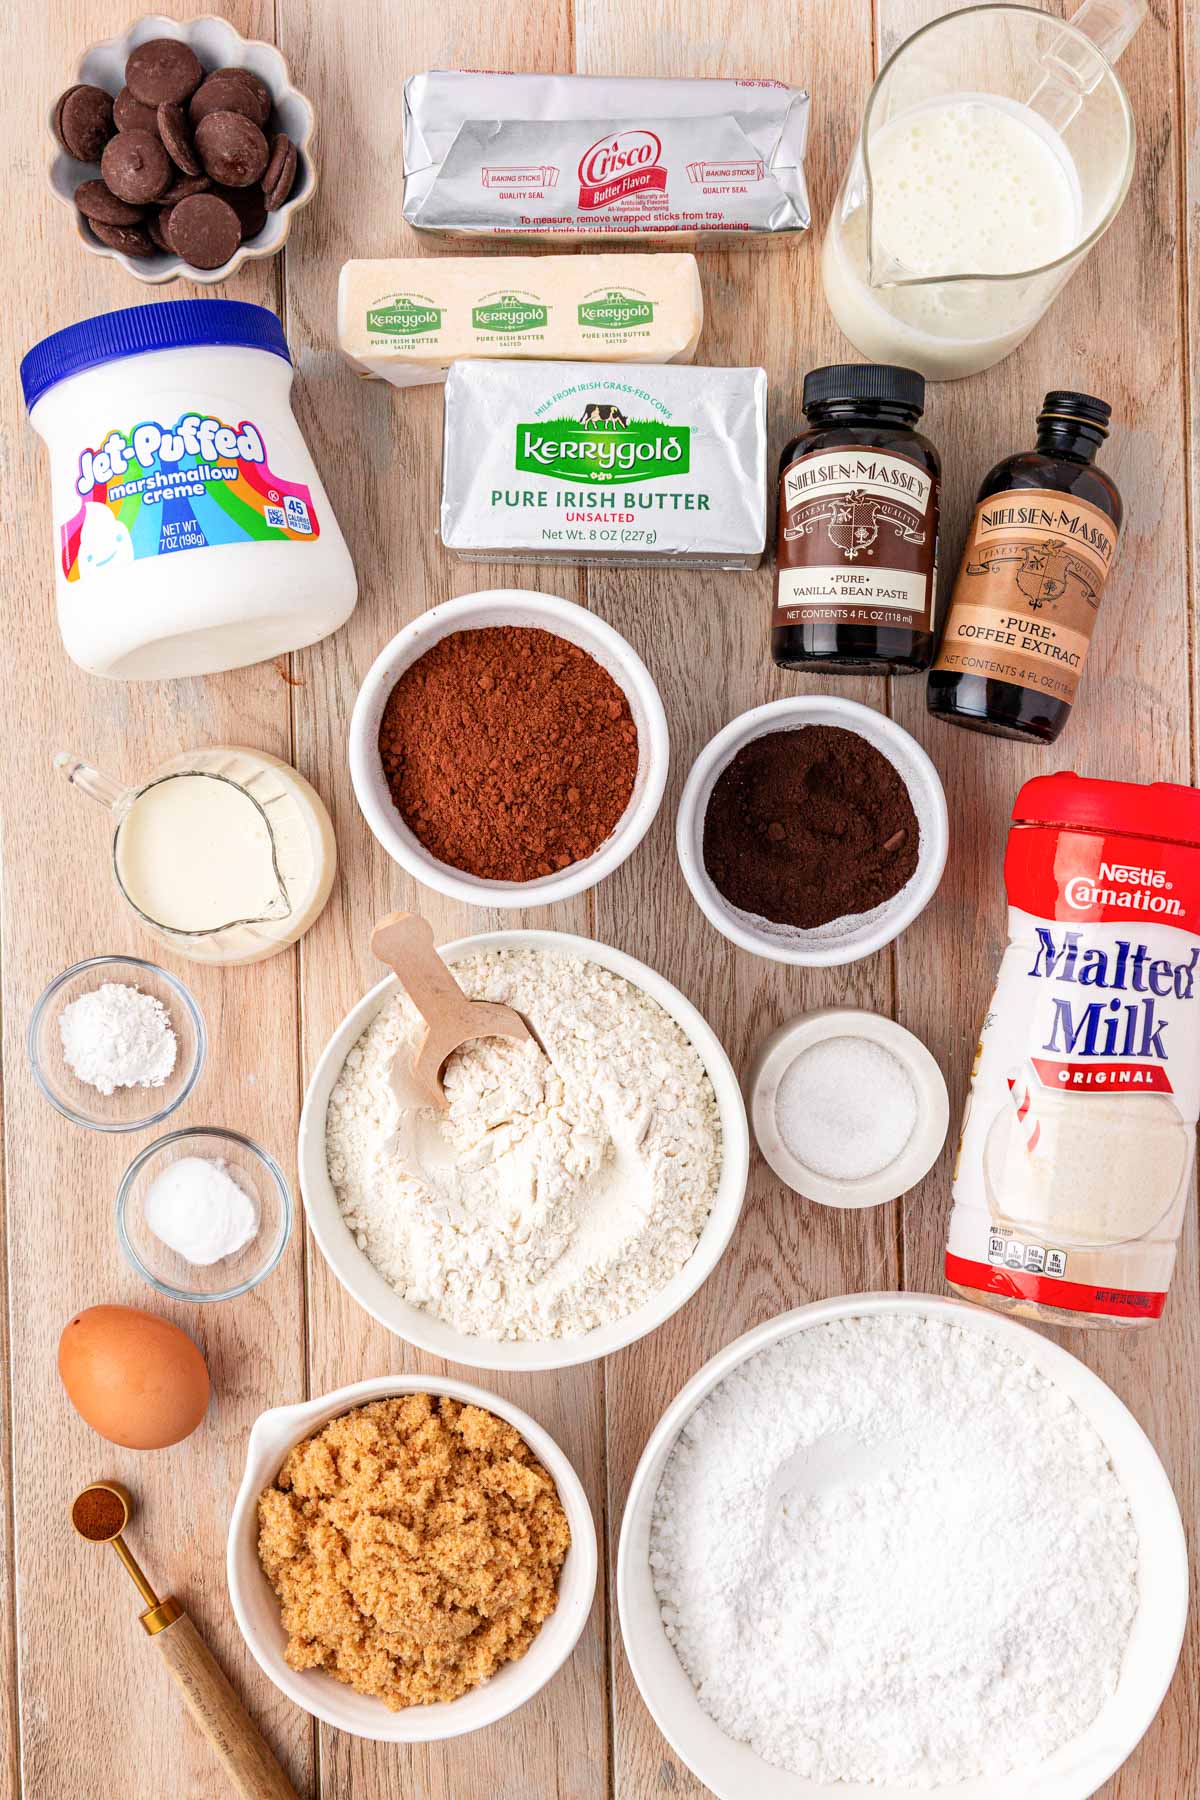
Best Whoopie Pie Ingredients
This recipe for the best whoopie pies pairs pantry staples with a few standout ingredients to create incredible handheld treats! To make the homemade chocolate cakes, you’ll need:
- Light Brown Sugar
- Salted Butter
- Vanilla Bean Paste
- Coffee Extract
- Salt
- An Egg
- Cake Flour
- Dutch Process Cocoa Powder
- Malted Milk Powder
- Black Cocoa Powder
- Baking Powder
- Baking Soda
- Espresso Powder
- Buttermilk
Once baked and cooled, the cakes are filled with a sweet vanilla frosting that’s made of:
- Unsalted Butter
- Butter Flavored Shortening
- Vanilla Bean Paste
- Salt
- Powdered Sugar
- Heavy Cream
- Marshmallow Fluff
As an optional garnish for a gourmet-style whoopie pie, you can then dip the finished whoopie pies in melted chocolate wafers and finish them off with sprinkles!
How To Make The Best Whoopie Pies
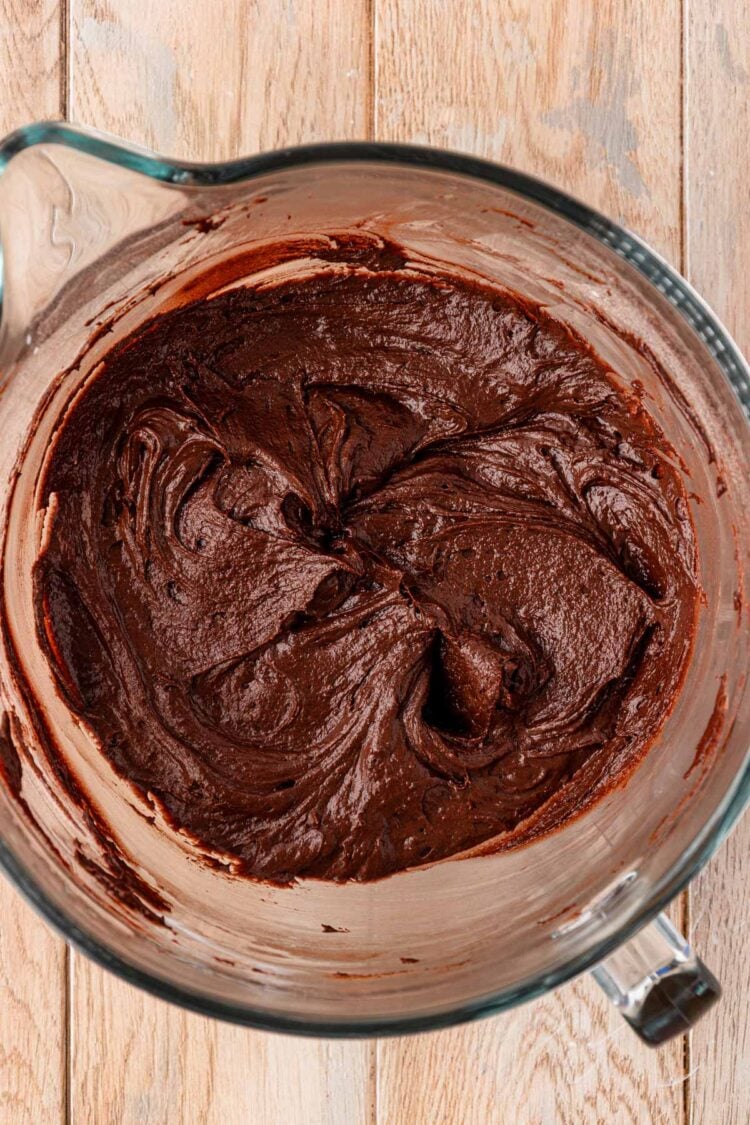
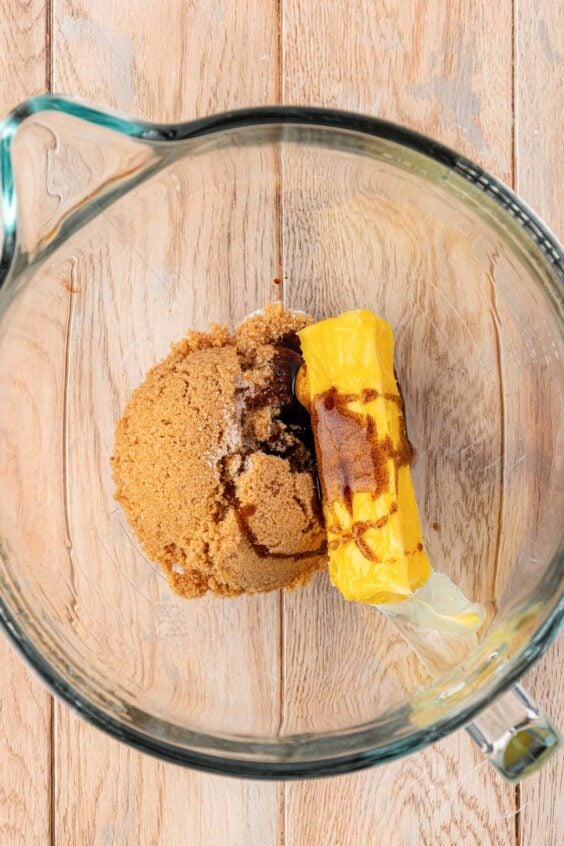
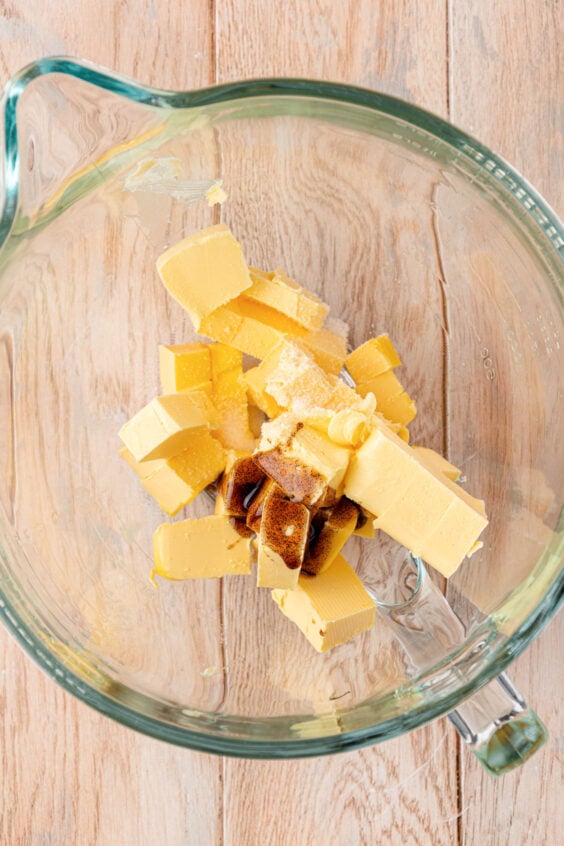
- Prepare the chocolate cakes by combining light brown sugar, salted butter, vanilla bean paste, coffee extract, and salt in the bowl of a large stand mixer. Beat this mixture on medium-high speed, scraping down the sides of the bottom and bowl halfway through mixing.
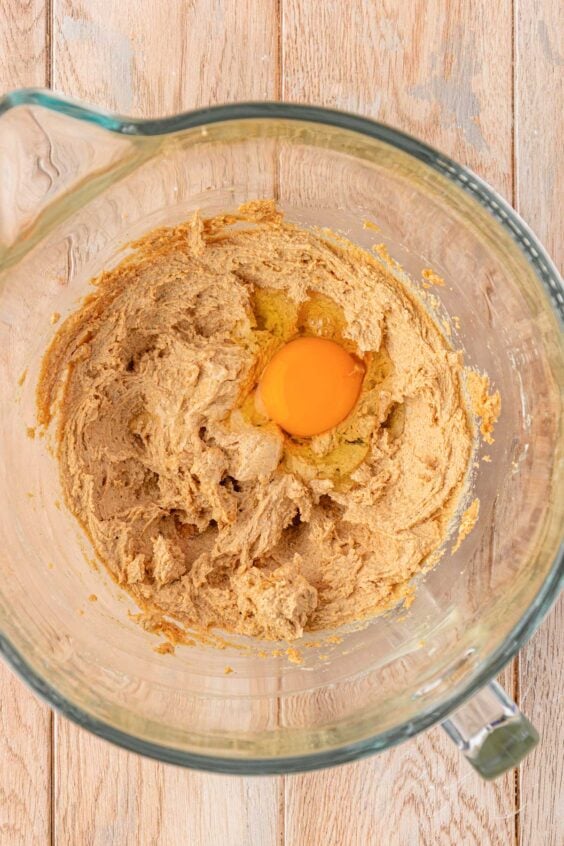
- Mix in a large egg until it becomes fully incorporated.
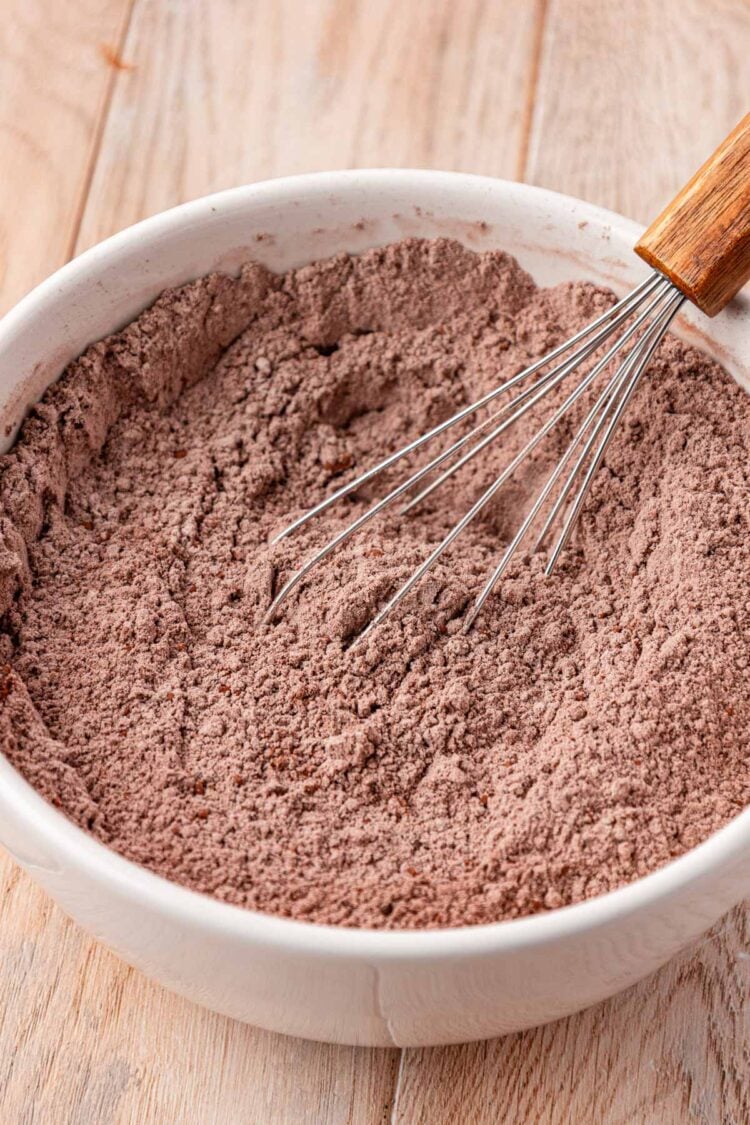
- Whisk together cake flour, Dutch-process cocoa powder, malted milk powder, black cocoa, baking powder, baking soda, and espresso powder in a separate medium bowl.
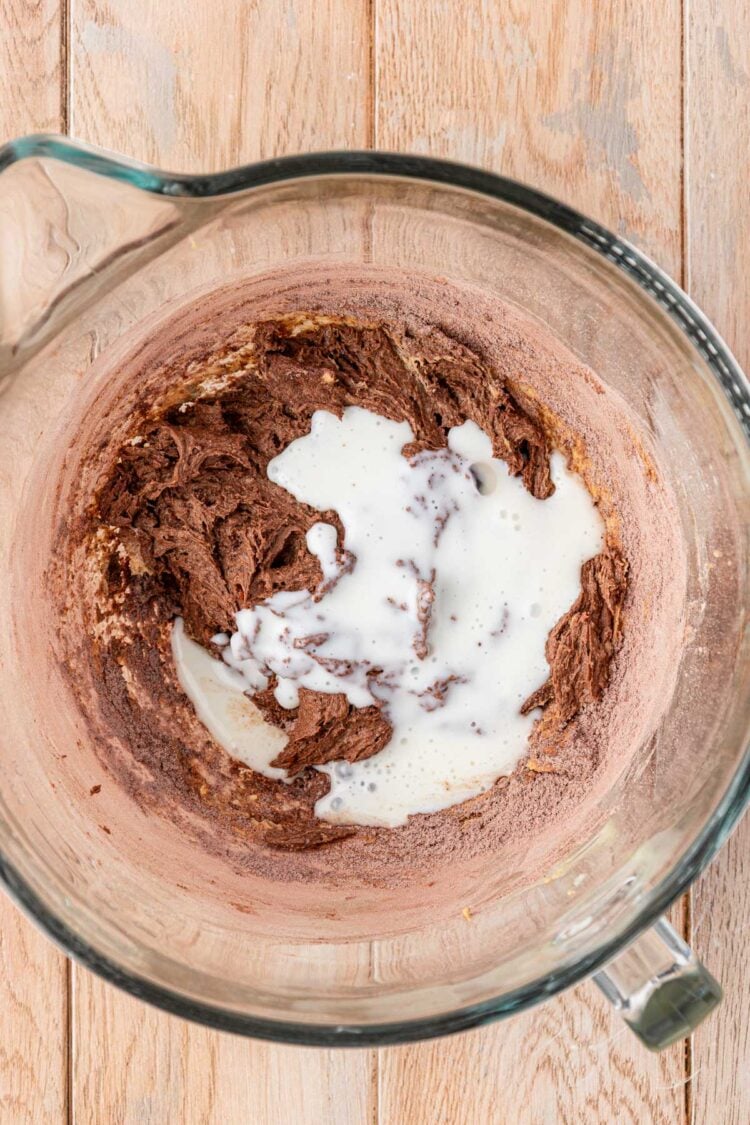
- Add the dry ingredients to the mixing bowl in parts, rotating between the buttermilk and the dry ingredients, starting with the dry ingredients and ending with the buttermilk.
- Scrape down the sides of the bowl and fold the batter with a rubber spatula, then set the bowl of batter aside to rest.
- Preheat the oven and line two baking pans with parchment paper.
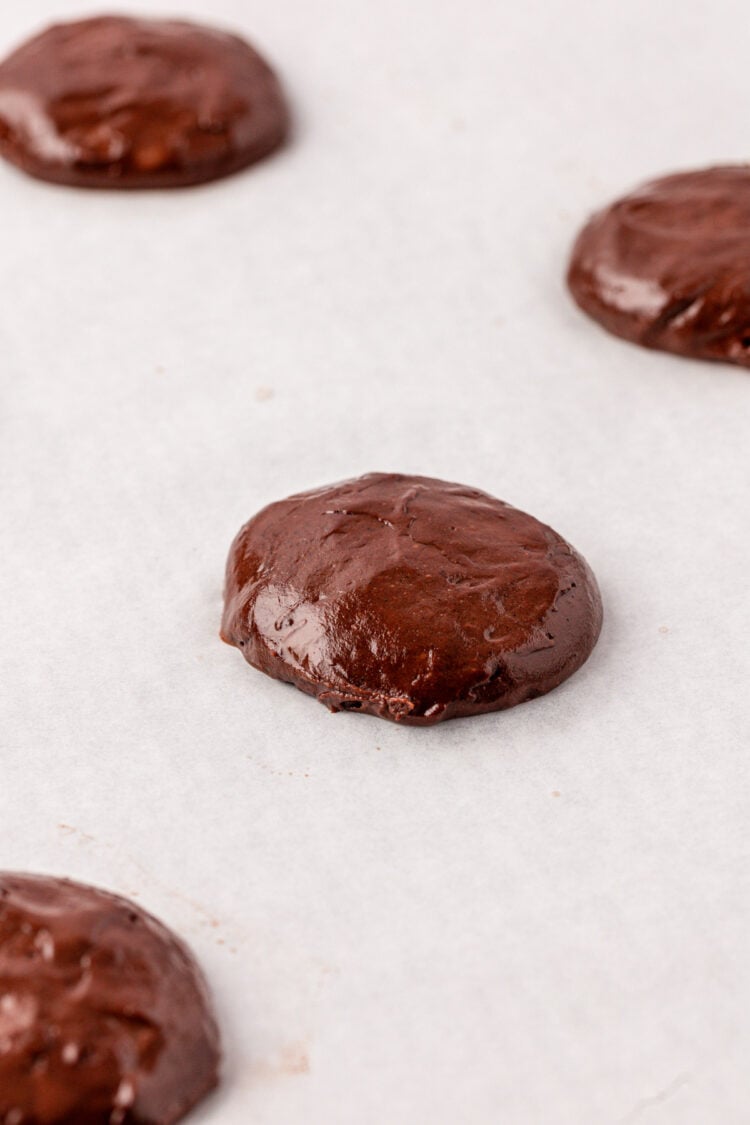
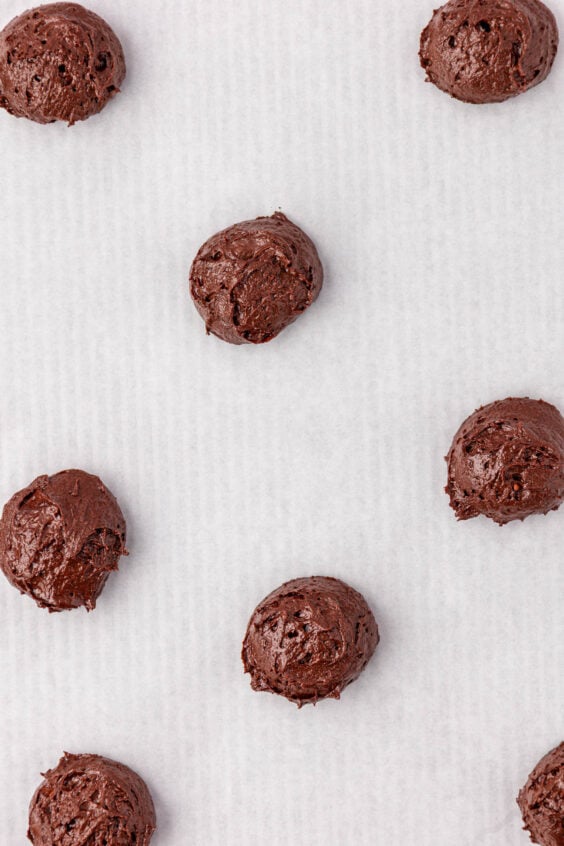
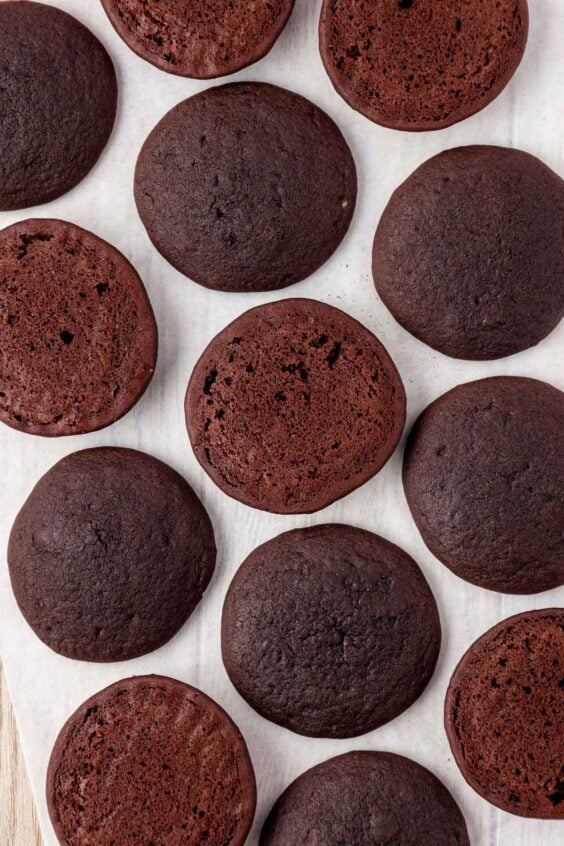
- Portion out level scoops of chocolate cake batter onto the prepared baking sheets, spacing them evenly. Bake the cakes until the tops spring back when touched.
- Cool the cakes on the baking pan before gently transferring them to a wire rack to finish cooling completely.
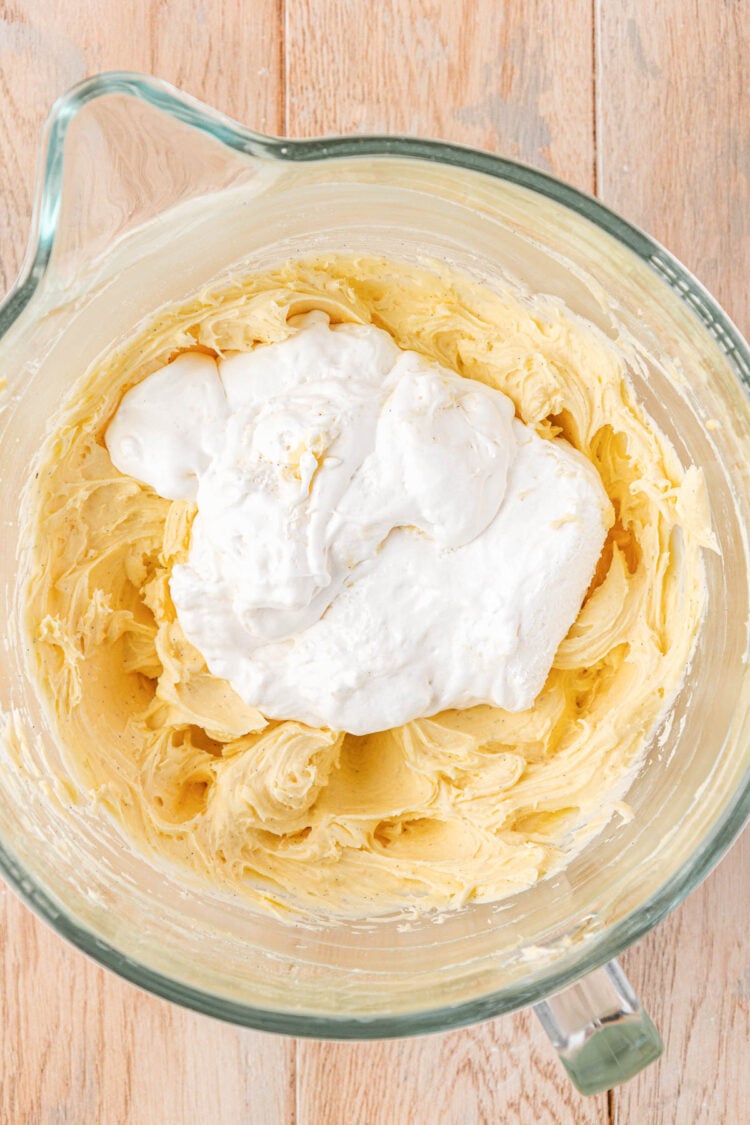
- Prepare the filling by creaming unsalted butter with butter-flavored shortening, vanilla bean paste, and salt in the bowl of a stand mixer. Beat the frosting.
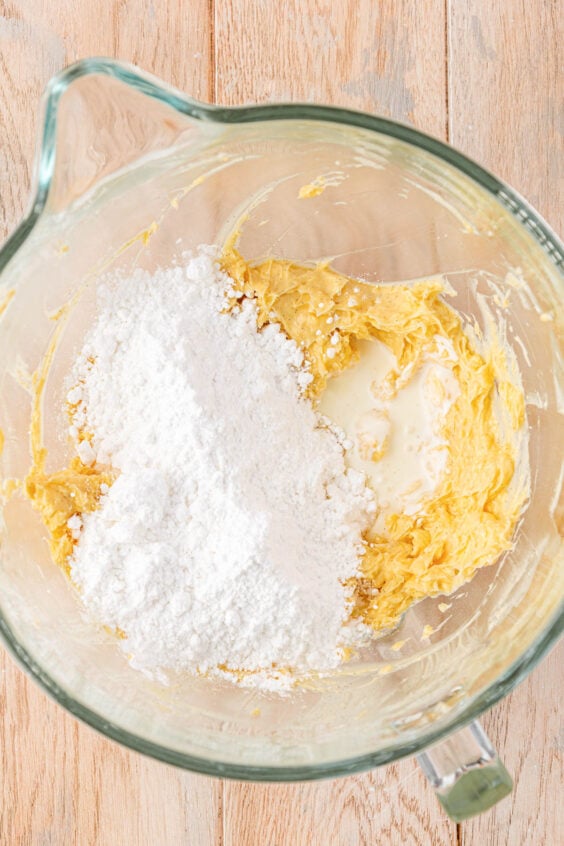
- Beat in powdered sugar and heavy cream, 1 cup and 1 tablespoon at a time, mixing until the ingredients are thoroughly combined.
- Mix in the marshmallow fluff until fully incorporated.
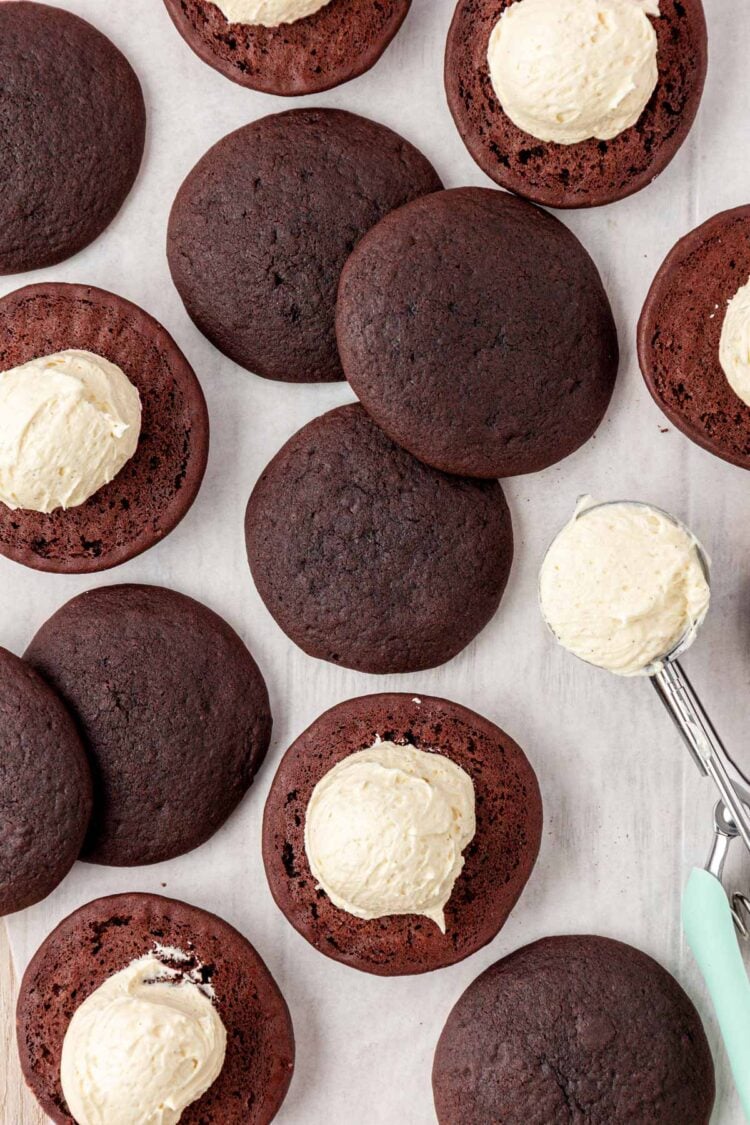
- Assemble the whoopie pies by scooping frosting onto the bottom of each cake and then sandwiching two cakes together.
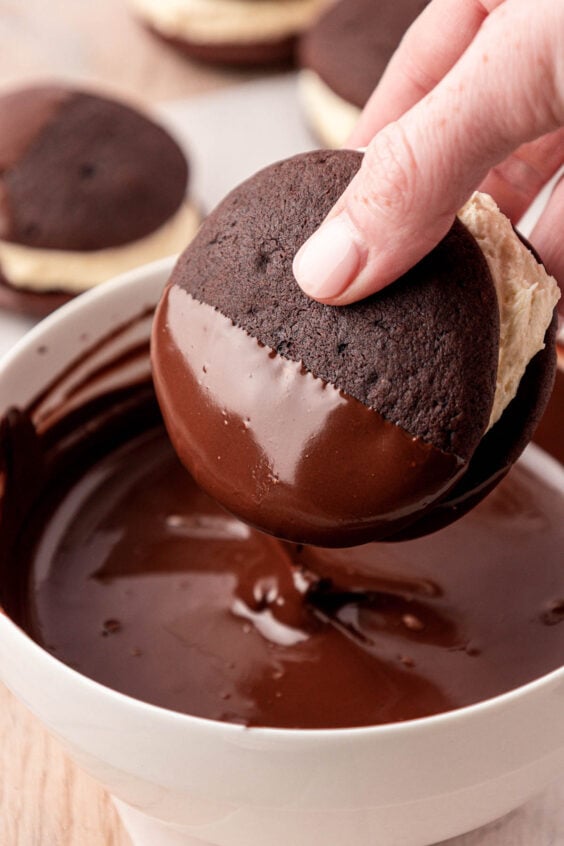
- Prepare to dip the whoopie pies by melting the chocolate wafers in a microwave-safe bowl at intervals, stopping to stir between each one, until the chocolate has fully melted.
- Dip each whoopie halfway in the chocolate and then place them on a piece of parchment paper.
- Transfer the remaining melted chocolate into a piping bag and then drizzle the whoopie pies, adding sprinkles if desired.


Rebecca’s Recipe Tips For The Best Whoopie Pies
- Measure the dry ingredients using a kitchen scale to whip up the most accurate batch of whoopie pies.
- As you mix the cake batter and frosting, it’s essential to scrape the sides of the bowls as you go. Doing so will ensure all of the ingredients are incorporated into the recipe.
- Be sure to let the whoopie pie cake batter rest for 15 minutes before baking. This rest time will produce a smoother crumb and cakes with an overall better flavor.
- Use a wet finger to gently pat down any peaks in the batter after scooping and before baking.
- When making the filling, feel free to add more salt to taste. I personally enjoy the salty element of this filling, as it pairs deliciously with the rich chocolate cake.
- For a thicker frosting, add additional powdered sugar.

How To Store Homemade Whoopie Pies
Storage: Homemade whoopie pies can remain at room temperature for up to 1 day. After that, wrap each one in plastic wrap and then store them in the fridge to enjoy for up to 3 days.
Freezing: For longer storage, you can freeze whoopie pies! To do so, wrap each one individually in plastic wrap and then again in aluminum foil. Then transfer the double-wrapped desserts into the freezer to store for up to 3 months. Thaw at room temperature overnight before enjoying.
Make Ahead: The chocolate whoopie pie cakes can be made up to 1 day in advance. Once the cakes have baked and cooled completely, layer them in an airtight storage container, separating the layers with parchment paper to prevent them from sticking together.
Whoopie Pie Recipe Variations
- Frosting – Mix up the flavor of these whoopie pies by choosing a different frosting! Try these treats with Chocolate Buttercream Frosting, Fluffy Peanut Butter Frosting, Nutella Frosting, or even Coconut Pecan Frosting!
- Mini Whoopie Pies – For a bite-sized treat, use a #100 scoop to portion out the batter, then bake for 7 minutes.
- Large Whoopie Pies – If you like large-sized desserts, use a #16 cookie scoop to portion out the whoopie pie batter. Then bake the cakes for 10 to 12 minutes.
- Dipping Chocolate – Feel free to dip (or not!) your whoopie pies in your chocolate of choice. Dark chocolate, white chocolate, semi-sweet chocolate, or milk chocolate. I prefer Callebaut, but Ghirardelli Melting Wafers work great, too!
- Sprinkles – You can top the dipped whoopie pies in sprinkles, but if you’re skipping the dip, you can roll the sides of the whoopie pies in sprinkles instead. Doing so will adhere sprinkles to the frosting.
More Whoopie Pie Recipes
- Pumpkin Whoopie Pies – A fall-favorite handheld treat that pumpkin lovers can’t get enough of!
- Red Velvet Whoopie Pies – Red velvet cakes paired with homemade cream cheese filling!
- Gingerbread Whoopie Pies – Filled with a sweet, cozy brown sugar filling!
- Apple Cider Whoopie Pies – The perfect fall treat that’s rolled in cinnamon-sugar!
- Classic Maine Whoopie Pies – A Maine staple filled with sweet vanilla marshmallow filling!
Did You Make This Recipe?
If you’ve tried this recipe, please let leave a review in the comments below. I love hearing from you! Don’t forget to tag me – @sugarandsoulco – on Instagram and Pinterest with your photos, or join our Sugar & Soul Show-offs Community and share them there.

Best Whoopie Pie Recipe
Ingredients
Cake
- 1 cup light brown sugar 200g, packed
- ½ cup salted butter 113g, room temperature
- 1 tablespoon vanilla bean paste
- 1 teaspoon coffee extract
- ½ teaspoon salt
- 1 large egg
- 2¼ cups cake flour 292g
- ½ cup Dutch process cocoa powder 50g
- 2 tablespoons malted milk powder 20g
- 2 tablespoons black cocoa powder see notes
- 1 teaspoon baking powder
- ½ teaspoon baking soda
- ½ teaspoon espresso powder optional
- 1 cup buttermilk 240mL, room temperature
Filling
- 1 cup unsalted butter 227g, cold and cubed
- ½ cup butter flavored shortening 113g
- 1 tablespoon vanilla bean paste
- ½ to 1 teaspoon salt
- 4 cups powdered sugar 400g
- 2 ounces heavy cream 60mL
- 1¼ cups marshmallow fluff 125g
Optional Garnish
- 10 ounces melting wafers
- sprinkles
Instructions
Cake
- In the bowl of a stand mixer fitted with a paddle attachment, add 1 cup light brown sugar, ½ cup salted butter, 1 tablespoon vanilla bean paste, 1 teaspoon coffee extract, and ½ teaspoon salt. Beat on medium-high speed for 4 minutes, scraping down the sides and bottom of the bowl halfway through and when finished.

- Add 1 large egg and mix for 1 minute, until fully incorporated. Scrape down the sides of the bowl again.
- Sift together 2¼ cups cake flour, ½ cup Dutch process cocoa powder, 2 tablespoons malted milk powder, 2 tablespoons black cocoa powder, 1 teaspoon baking powder, ½ teaspoon baking soda, and ½ teaspoon espresso powder in a separate medium bowl, and whisk to combine.
- Add the dry ingredients to the mixing bowl in three parts, alternating with the 1 cup buttermilk, beginning with the dry and ending with the wet. Mix on medium speed for 1 minute until thoroughly combined. Scrape down the sides of the bowl and then mix for 30 additional seconds.
- Scrape down the bowl and fold the batter with a rubber spatula then set aside to rest for 15 minutes.
- Preheat the oven to 350°F and line two 13×18-inch baking pans with parchment paper; set aside.
- When ready to bake, use a #40 scoop to portion out level scoops of the batter onto the prepared baking sheets, spacing them at least three inches apart. I can make 8 cakes per sheet, offsetting the mounds.
- Use a wet finger to gently swirl down any pointy spots in the mound left from the scoop.
- Bake for 9 to 11 minutes; the tops should spring back when touched, and they shouldn't be cracked. For bigger whoopies, use a #16 cookie scoop to make 6 per sheet and bake for 10 to 12 minutes. For bite-sized whoopie pies, use a #100 scoop and bake for 7 minutes. I can bake 15 per sheet in uniform rows.
- Allow the cakes to cool on the pan for 5 to 10 minutes before gently peeling off the parchment and placing them on a wire rack to cool completely before filling.


Filling
- In a stand mixer bowl, cream together 1 cup unsalted butter, ½ cup butter flavored shortening, 1 tablespoon vanilla bean paste, and ½ to 1 teaspoon salt (start with ½ teaspoon and add more to taste at the end if desired – I personally like the salty element of this filling, it pairs so nicely with the rich cake), and beat for 2 minutes.
- Beat in the 4 cups powdered sugar and 2 ounces heavy cream, 1 cup and 1 tablespoon at a time, mixing until completely combined and scraping down the sides of the bowl after each addition.
- Lastly, mix in the 1¼ cups marshmallow fluff until fully incorporated. Taste and add additional salt if desired. Add additional powdered sugar if you prefer a thicker consistency.
- Use the same size scoop you used for the batter to scoop a scoop of filling onto the bottom of each cake, then sandwich two cakes together, gently pressing until the filling reaches the edges of the cakes. You can also stack two scoops of filling on top of each other on half the cakes if you find that easier.
- If dipping, melt 10 ounces melting wafers in a microwave-safe cup at 30-second intervals, stirring between each one, until fully melted. Dip the whoopie pies halfway in the chocolate and place on a piece of parchment paper.
- Transfer the remaining chocolate to a piping bag and drizzle the whoopie pies with the remaining chocolate, adding sprinkles if desired for a special occasion.

Video
Notes
- Black cocoa adds an extra dimension to the flavor of the cake while also giving it a richer brown (less orange/red) color. It can be substituted with an equal amount of additional Dutch-process cocoa powder.
Nutrition
Did You Make This Recipe?
Don’t forget to share it with me on Instagram @sugarandsoulco and follow on Tiktok @sugarandsoulco and Pinterest @sugarandsoulco for more!
Share your thoughts!
Love this recipe? Share your thoughts with me and leave a review! And don’t forget to connect on your favorite social platform below!


Whoopie pie competition doesn’t stand a chance with these delicious treats!!!