
The Perfect Pumpkin Pie Recipe


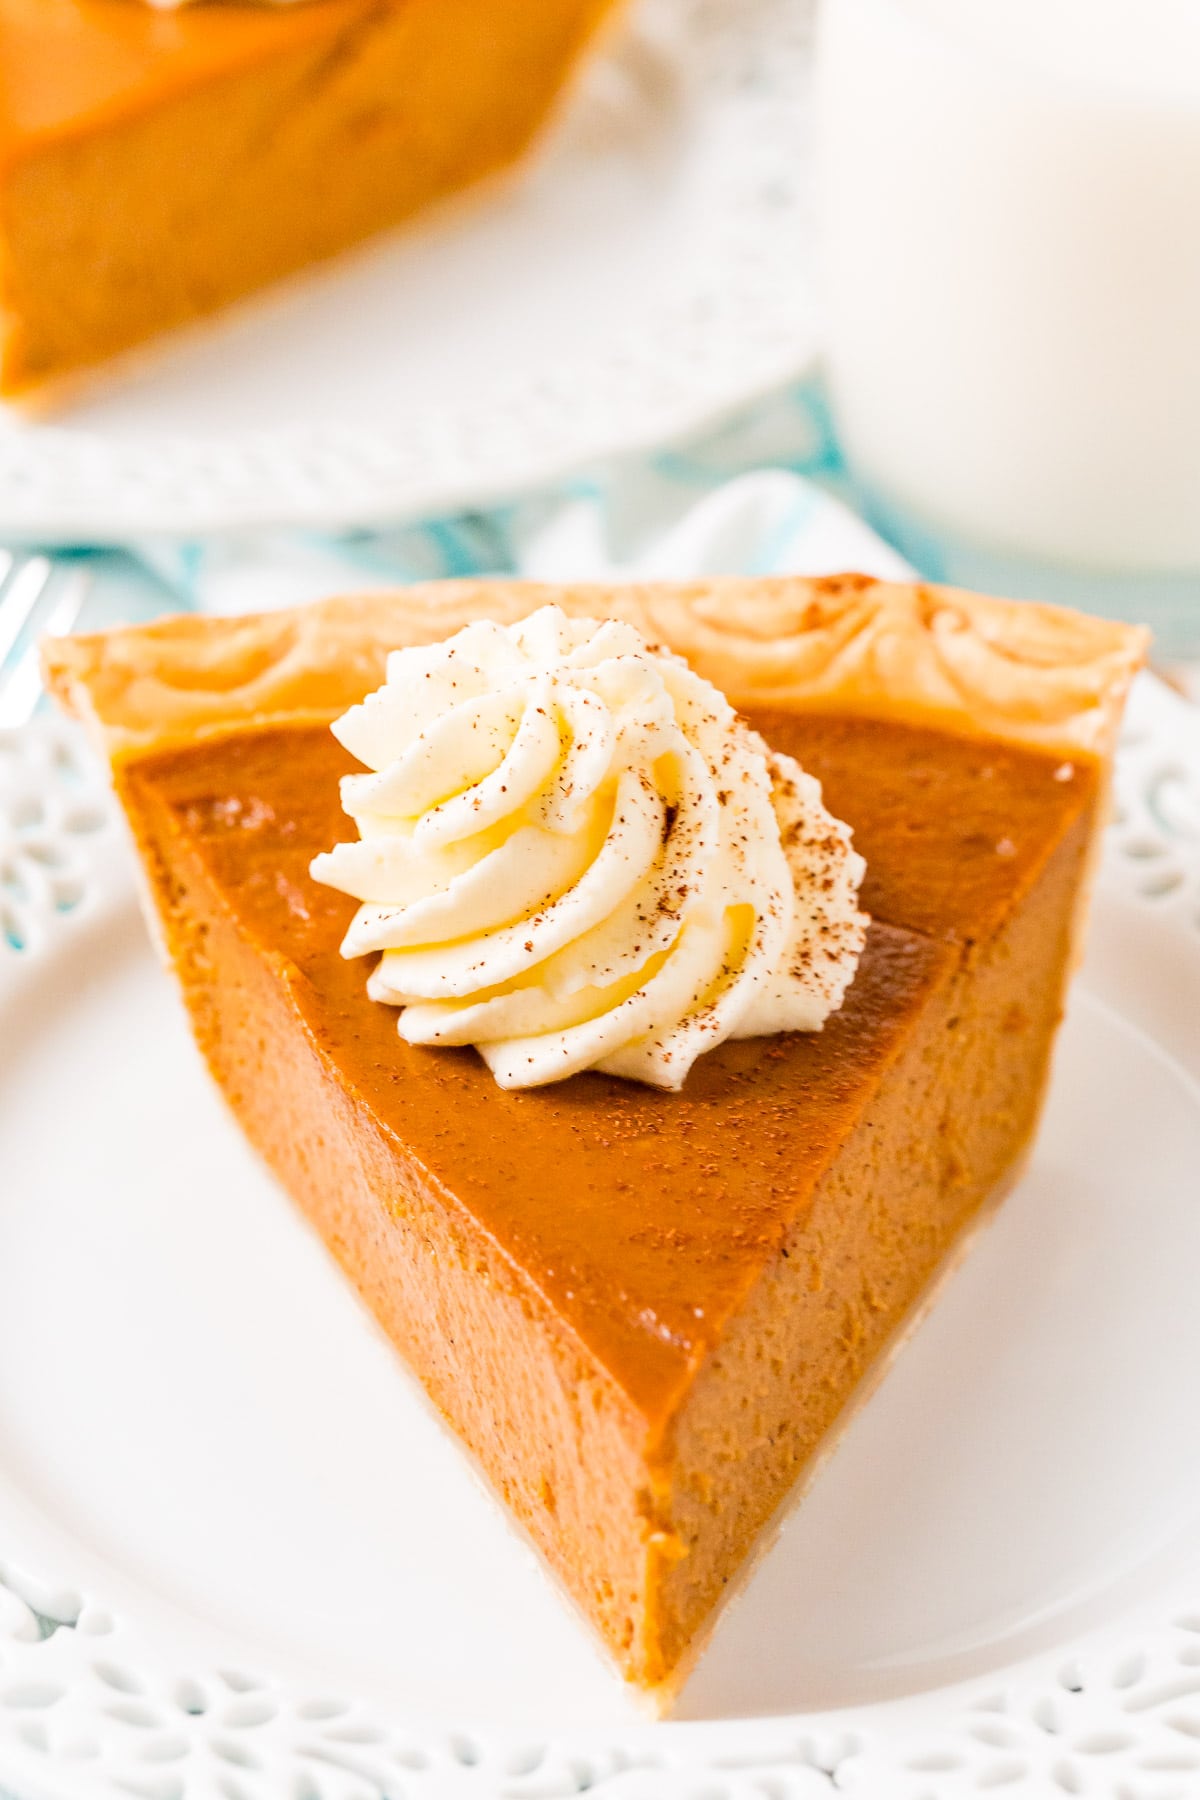
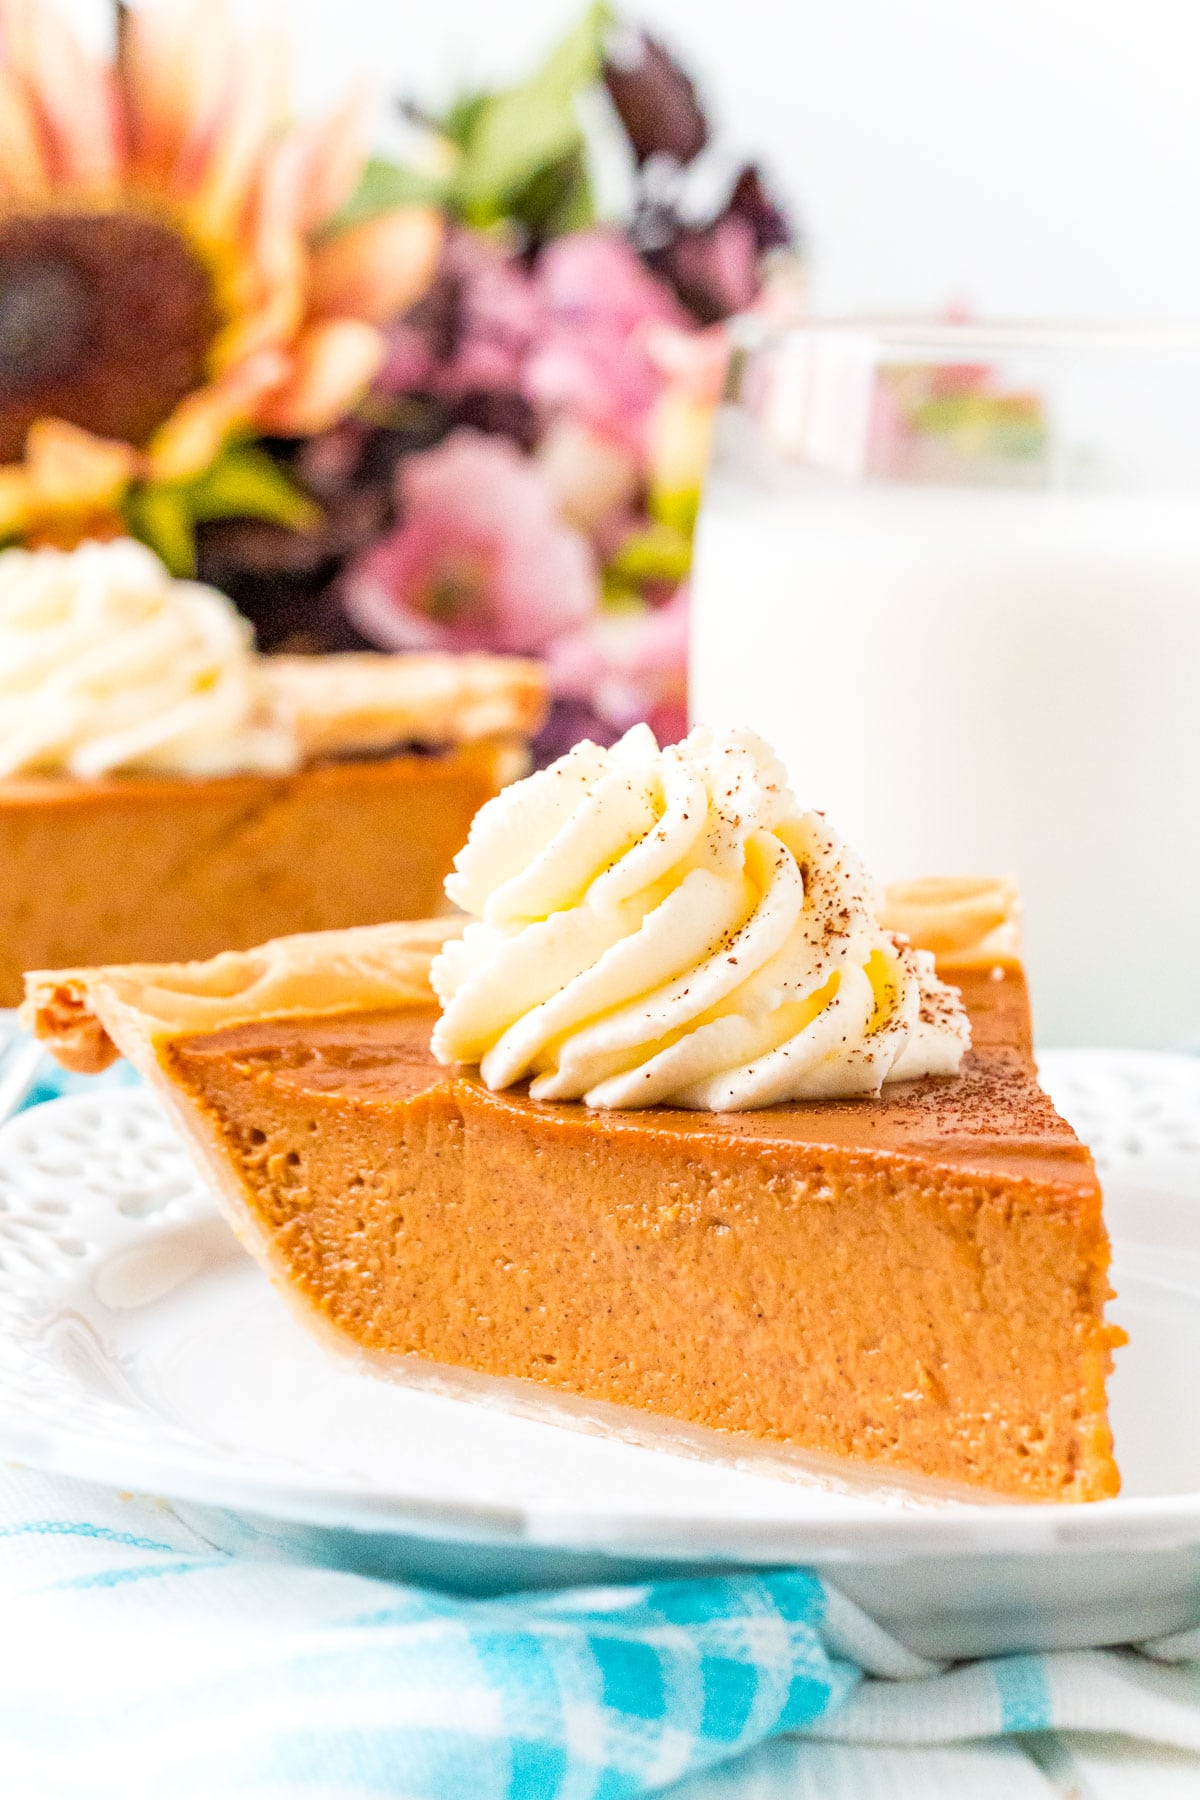
This Pumpkin Pie Recipe is perfect for fall and Thanksgiving! A smooth and creamy spiced pumpkin custard filling baked in a flaky pie crust.
This recipe is made with two secret ingredients and I’ll also share a ton of baking tips to help you make the Perfect Pumpkin Pie!
We’ve all had pumpkin pie, but have you ever made it yourself? While there are a few different steps to this recipe, it’s really super simple, anyone can make it and you’ll look like a baking pro!
Just follow the recipe EXACTLY and read through my helpful Homemade Pumpkin Pie Baking Tips!
Pumpkin Pie Secret Ingredients
I like to think that this recipe is still very traditional, but it does have two uncommon ingredients in it that make it extra smooth and creamy as well as take the flavor to the next level!
- Sour Cream: I’ve reduced the amount of evaporated milk and used a bit of sour cream to create a super silky pumpkin pie filling!
- Black Pepper: Weird or genius? Let’s go with the latter! You will love the heightened spicy flavor this adds to the filling.
This pie filling is simply the best! I love that dash of pepper along with using evaporated milk instead of condensed. This is my go to recipe!!
How To Make Pumpkin Pie
This recipe assumes that you are working with a ready-to-bake pie crust. So prepare your homemade pie crust recipe of choice ahead of time or use store-bought dough.
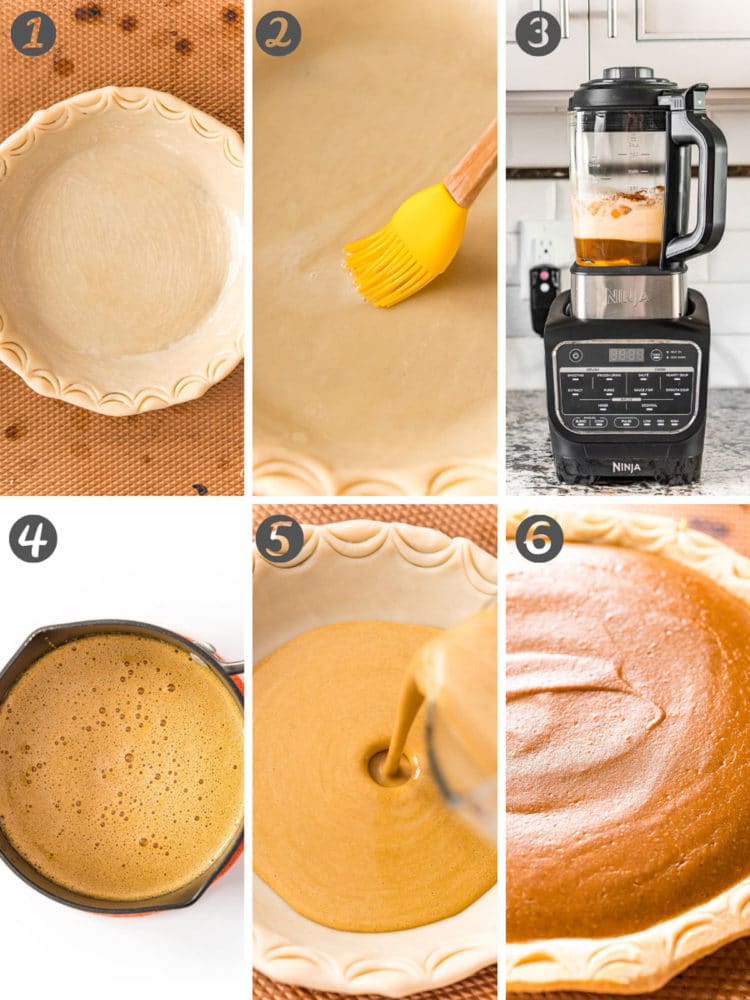
- Add the prepared pie dough to a 9-inch pie dish. Trim and shape the edges of the pie crust as desired making sure to seal tightly along the edge.
- In a small bowl, beat together the egg and milk and use a pastry brush to coat the pie crust with the egg wash. Discard excess egg wash. Set pie crust aside.
- Add the pumpkin puree, flour, evaporated milk, eggs, sour cream, brown sugar, vanilla, pumpkin pie spice, cinnamon, nutmeg, black pepper, and salt to a blender and pulse for 60 seconds until smooth.
- Pour the blended filling into a medium saucepan and cook over medium-low heat for about 5 minutes, stirring frequently.
- Remove the baking sheet from the oven and place the pie pan on the baking sheet. Then pour the filling into the pie crust. Use a pie crust shield around the edge of your crust to prevent it from burning.
- Bake the pie for 15 minutes and then REDUCE HEAT to 350°F and bake for an additional 20 to 25 minutes. Gently, remove the pie crust shield after the first 15 minutes. Remove from oven and allow to cool completely at room temperature for about 3 to 4 hours before slicing and serving with whipped cream and cinnamon.
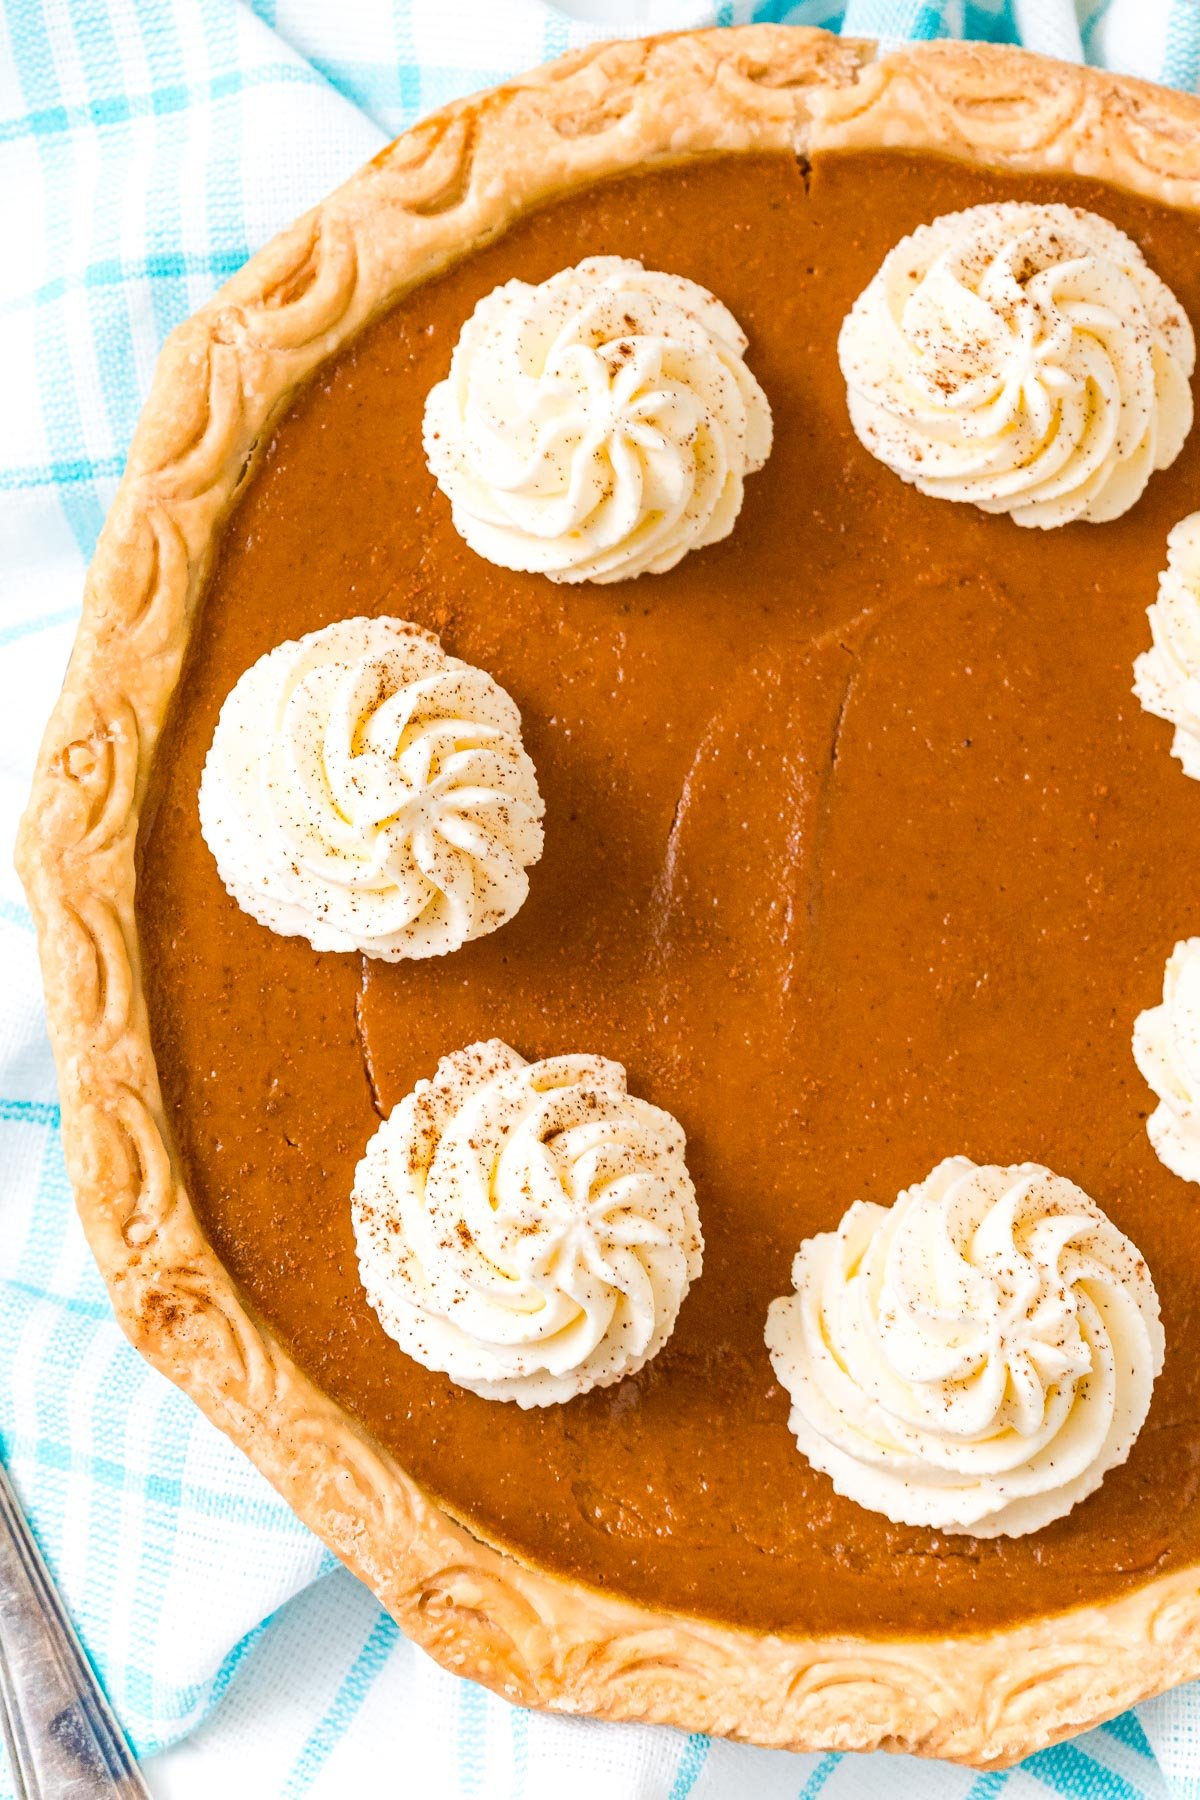
How Do You Know When Pumpkin Pie Is Ready?
If you want to be precise or you’re a beginner baker, you can use a Kitchen Thermometer to test for doneness. When the pie is done, the thermometer will read 160 degrees F when inserted into the center of the pie.
If you don’t want to poke a hole in your pie, the next best way is to eyeball it.
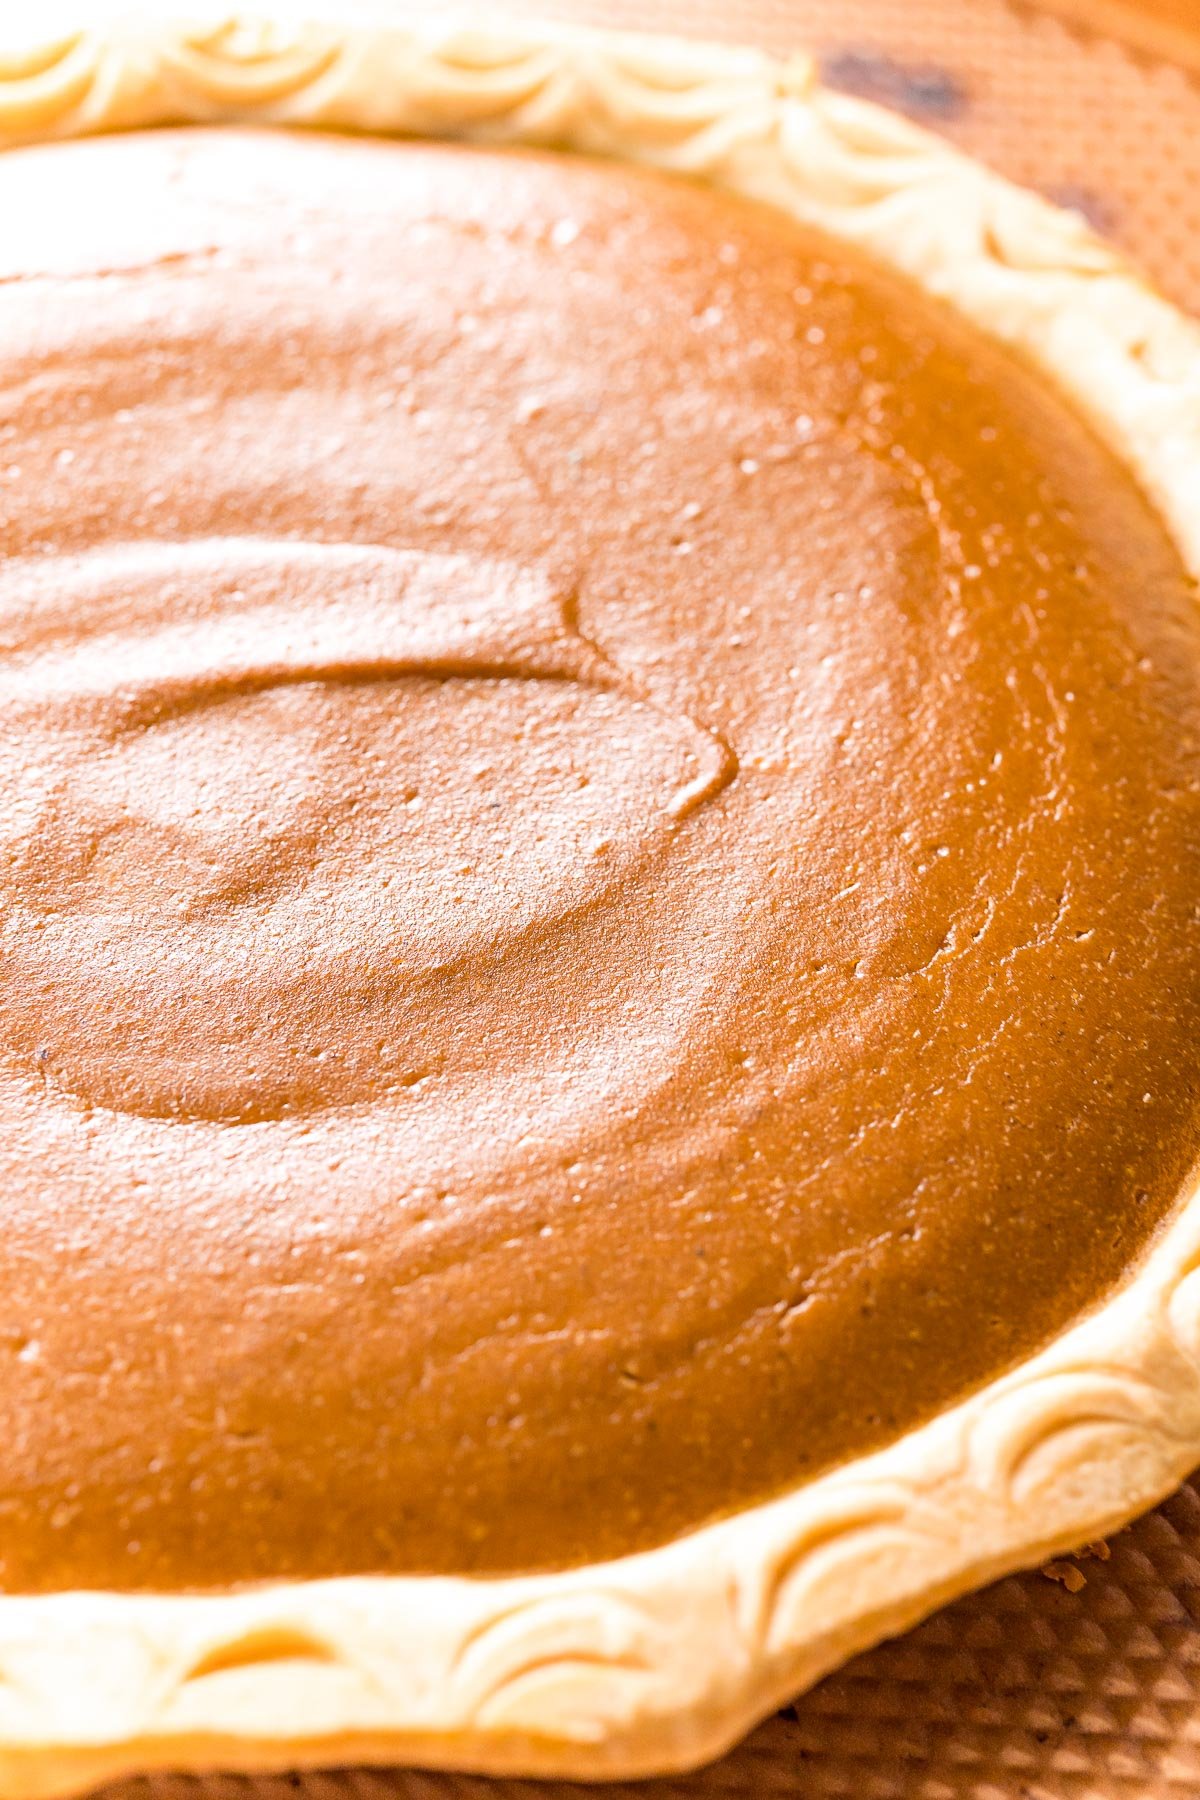
The edges of the pie will rise and dome slightly while the center remains low and jiggly. If the edges of the pie filling are beginning to crack, remove immediately.
When a pumpkin pie starts to crack, the eggs have started to overcook. No worries though, as long as you let it sit for the appropriate amount of time, you’ll hardly notice any cracks and it will still taste delicious!
See the photo below for reference on what the pie should look like once it’s done baking.
This is the best pie recipe my husband and I have had. We have made it twice in a week we can’t get enough of it. Thanks for sharing your recipe. Karrie and Ben
Pumpkin Pie Baking Tips
- What Size Pie Pan? This recipe will fill a deep-dish 9-inch pie dish or if you are using a standard pie tin like the one I baked the pie in, you will have some excess filling – just discard.
- How Do You Thicken Pumpkin Pie Filling? This recipe uses 2 tablespoons of all-purpose flour to help thicken the filling. Other recipes might use cornstarch or tapioca, but I find that both of those can lead to a rubbery texture.
- Why Bake At Two Different Temperatures? The initial high heat is to help ensure a flaky crust. The fat in the dough will begin to melt and produce steam which results in a beautifully flaky crust. You’ll want to reduce the temperature after about 15 minutes so that the pie doesn’t burn.
- Use A Crust Shield: This will help prevent the edges of your pie crust from burning while baking. You can buy a Silicone Crust Shield that is reusable like the one seen in photos or you can make your own with aluminum foil. But trust me, the small investment is worth saving your sanity over trying to get the aluminum foil just right 😉
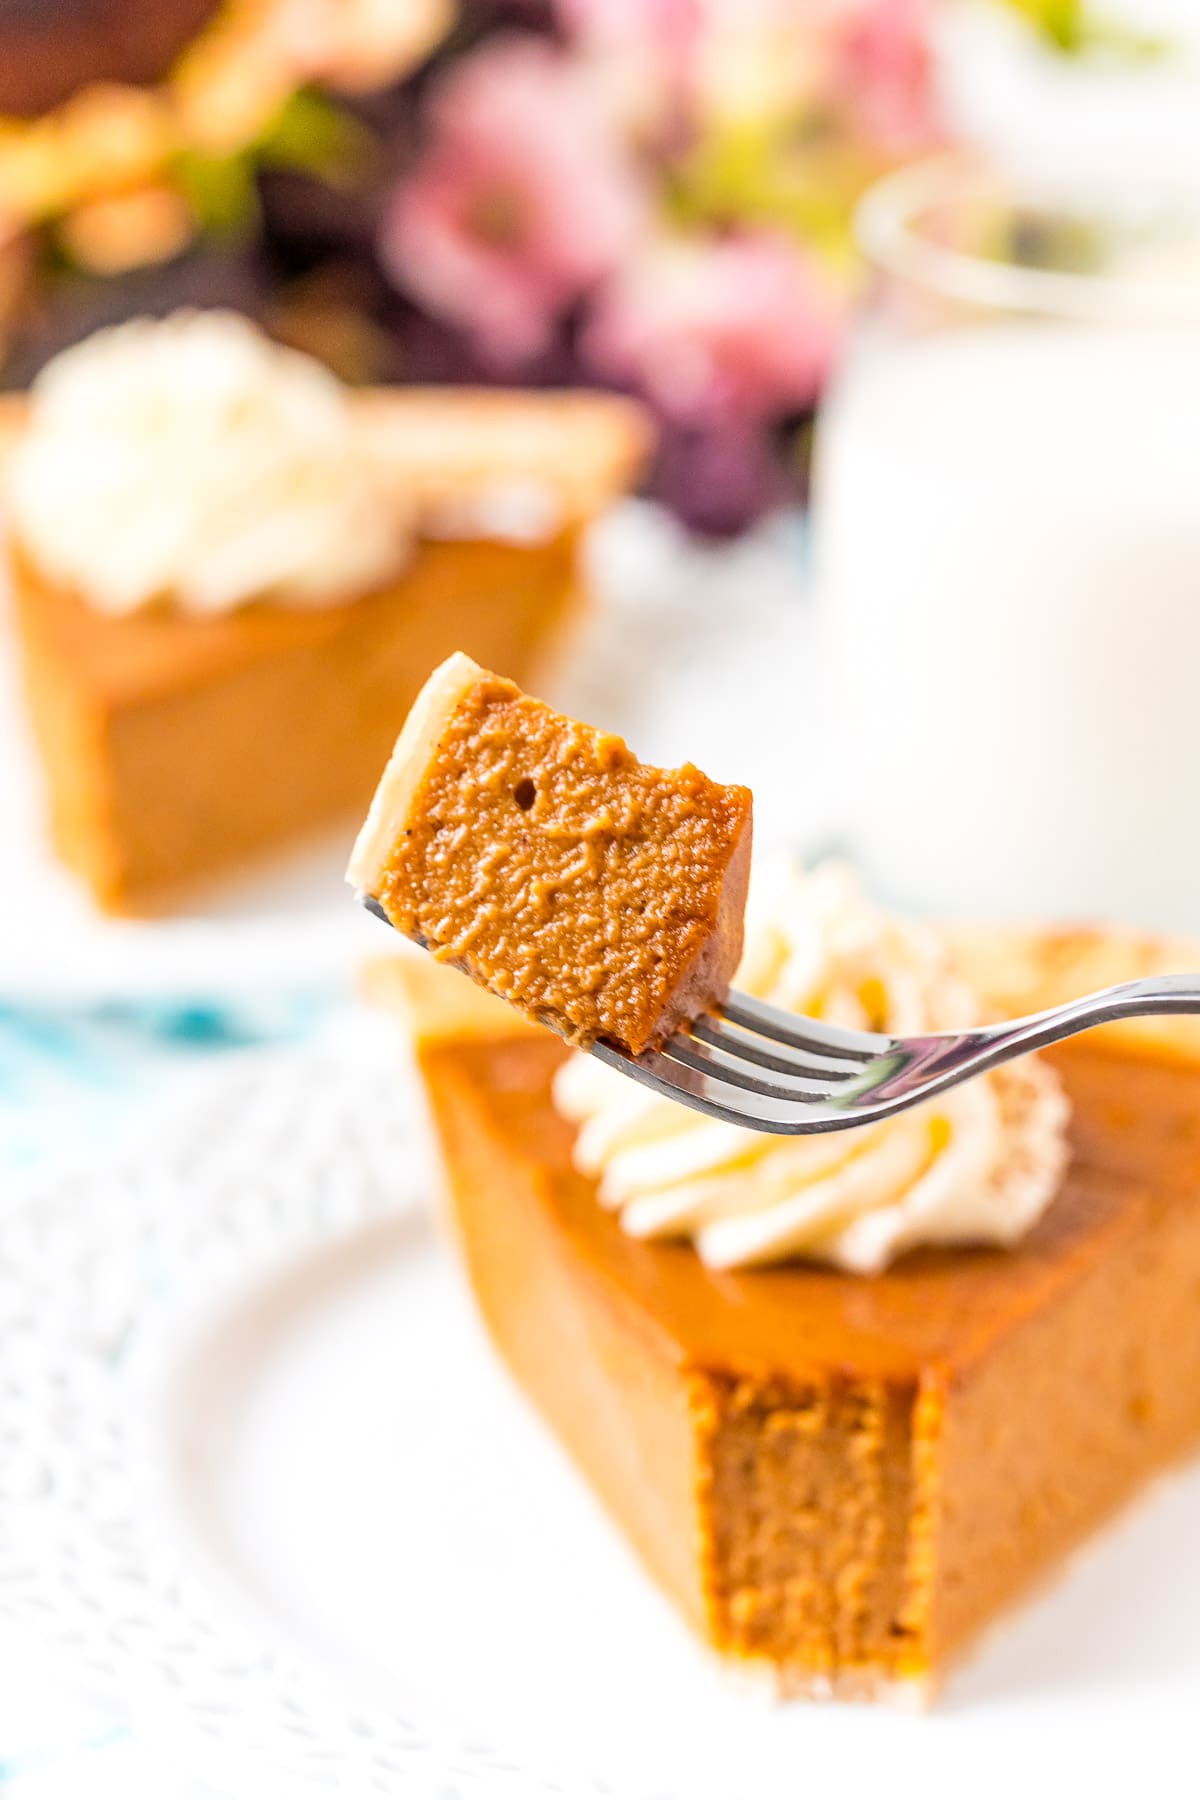
- Let The Pie Cool! It is super important that you let the pie cool for at least 3 to 4 hours before cutting to allow the filling to fully set and make it sliceable.

Why You Should Blend The Pie Filling:
There are three main reasons to blend your filling for the perfect pie.
The first is that blending doesn’t aerate the mixture as much as a whisk, hand mixer, or stand mixer.
The second is that the filling is ultra-smooth.
The third is that the spices are fully incorporated into the mixture rather than rising to the top of the pie filling.
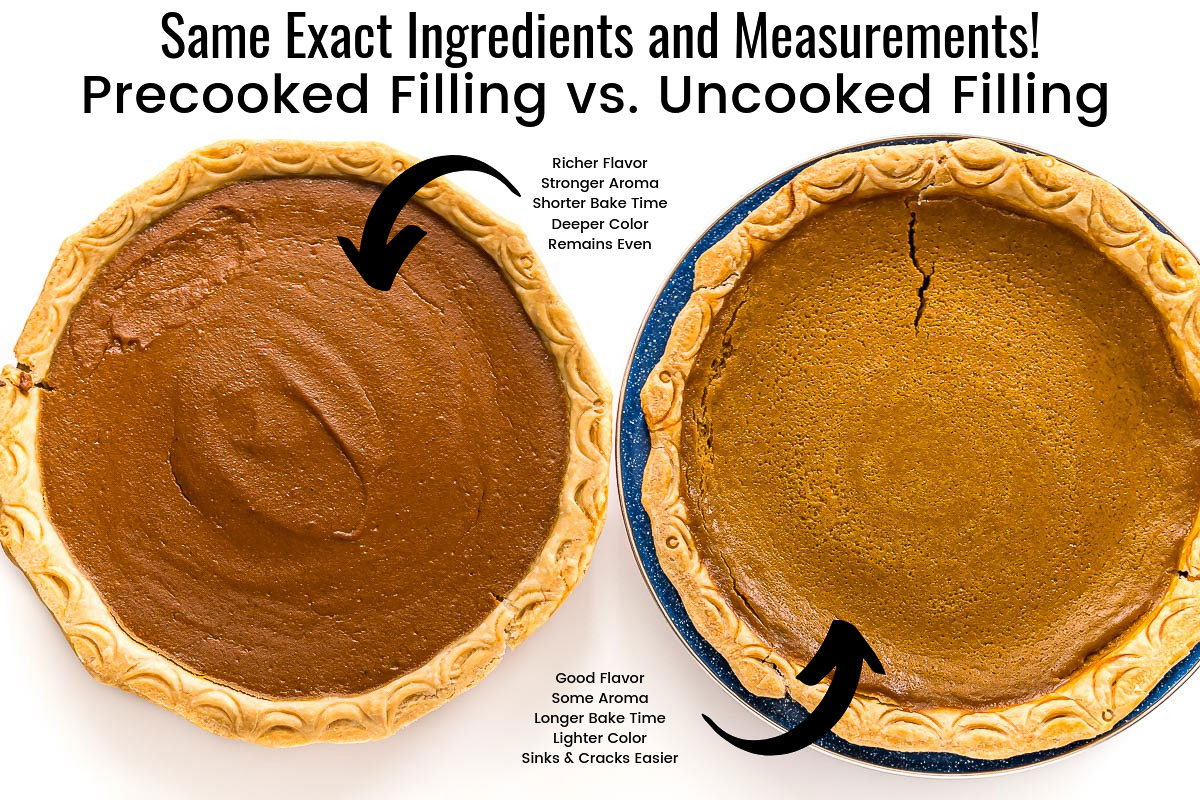
Why You Should Cook Pumpkin Pie Filling Before Baking:
Look at the picture below, which pie would you rather eat? I’m assuming (and hoping) you said the one that’s richer in color!
These pies use the exact same recipe, the only difference is that the filling of one was cooked on the stovetop for several minutes before being added to the pie shell.
This step might mean an extra dirty dish, but it makes all the difference! This step will begin melting the dark brown sugar and infusing the spices into the filling creating a more flavorful pie.
Why Did My Pie Puff Up?
There are a few reasons this could happen, the first is that you overbaked the pie. The pie is done when the sides begin to puff but the center is still low and soft.
The second is that you forgot to adjust the temperature at the 15-minute mark and you baked it at too high of a temperature for too long.
Lastly, you used a hand mixer or a whisk to prepare your filling instead of using a blender which aerated the eggs and caused them to souffle.
How Do You Keep The Pie Crust From Getting Soggy?
Unlike a lot of pumpkin pie recipes, this recipe doesn’t require you to blind bake your crust. I feel that blind baking your pumpkin pie crust causes it to become too brown by the time your filling is ready.
So how do I keep it from becoming soggy?
Two things! First, brush the prepared crust with an egg wash before adding the filling, this will help seal the crust.
Second, preheat the baking sheet you plan to bake your pie on. The initial heat from the pan will help crisp up the bottom of the crust without overcooking your edges.
I’m a firm believer that it isn’t fall until you’ve had that first slice of luscious pumpkin pie, who’s with me? This spiced custard pie is as pure and simple as it gets when it comes to fall desserts!
More Delicious Pie Recipes
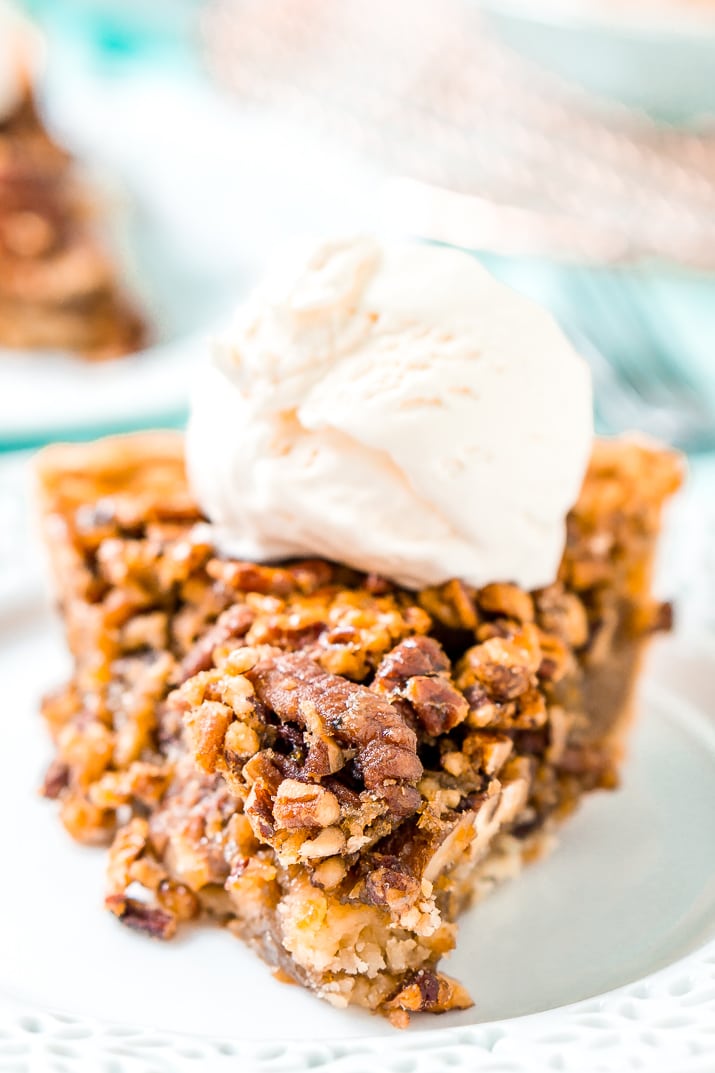
- Pecan Pie – Another classic recipe!
- Dutch Apple Pie – My favorite kind of apple pie!
- French Silk Pie – This pie is so silky and delicious!
- Berry Pie – You’ll love the mix of four different berries!
- Air Fryer Pumpkin Pie – Perfect for small gatherings!
Let’s Connect!
If you’ve tried this recipe, please let me know how you liked it in the comments below and leave a review. I love hearing from you!
Don’t forget to tag me – @sugarandsoulco – on Instagram and Pinterest with your photos or join our Sugar & Soul Show-offs Community and share them there, where you can join our recipe challenges!
Pumpkin Pie
Equipment
- Blender
Ingredients
Crust
- 1 Single Layer Pie Crust1
- 1 large egg
- 1 teaspoon milk
Filling
- 15 ounces canned pumpkin puree2
- ½ cup sour cream
- 8 ounces evaporated milk
- 1 cup dark brown sugar3
- 2 tablespoons all-purpose flour
- 1 teaspoon vanilla extract
- 3 large eggs
- 1 teaspoon ground cinnamon
- 1 teaspoon pumpkin pie spice
- ¼ teaspoon ground nutmeg
- ⅛ teaspoon ground black pepper
- ½ teaspoon kosher salt
Instructions
Crust
- Preheat oven to 425°F and place a large baking sheet in the oven while it's preheating.4
- Add the prepared pie crust dough to a 9-inch pie dish.5
- Trim and shape the edges of the pie crust as desired making sure to seal tightly along the edge.
- In a small bowl, beat together the egg and milk and use a pastry brush to coat the pie crust with the egg wash. Disgard excess egg wash. Set pie crust aside.
Filling
- Add all of the filling ingredients to a blender and pulse for 60 seconds until smooth.6
- Pour the blended filling into a medium saucepan and cook over medium-low heat for about 5 minutes, stirring frequently.7
- Remove the baking sheet from the oven and place the pie pan on the baking sheet. Then pour the filling into the pie crust. Use a pie crust shield around the edge of your crust to prevent it from burning.
- Bake the pie for 15 minutes and then REDUCE HEAT to 350°F and bake for an additional 20 to 25 minutes. Gently, remove the pie crust shield after the first 15 minutes.8
- Once cooked, remove from oven and allow to cool completely for about 3 to 4 hours before slicing.9
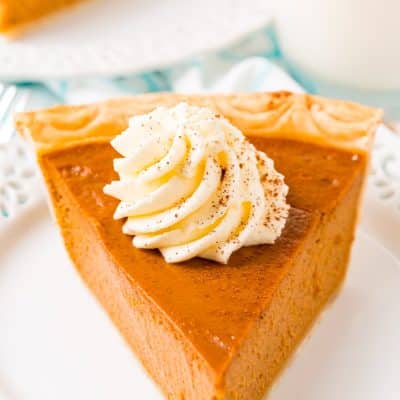
- Once cooled serve with whipped cream. Pumpkin pie should be consumed at room temperature the day it is made or stored covered in the refrigerator for up to 4 days.
Video
Notes
- Use your favorite traditional pie crust recipe or you can use a premade storebought dough.
- Make sure you use 100% pumpkin puree and NOT pumpkin filling. Also, canned will result in a much better pie than trying to use homemade pumpkin puree. Libby’s and Farmer’s Market Organic are the two best brands to use, the store brands that I tried just weren’t as good.
- Light brown sugar will also work if you don’t have dark on hand.
- We preheat the pan so that it helps cook the bottom of the pie crust and prevent sogginess.
- This recipe will fill a deep-dish 9-inch pie dish or if you are using a standard pie tin like the one I baked the pie in, you will have some excess filling – just discard.
- Blending the filling doesn’t aerate the mixture as much as a whisk, hand mixer, or stand mixer, therefore, reducing the risk of rising and cracking. It also makes the filling ultra-smooth and fully incorporates the spices into the mixture so they don’t settle on the top of the pie while baking.
- Cooking the filling for a few minutes on the stovetop might seem like just an extra dirty dish, but it makes all the difference! This step will begin melting the dark brown sugar and infusing the spices into the filling creating a more flavorful and aromatic pie. It also helps reduce any chances of that raw pumpkin flavor.
- The initial high heat is to help ensure a great crust. The fat in the dough will begin to melt and produce steam which results in a beautifully flaky crust. You’ll want to reduce the temperature after about 15 minutes so that the pie doesn’t burn.
- If you want to be precise you can use a Kitchen Thermometer to test for doneness. When the pie is done, the thermometer will read 160 degrees F when inserted into the center of the pie. The next best way is to eyeball it. The edges of the pie will rise and dome slightly while the center remains low and jiggly. If the edges of the pie filling are beginning to crack, remove immediately. When a pumpkin pie starts to crack, the eggs have started to overcook. No worries though, as long as you let it sit for the appropriate amount of time, you’ll hardly notice any cracks and it will still taste delicious!
- Nutritional information is an estimate and does not include the pie crust or whipped cream as these will vary depending on what you use.
Nutrition
Did You Make This Recipe?
Don’t forget to share it with me on Instagram @sugarandsoulco and follow on Tiktok @sugarandsoulco and Pinterest @sugarandsoulco for more!
Share your thoughts!
Love this recipe? Share your thoughts with me and leave a review! And don’t forget to connect on your favorite social platform below!


Not the traditional recipe I’ve been looking for. And I’m skeptical about my family enjoying black pepper, in their creamy, custardy pie. Baking now. Praying for a delicious miracle.
I hope you all enjoyed it.
I made this yesterday and the texture of the filling is perfect, but I feel it failed in taste. Maybe it was my pumpkin pie spice mix and if I make this again, I will double the spice? But all in all, it’s a good recipe.
Did you make sure to add the spices while the filling was cooking on the stovetop? This helps to activate their flavor. It’s also possible that if your spices were old, they weren’t as strong. You can also adjust the spices to your liking in the future.
Very good recipe!
Exactly right on old or cheap spices.
I used to burn part of the crust and got tired of it.
So now I still lightly brown the crust. Then I preheat and butter up a glass casserole dish pour the entire pie mix in and put it in an oven at 450 17 Minutes or so then pour it in the shells and in 15 minutes or less fork it and it’s ready and perfect colored pie crust!
One tip is the casserole dish is very heavy so you might try something more suitable.
Will pie crust stay flaky without blind baking & will sides of it shrink?
I think this really comes down to preference. I don’t like to blind bake my crusts for pumpkin pie because the edges are always too brown for my liking. Also, as you noted, the crust can shrink. I use the eggwash method to prevent the filling from making the crust too soggy and placing the pie on a preheated pan will help cook the bottom of the crust without overcooking the edges. However, if you prefer a crunchier crust and want to blind bake yours, you can. You can probably reduce the overall baking time of the filled pie by about 10 minutes if you do this.
Why is cinnamon & nutmeg added – doesn’t pumpkin pie spice have it already in it? Also, does sour cream change the
taste & what does it do?
Hi Patty, I’ve reduced the amount of evaporated milk nirmally used in pumpkin pies and used a bit of sour cream to create a super silky pumpkin pie filling!
Pumpkin pie spice does have Cinnamon and nutmeg in it, among other spices but we felt that this recipe required of these spices more than what the pumpkin spice offered and we didn’t want to increase some of the more powerful spices like clove and ginger which are also in pumpkin spice.
This pie filling is simply the best! I love that dash of pepper along with using evaporated milk instead of condensed. This is my go to recipe!!
I’m so glad you enjoyed it!
Could this be any more luscious?! Bookmarking for Thanksgiving!
This is everything I want in a pumpkin pie! Classic, rich flavor, easy to make, delicious! The perfect Fall dessert and a must for Thanksgiving!
This filling is perfect!!! I love the flavor so much.This is my go to recipe 100%!!
I’m so glad you hear you loved it!
Instead of cooking the filling we baked it 35-38 minutes. Come out perfect!
Amazing flavor, great flaky crust and it’s gluten free crust! Awesome! The leftover pumpkin I put in muffin tins with a little oatmeal n cinnamon on the bottom. Turned out gluts as good. Thanks for all your tips.
I’m so glad you enjoyed it, Melodie!
I am diabetic, could I tweek the receipe like Splenda,Splenda brown sugar and since I don’t like sour cream could I omit that? Thank you pauline
I made this today with my homemade filling which is a combination of sweet potatoes, squash and pumpkin. It set beautifully and is delicious. A bit extra work but I needed to use up my leftover.
Glad the recipe worked with your homemade filling!
Recipe looks great! Nice tips on how to avoid the cracking.
I’m planning to use a ready-made walnut or pecan pie shell just to be different. I don’t know how it will turn out so I’ll see,
The notes indicated by the superscript 1 .. 10 don’t appear in the notes section with my Chrome Browser (Version 78.0.3904.108). They do appear correctly using FireFox. FYI.
Thanks,
Chris
Hi Chris, I’m not sure why the notes aren’t appearing for you but I’m glad you were able to see them in a different browser. I hope the nut shell works for you, they seem o be quite popular lately!
Thank You! I was told this was the best Pumpkin Pie my guest have had in a ever or in a long time. I shared the recipe.
I was short on time. I didn’t use my blender, but threw everything in the sauce pan and blended right there with my hand mixer.
Thank You! I will use this recipe for ever!
I am so glad everyone enjoyed it! It is SO good!
I forgot to cook the pumpkin on the stove before I poured it in the crust. Will thi smake a big difference?
Hi Shirley, It does make a big difference, but the pie will still be fine. You’ll likely need to bake your pie longer (10 to 15 minutes) for the filling to set.
This is the best pie recipe my husband and I have had. We have made it twice in a week we can’t get enough of it. Thanks for sharing your recipe. Karrie and Ben
I’m so glad you guys loved it and thank you so much for coming back to leave such a sweet comment!
Can this pie filling recipe be used for a crustless pumpkin pie?
Hi Lynn, I have never made it “crustless” – but I would recommend trying my Impossible Pumpkin Pie if you want a crustless recipe.
What did you use as the trim on your pie crust? It looks lovely!
Thank you, Barb! I just used a regular spoon flipped upsidedown with the end pressed into the edge twice to create a scalloped pattern. Very easy!
We made this the other day and everyone loved it. Going to make it again for a family gathering this weekend!
So glad you enjoyed it!
wow this sounds wonderful we are big pumpkin fans would love this thank you!
your picture shows your bottom crust is still not cooked.. My Auntie Katie was a wonderful cook she said you have to blind the crust afterward pour in the mix. it has always worked for me. my bottom crust is flaky .