
Apple Hand Pies


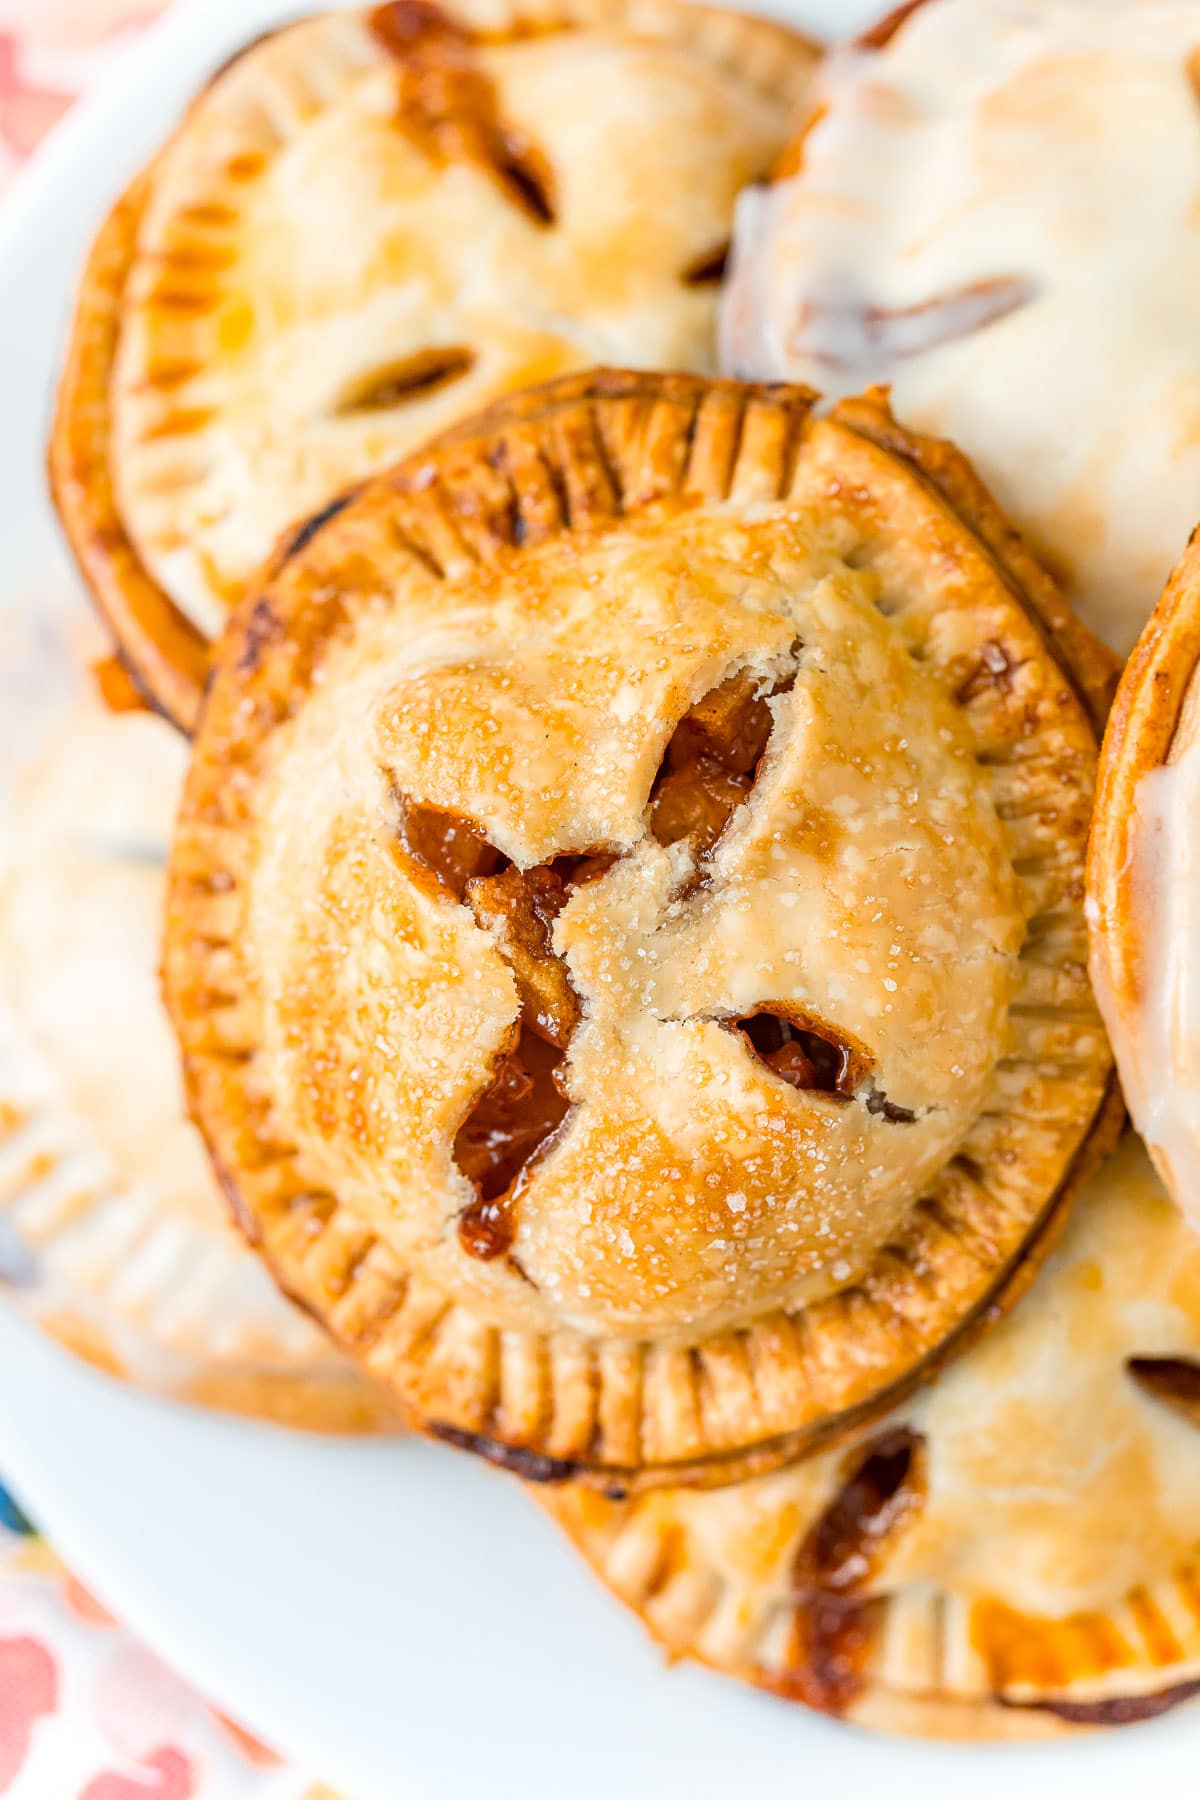
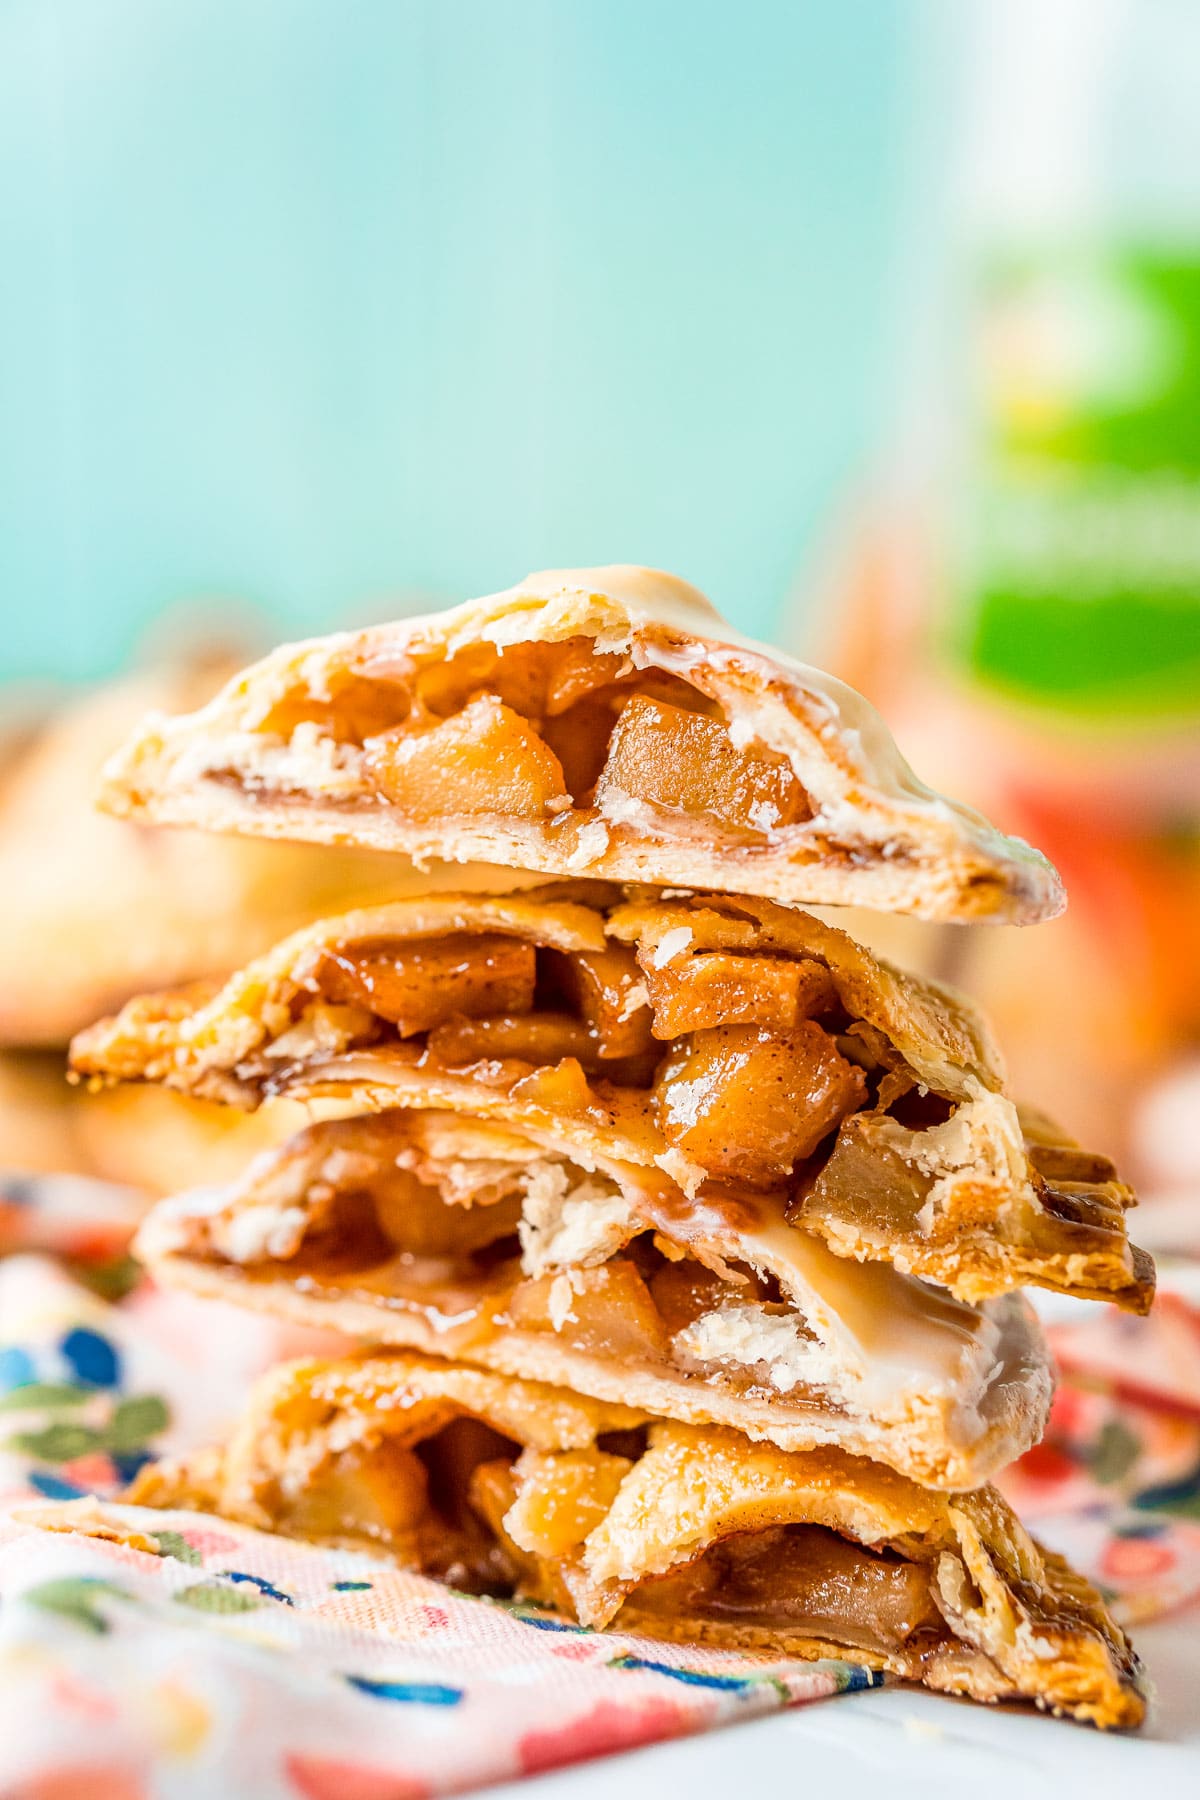
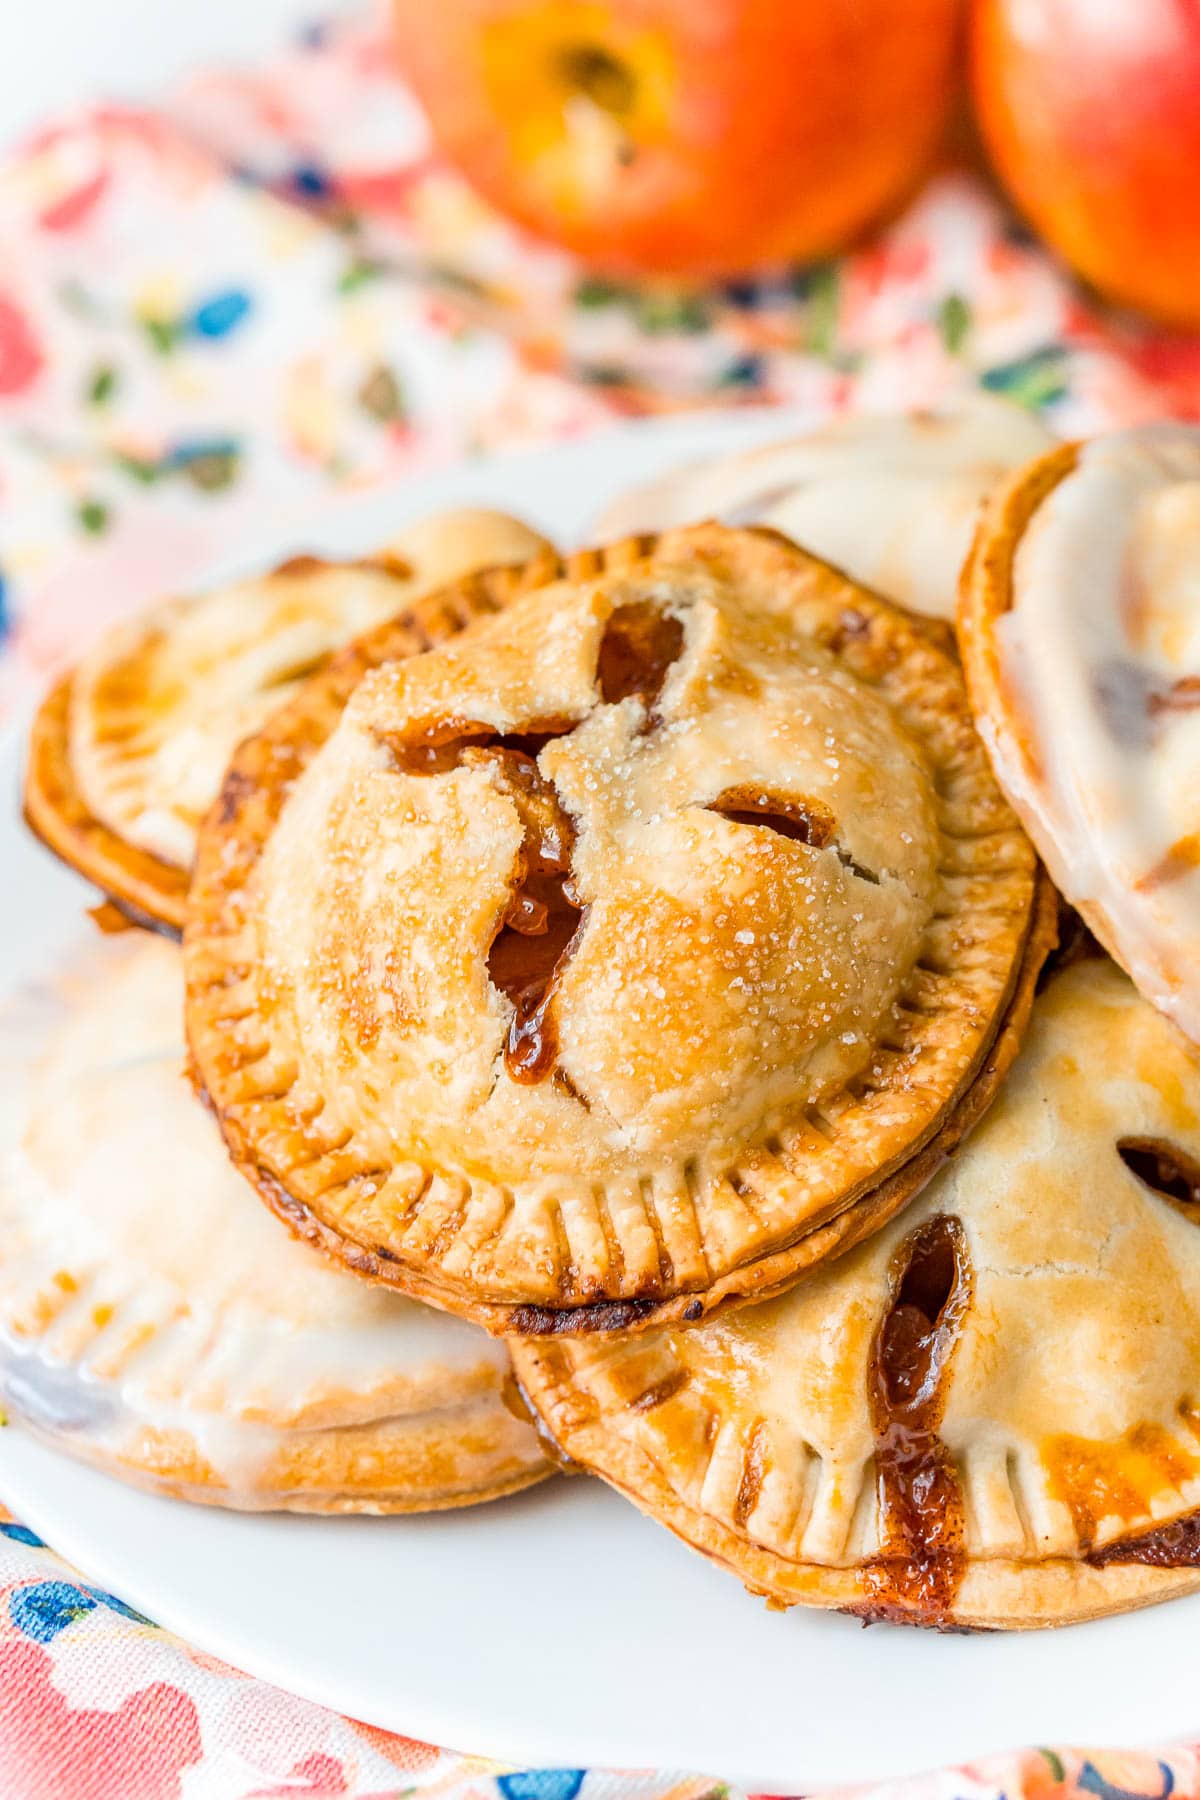
Apple Hand Pies are an easy and fun fall dessert recipe that’s loaded with a thick spiced apple filling and can be topped with sugar or a glaze for a delicious finish!
This post was created in partnership with Stop & Shop, all opinions and experiences are 100% my own.
Easy Apple Hand Pies
True to its name, a hand pie can fit in your hand! Instead of a top and bottom crust that’s baked in a pan, these goodies are made with two circular pieces of dough that are crimped closed to hold the filling.
I love early fall, it’s my favorite time of year. The nights are chilly and the days are warm. But best of all, the leaves are just beginning to burst with robust shades of red and orange.
This filling is adapted from my Caramel Apple Pie Dip and like my Mini Apple Pies, these are perfect for sharing to taking on the go! Plus, they only take about 30 minutes to prepare!
There’s nothing like the tart-sweet taste of crisp, fresh apples — I always insist on picking more than we can eat. So, what do we do with all that extra fruit? We use it in recipes, of course!
Rebecca’s Recipe Review
Taste: Sweetly spiced apple pie.
Texture: Lightly crisp pie crust with tender apple filling.
Ease: 5/10
Pros: This recipe is so easy to make. You can keep it simple by using store-bought crust or make you own from your favorite recipe!
Cons: None.
Would I Make This Again? Yes!
Ingredients For Apple Hand Pies
Pie Crusts
Medium Apples
Light Brown Sugar
Unsalted Butter
Lemon Juice
Ground Cinnamon
Apple Pie Spice
Cornstarch
Water
Large Egg
Whole Milk
Powdered Sugar
How To Make Hand Apple Pies
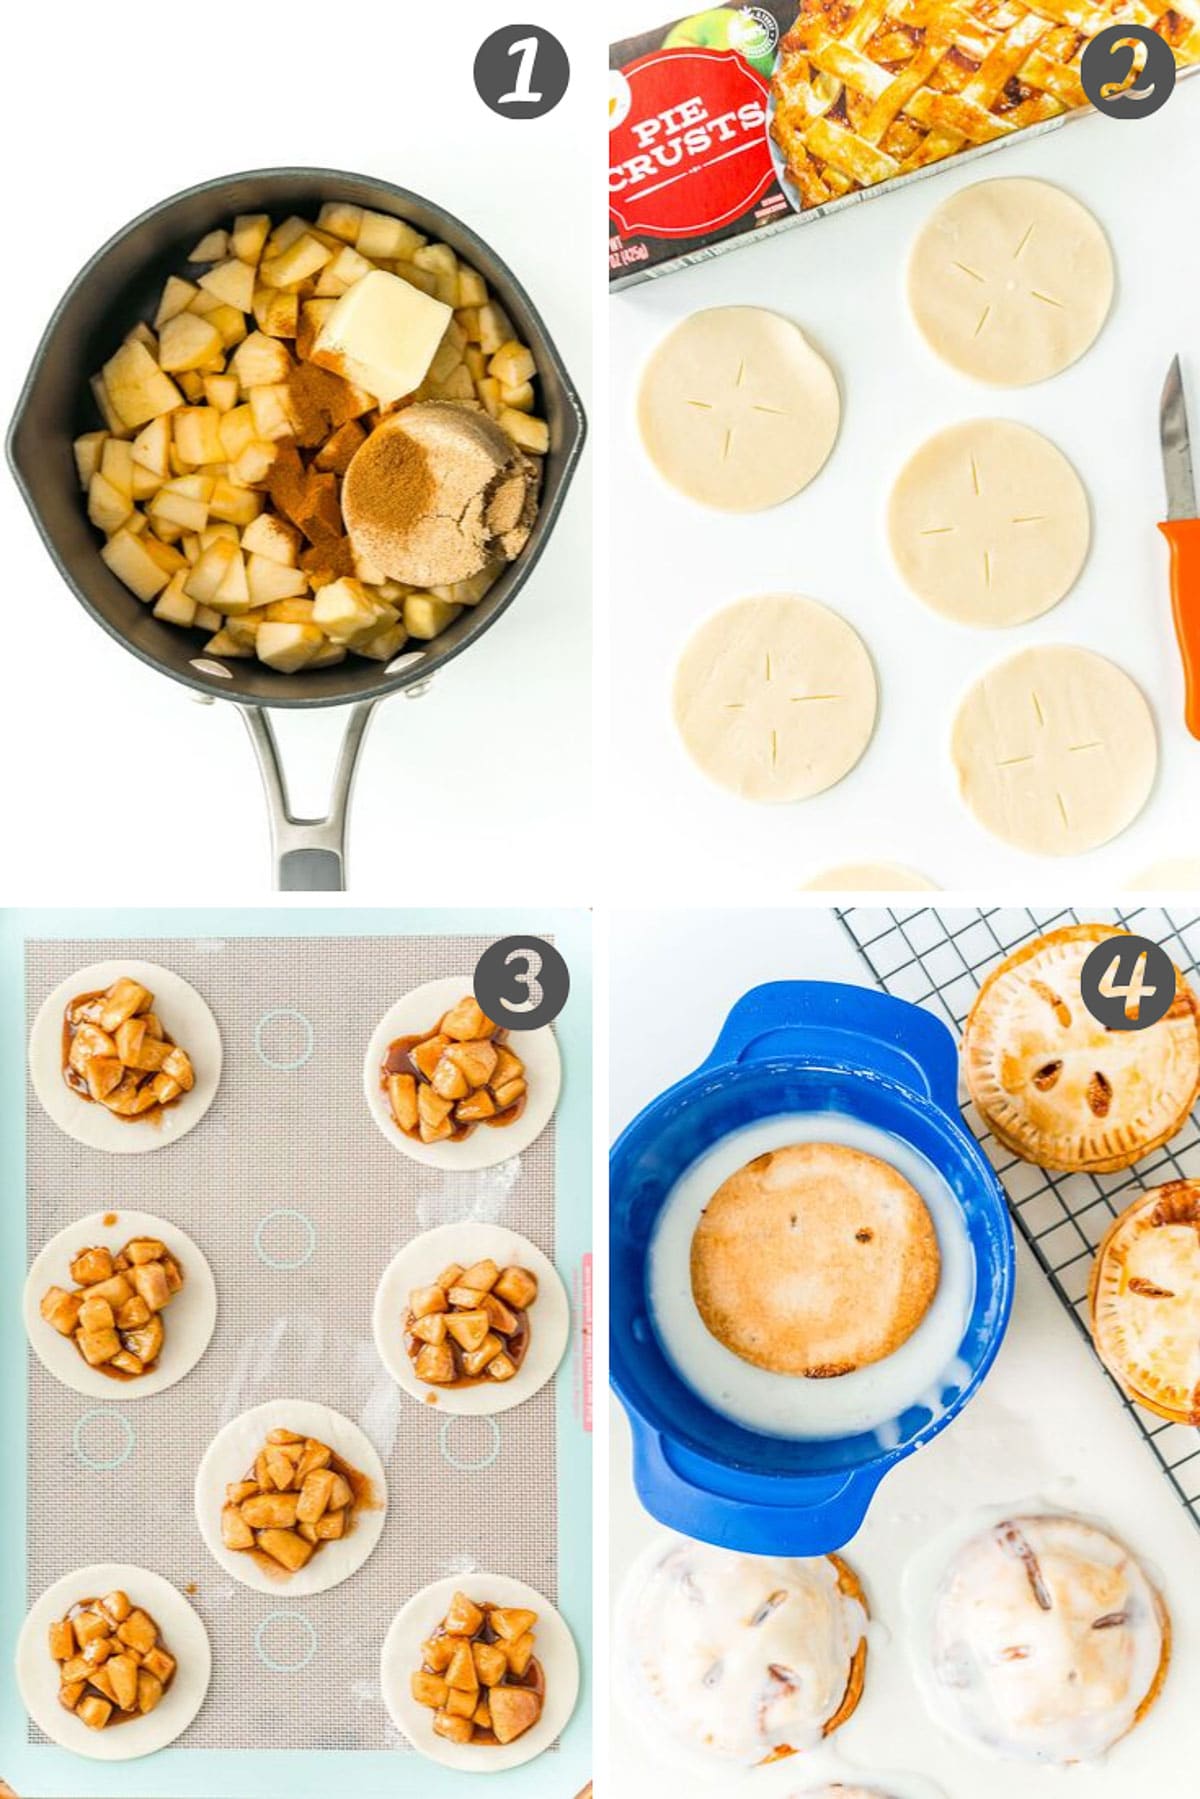
1. You’ll begin by preparing and precooking the apple mixture. You’ll add your diced apple, brown sugar, butter, lemon juice, and spices to a medium saucepan. Cook for a few minutes over medium heat before adding water and cornstarch to thicken the apple pie filling.
2. Next, you’ll need to prepare the pic crust by cutting circles out of the larger crust. Half of your circles will need to have slits cut in them to vent while baking.
3. Then assemble your apple hand pies by arranging your bottom crusts on the baking sheet and adding 2 tablespoons of filling and adding the top crust. Crimp the edge with a fork to secure. Then whisk together the egg and milk and brush the top of each pie with egg wash. Bake until pies are golden brown.
4. This last step is completely optional. But if you want a delicious sugary glaze on the outside of your apples, prepare it and dip the tops in then allow the glaze to harden completely.
Rebecca’s Tips
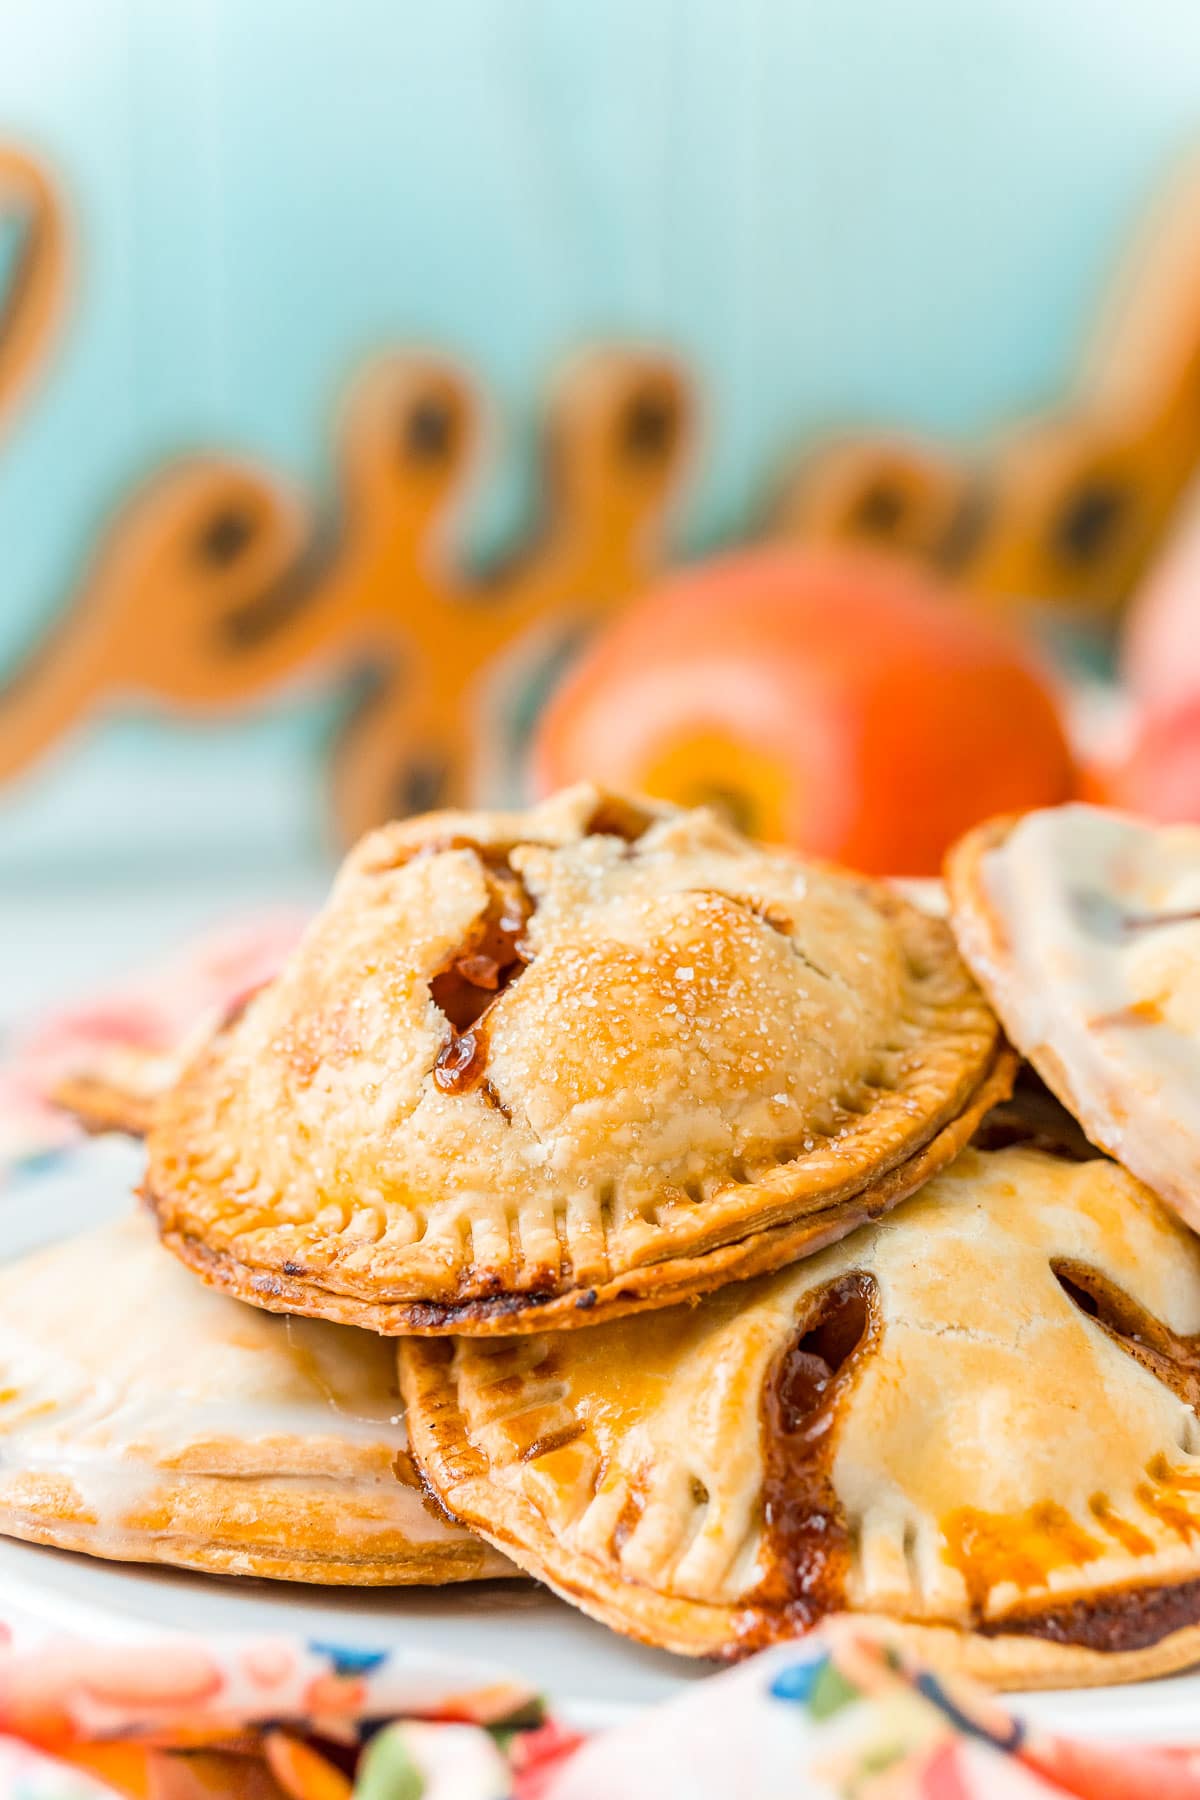
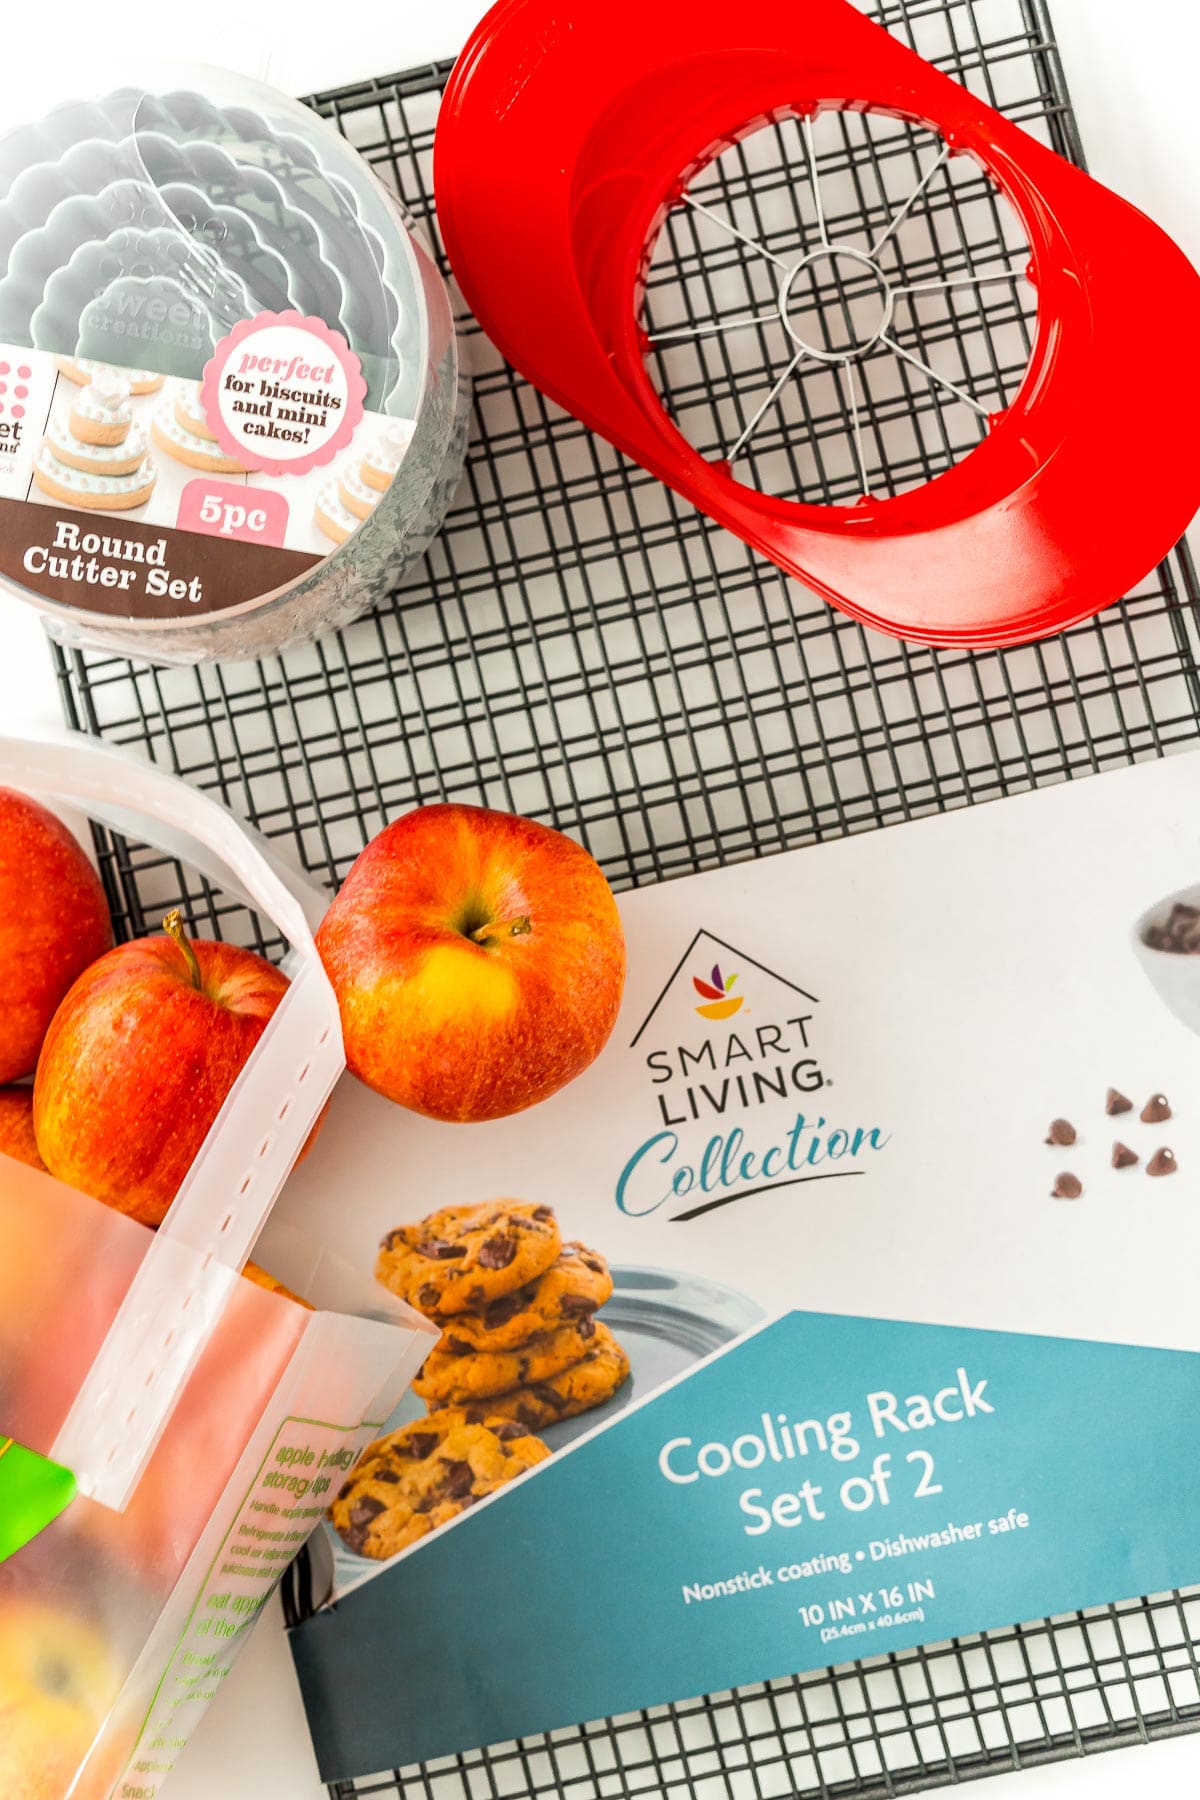
To make this recipe, you’ll need a few tools, like a round cookie or biscuit cutter as well as a rolling pin, paring knife, wire rack, and a silicone mat or parchment paper.
While you could just use uncooked apples, cooking them for a few minutes before baking helps them soften and infuses the spices, plus it helps make the filling a little gooier. YUM!
If using a store-bought crust, let it sit in the package at room temperature for 10 to 15 minutes to make it easy to work with. Lightly flour a clean surface and roll your dough out using a rolling pin and gently working out any cracks in the dough.
If you want the glaze to set faster, you can place the pies in the fridge for 10 to 15 minutes.
What Is The Difference Between A Hand Pie And A Turnover?
Turnovers and hand pies are very similar, but the biggest difference between the two is the crust. Turnovers are often made with puff pastry dough, or sometimes pie crust.
Also, turnovers are made with a folded piece of dough — like a calzone — so it looks like a half-moon shape. Hand pies are usually circular all the way around.
In the name of simplicity, I usually pick up all my kitchen essentials (and more) at the Amesbury, Massachusetts Stop & Shop.
In addition to my Apple Hand Pie ingredients, I snagged a bunch of other things that weren’t my list, too. Like some pumpkins and mums for decorating our patio.
After all, Stop & Shop is my one-stop shop for all my pantry staples and fresh-picked decor. Everything is so easy to find, and even better, they offer great prices.
That means I save time and money with every trip, two things I really need, especially with a toddler on my hands.
In no time, the house will be filled with the aroma of cinnamon and apple spice from this Apple Hand Pie Recipe. Once I have my mums by the door and pumpkins on the steps, we’ll definitely be feeling the fall spirit!
Then, we’ll eat pie and hunker down for the rest of the evening. These are the memories I can’t wait to share with my little girl! She’s already growing so fast. Thanks to Stop & Shop, I know I’ll be spending less time at the store and more time with family doing the things we love!

More Apple Recipes
- Apple Fritters – Ready to enjoy in just 30 minutes!
- Blueberry Apple Crisp – Combines two seasons into one delicious dessert!
- Apple Crisp Refresher – A viral drink recipe that’s sparkling, sweet, AND refreshing!
- Mini Apple Cider Whoopie Pies – Handheld treats that everyone loves!
- Apple Fritter Bread – Enjoy for breakfast or dessert!
Did You Make This Recipe?
If you’ve tried this recipe, please let leave a review in the comments below. I love hearing from you! Don’t forget to tag me – @sugarandsoulco – on Instagram and Pinterest with your photos, or join our Sugar & Soul Show-offs Community and share them there.

Apple Hand Pies
Ingredients
Crust
- 4 pie crusts1
Filling
- 3 medium apples2 peeled, cored, and diced
- ⅓ cup light brown sugar
- 2 tablespoons unsalted butter
- 2 teaspoons lemon juice
- ½ teaspoon ground cinnamon
- ½ teaspoon apple pie spice
- 1 teaspoon cornstarch
- 1 teaspoon water
Egg Wash
- 1 large egg
- 1 tablespoon whole milk
Glaze
- 2 cups powdered sugar
- ¼ cup whole milk
Instructions
- Preheat oven to 375°F and line a large baking sheet with a silicone baking mat or parchment paper.
- Prepare your favorite pie crust recipe according to the directions OR pull your refrigerated pie crusts out of the fridge to sit for about 10 minutes before unpackaging and cutting.
- Add the diced apples, brown sugar, butter, and spices to a small saucepan and cook over medium heat for about 4 minutes, stirring occasionally.
- In a small bowl, mix together the cornstarch and water and add to the apple mixture and cook for another minute.
- Turn off heat and allow the filling to sit for a few minutes while you prepare the crusts. Roll your crusts out and use 3½-inch round cookie cutters to cut out circles of crust. The pie crusts should yield about 28 circles. Cute small slits in half of the circles with a paring knife.
- Place the uncut pie crust circles on the prepared baking sheet (you might have to bake in two patches). Spoon about 2 tablespoons of apple pie filling into the center of each.
- Beat together the egg and milk in a small bowl and use a pastry brush to coat the edges of the crust around the filling with eggs wash.
- Top with the cut circles and use a fork to press the edges together. Brush the tops of the pies with egg wash and top with sugar, if desired.
- Bake for about 24 to 27 minutes or until the pies are golden brown. Remove from oven and allow to cool on a wire rack for 20 to 30 minutes before dipping in the glaze (optional).
- To make the glaze, whisk together the powdered sugar and water. Then dip the tops of the pies in the glaze and place them on a parchment-lined surface.3
Video
Notes
- You can use store-bought crusts or you can use your favorite crust recipe.
- You should have about 2 cups of diced apples. I like to use Gala, Honeycrisp, or Granny Smith.
- If you want the glaze to set faster, you can place the pies in the fridge for 10 to 15 minutes.
Nutrition
Did You Make This Recipe?
Don’t forget to share it with me on Instagram @sugarandsoulco and follow on Tiktok @sugarandsoulco and Pinterest @sugarandsoulco for more!


















Share your thoughts!
Love this recipe? Share your thoughts with me and leave a review! And don’t forget to connect on your favorite social platform below!