
Easy Halloween Dirt Cups Recipe
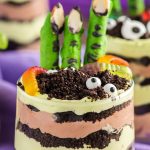

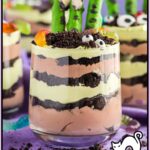
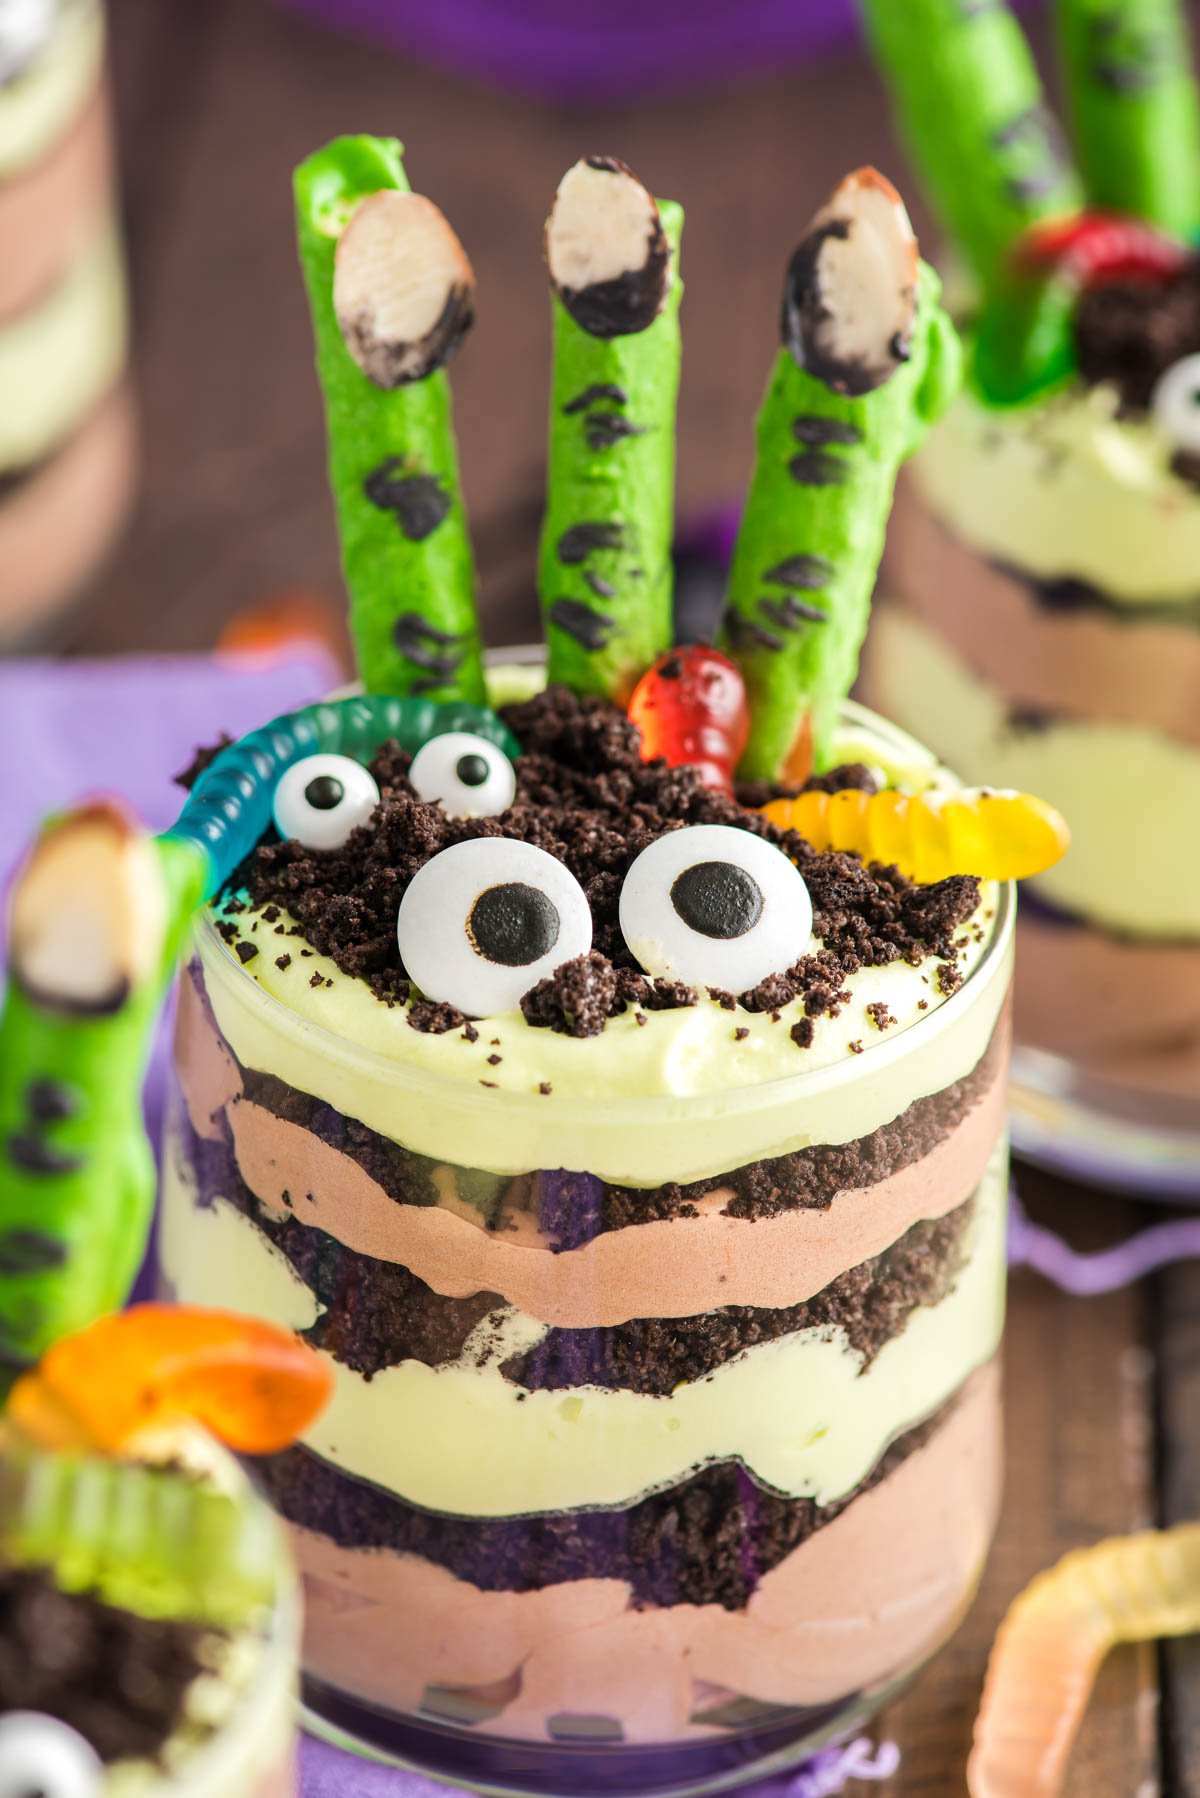
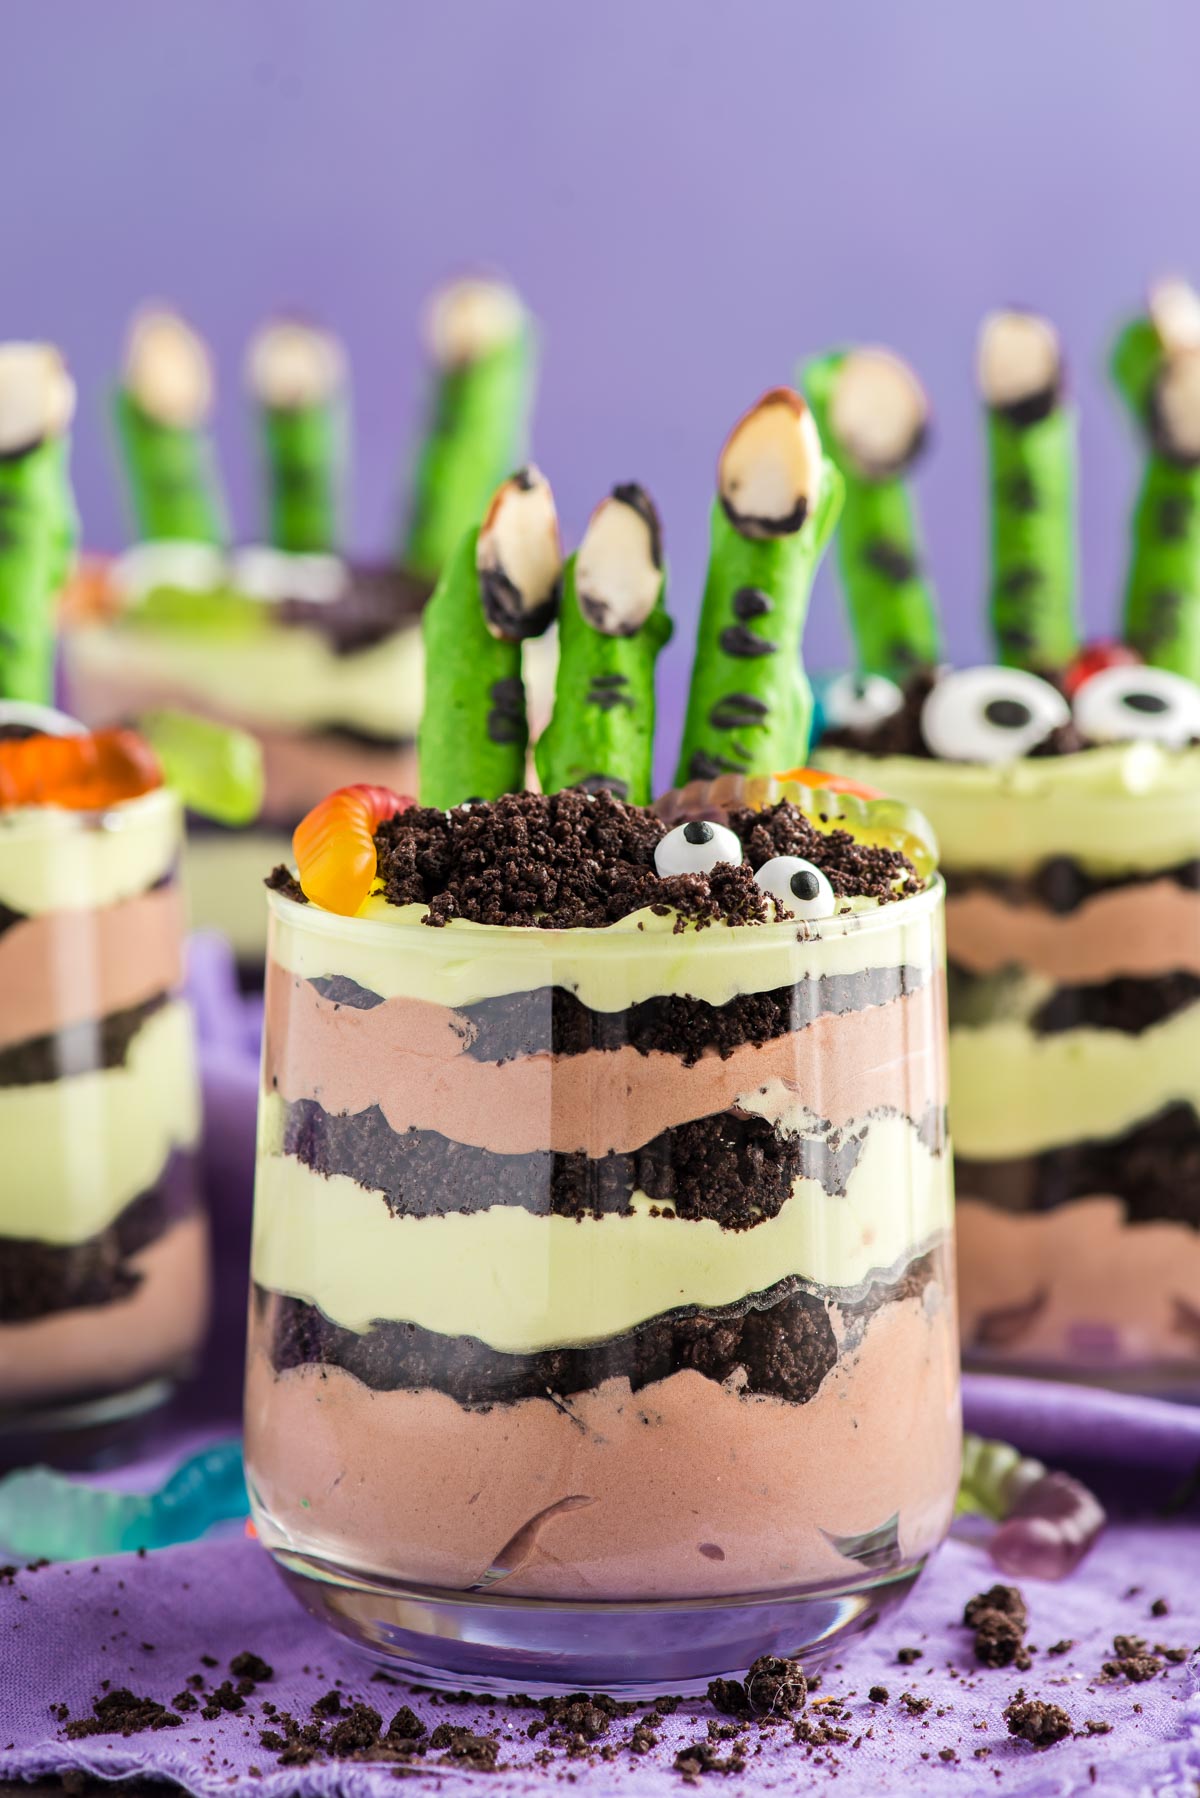
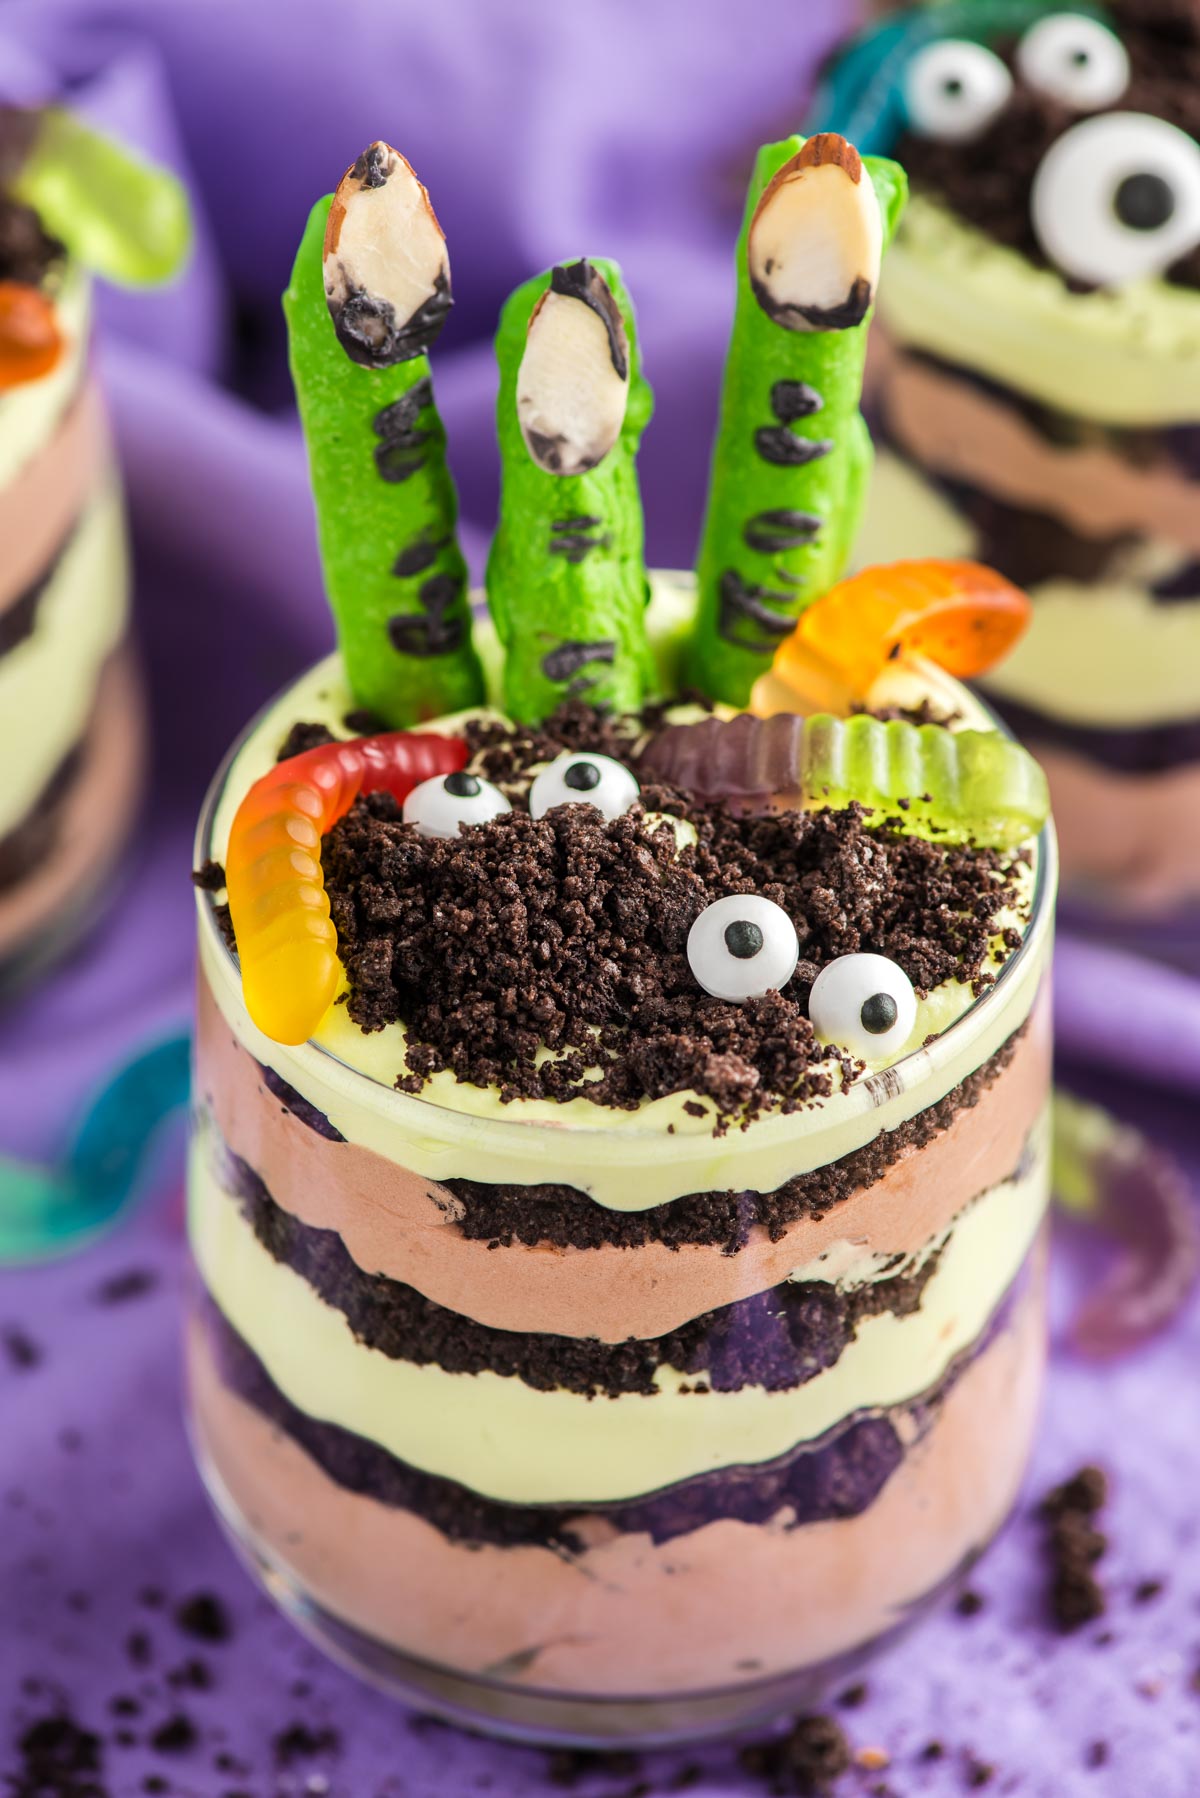
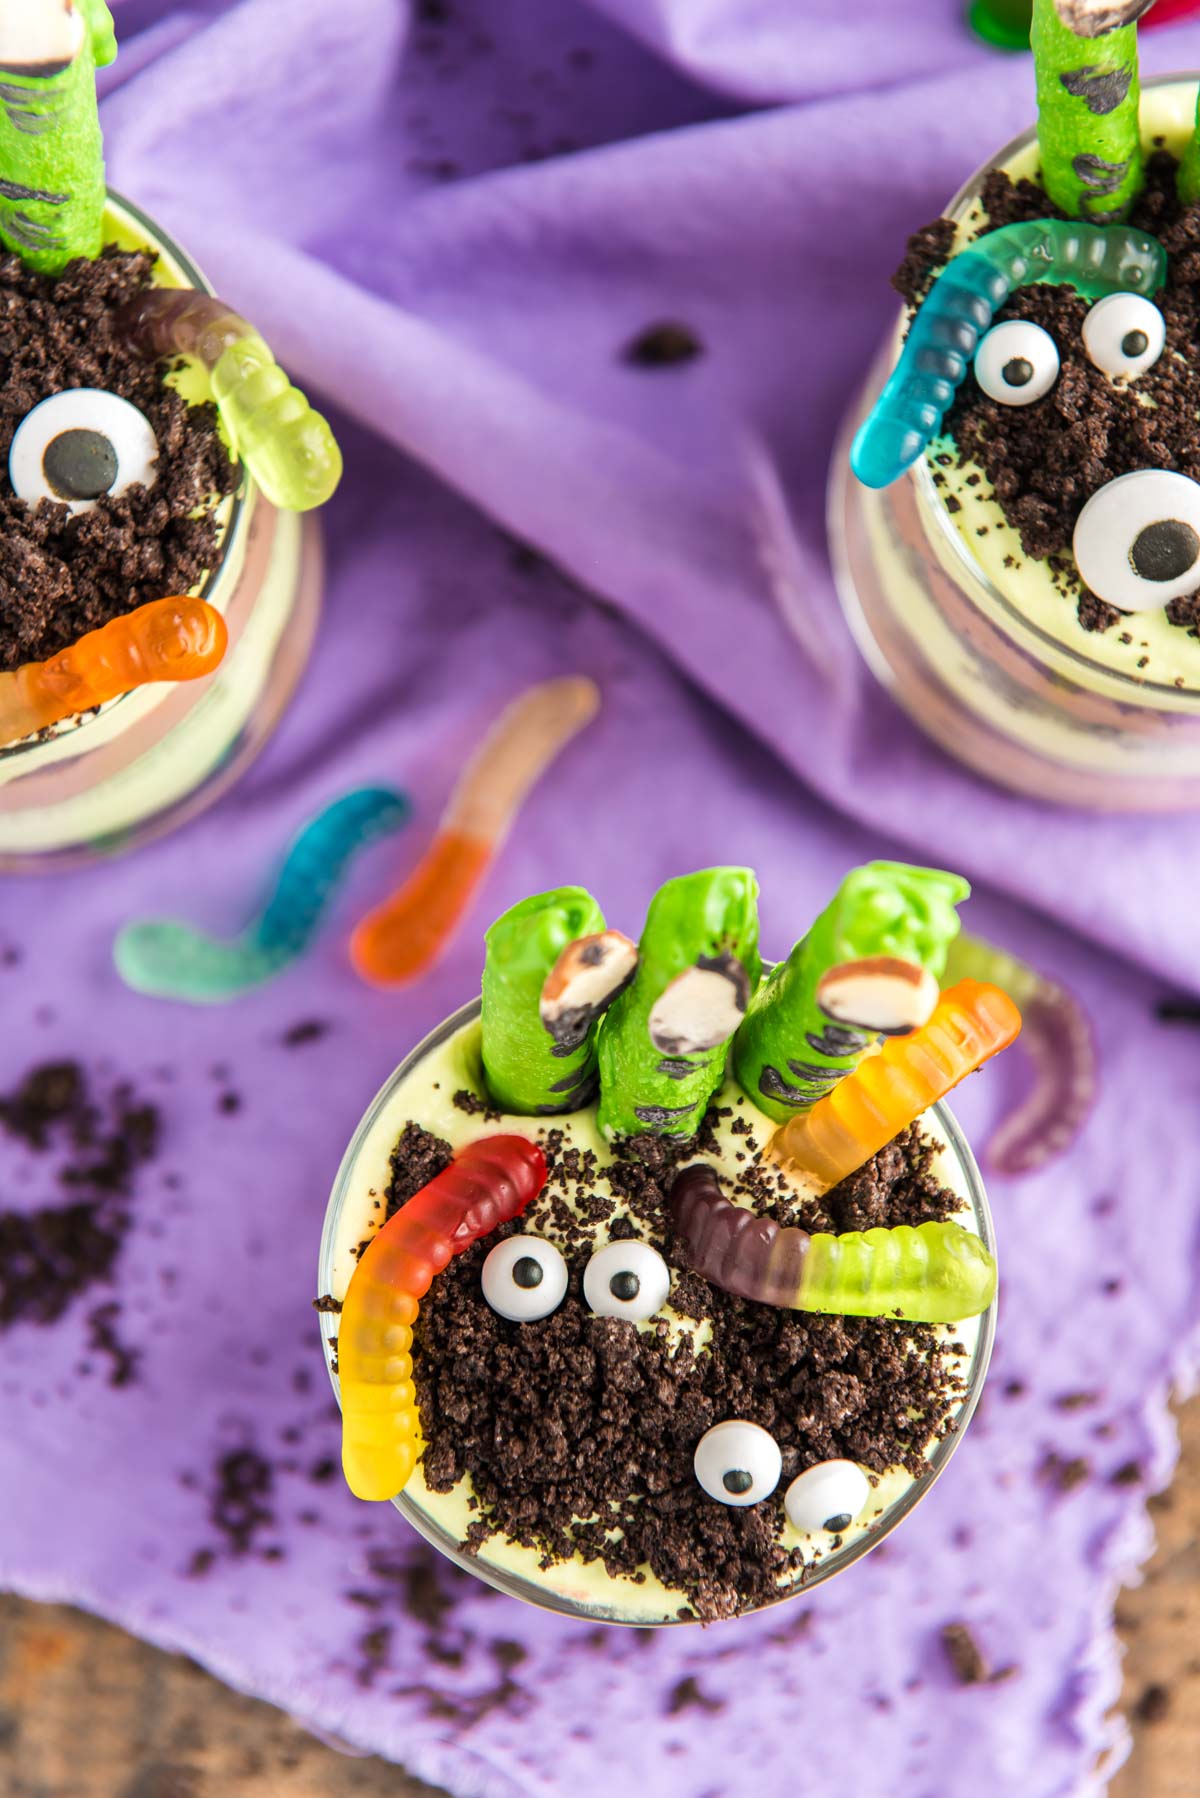
Halloween Dirt Cups look like overturned earth but taste heavenly! Creamy chocolate and vanilla layers are sprinkled with handfuls of crushed Oreo “dirt.” The finishing touches are chocolate pretzel “monster fingers,” gummy worms, and candy eyeballs!
There are a lot of pudding dirt cup recipes, but this one is especially spooky and delicious!
The pudding layers in this recipe are blended with cream cheese, butter, powdered sugar, and whipped topping. That’s why they’re extra rich and creamy!
Whether you’re planning a spooky movie marathon with the family or a Halloween party with friends, these individually-portioned desserts are perfect for any kind of celebration!
Halloween Dirt Pudding is really easy to make. There’s a little bit of prep involved, but it’s worth it! Plus this is a really fun recipe to let the kids help with!
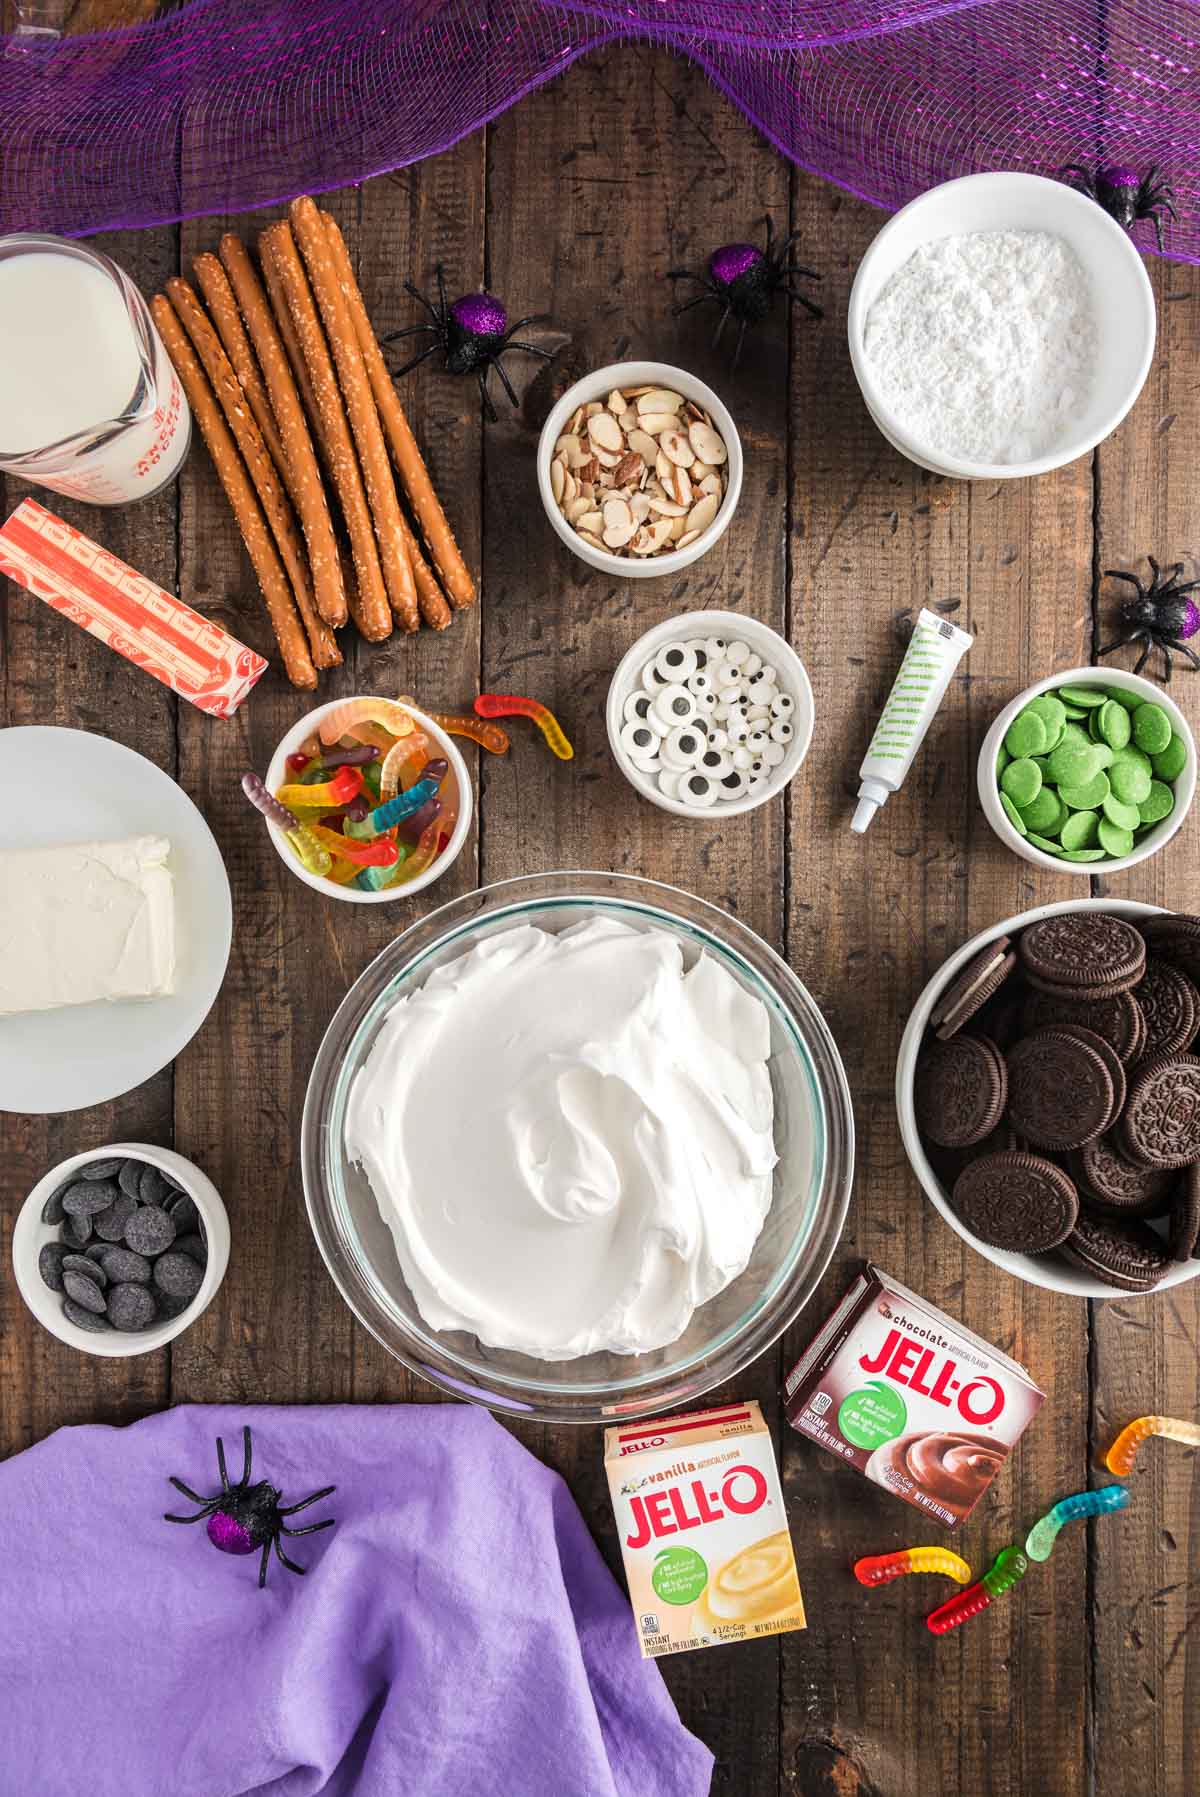
Monster Finger Ingredients:
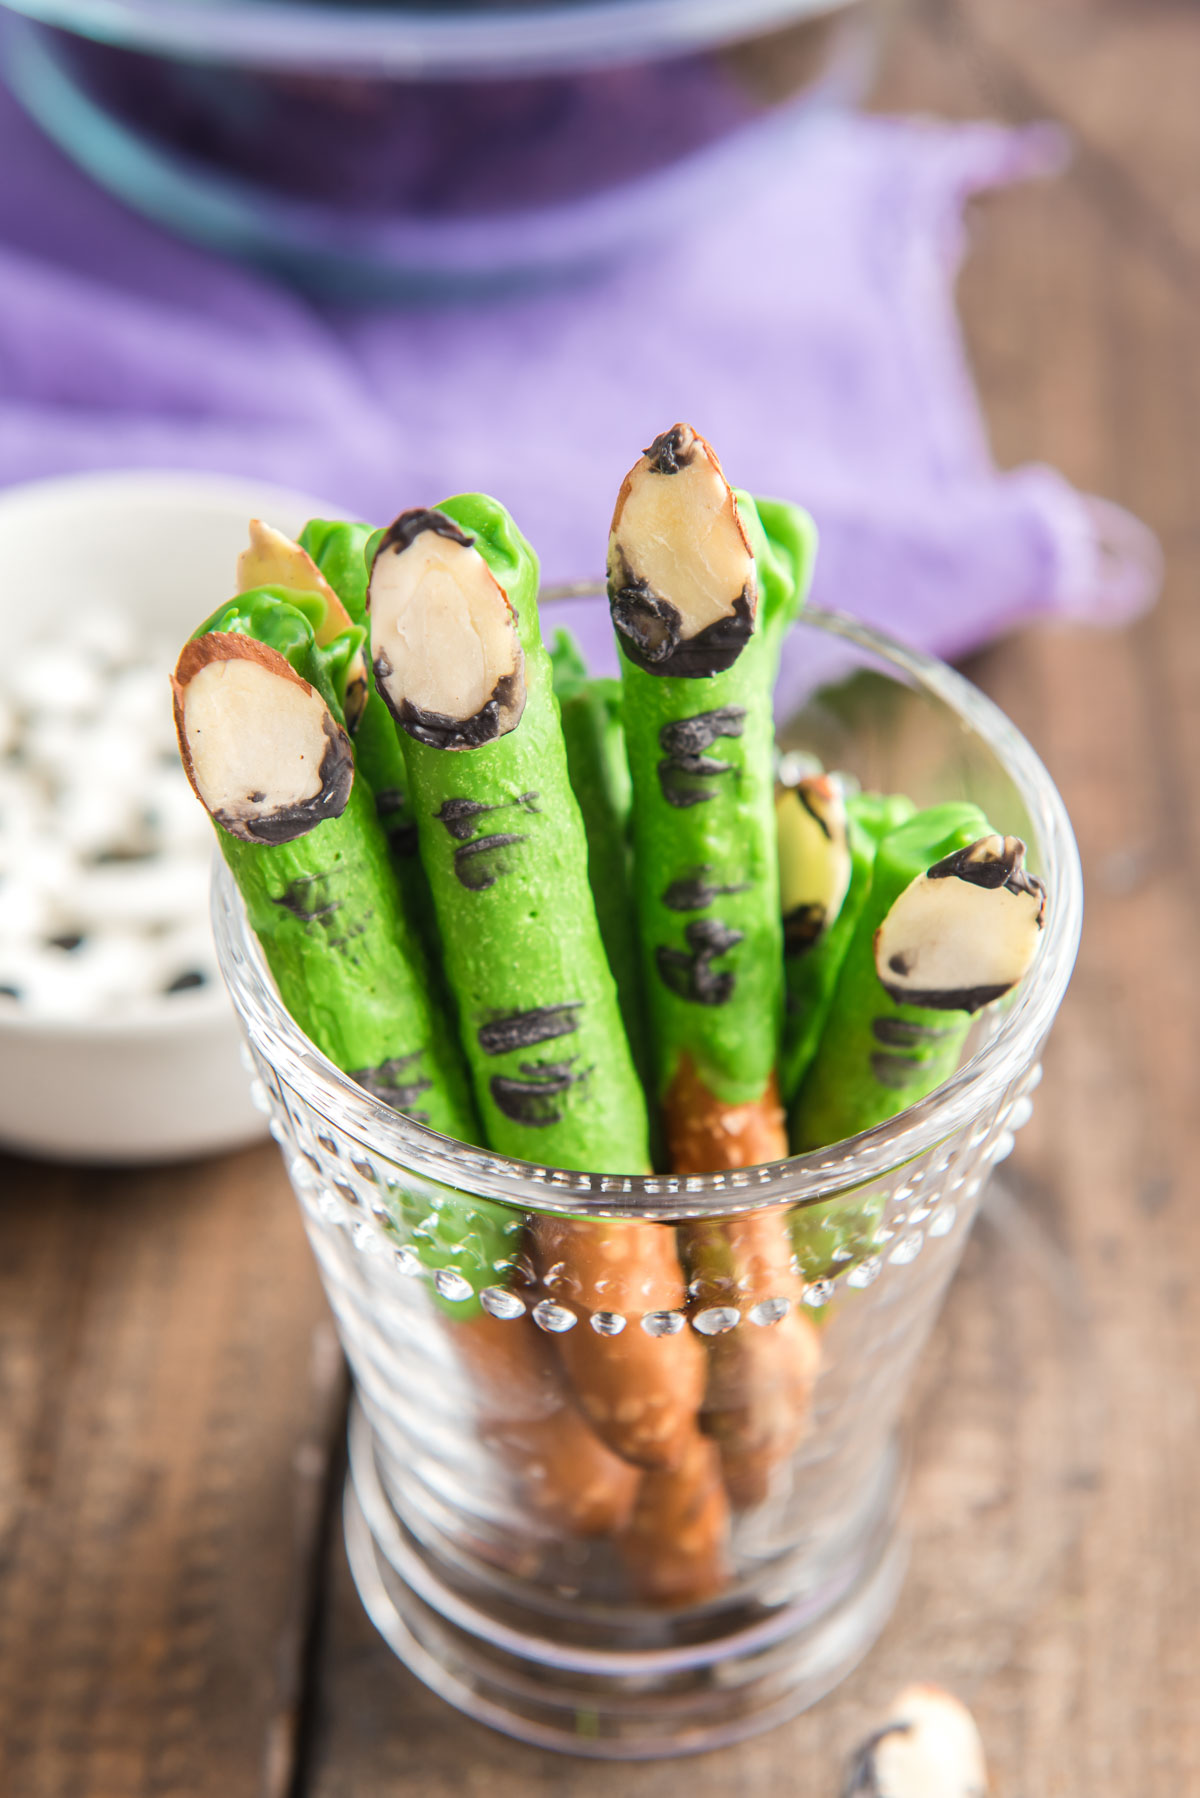
- Pretzel rods – These are dipped in chocolate and used to make bony monster fingers.
- Green candy melts – To coat the pretzels.
- Black candy melts – To add knuckles and nail beds to the monster fingers.
- Sliced almonds – For the monster nails!
Dirt Cup Ingredients:
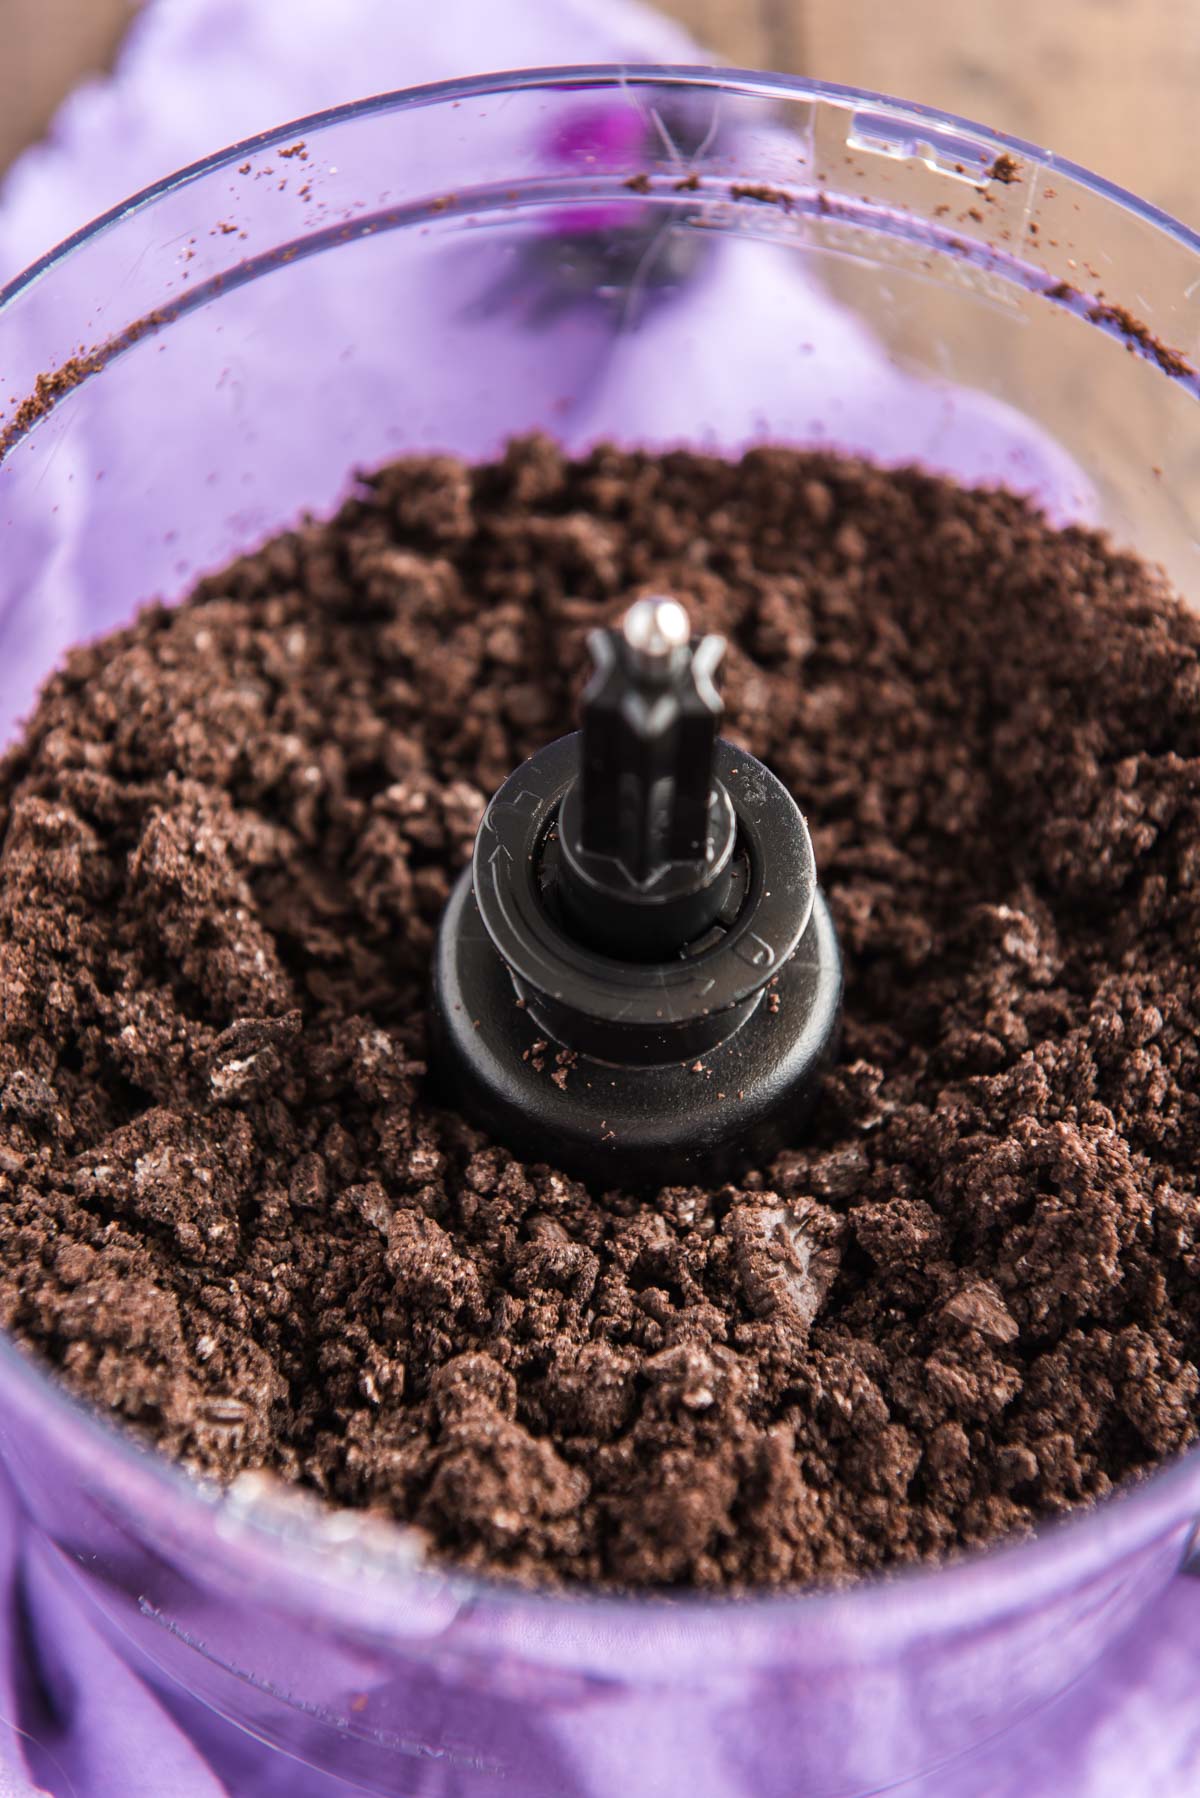
- Oreo cookies – When crushed in a food processor, the chocolate cookies look like dirt.
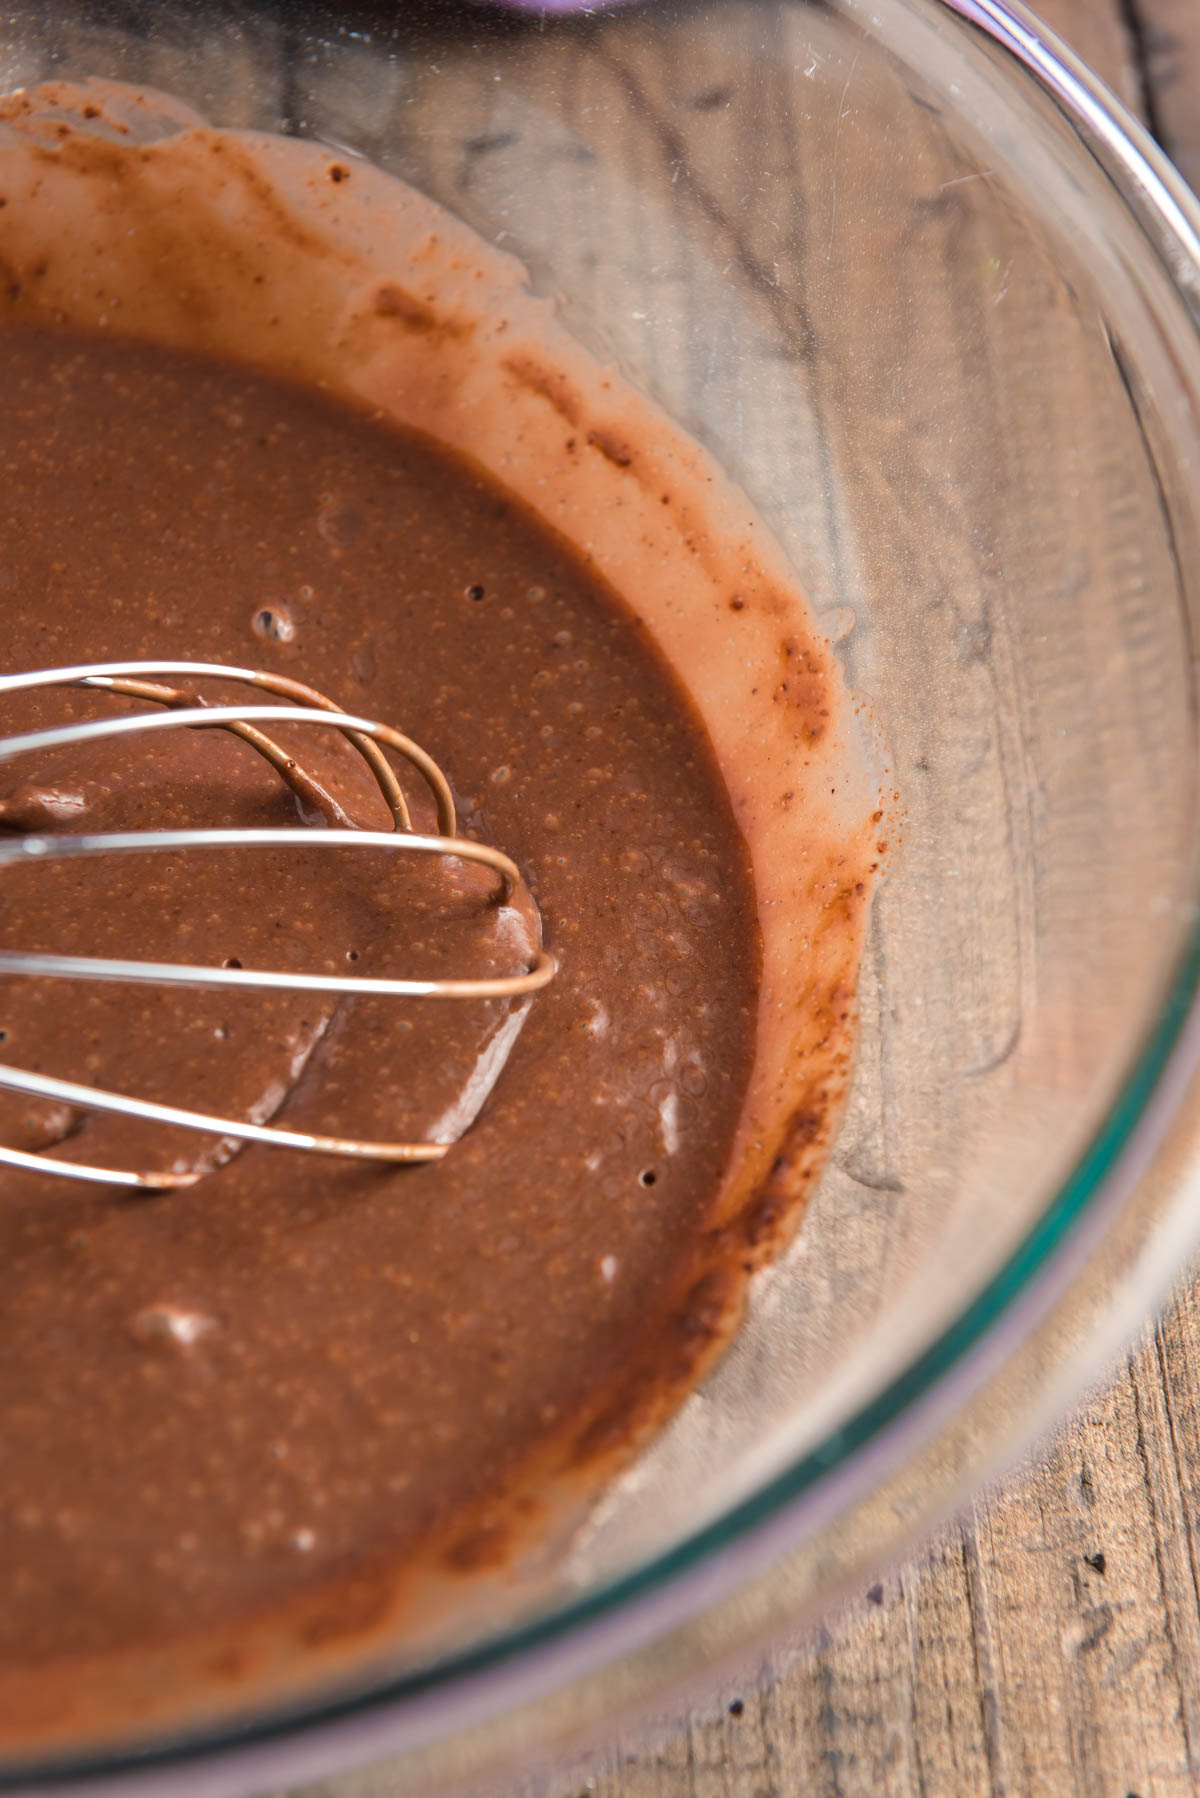
- Chocolate instant pudding mix – A scrumptious layer that looks like mud!
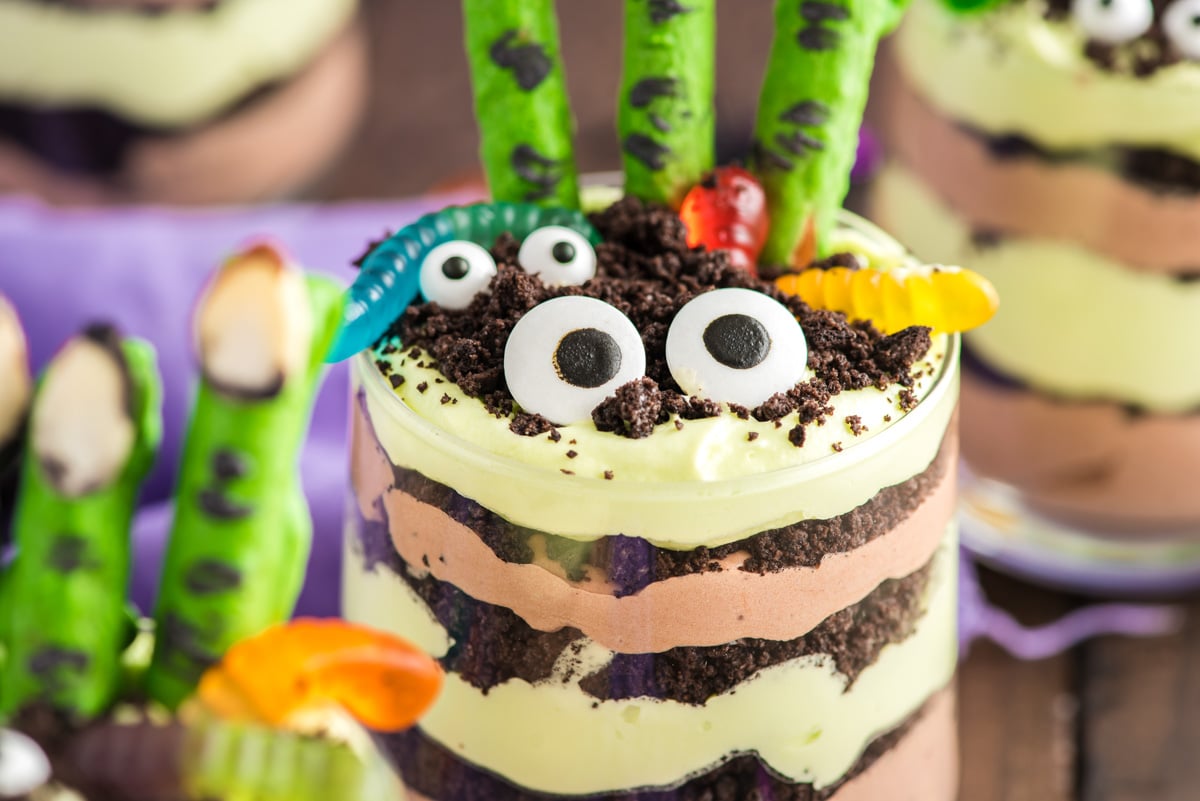
- Vanilla instant pudding mix – This layer is dyed with food coloring to make it ghoulishly green.
- Cream cheese, salted butter, and powdered sugar – These ingredients are beaten together then mixed with the pudding for rich custard-like layers! Be sure the butter and cream cheese are softened so they blend evenly.
- Whipped topping (thawed) – Use a topping like Cool Whip, as whipped cream will eventually liquefy. This is folded into the vanilla and chocolate pudding mixtures for even more creaminess!
- Green food coloring – For the vanilla layer.
How To Make Halloween Dirt Cups
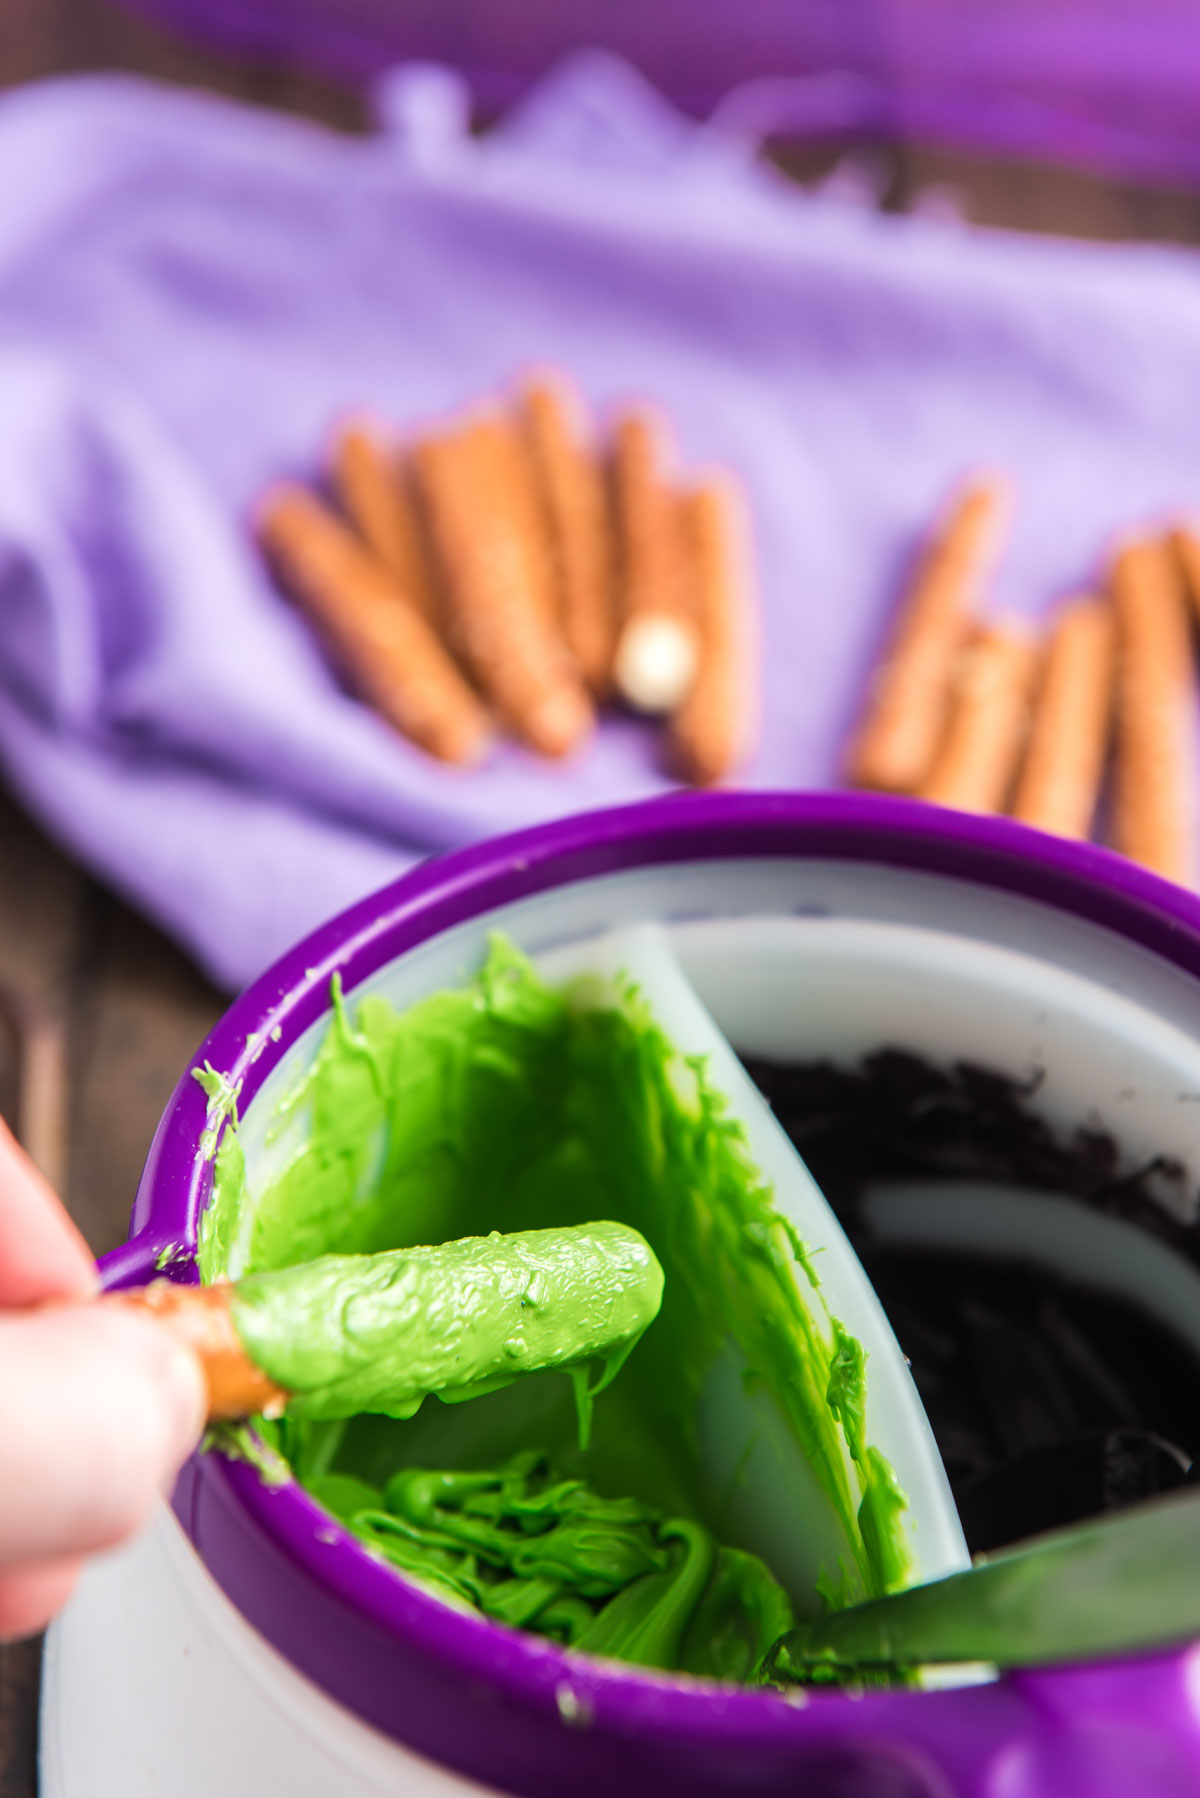
Begin by making the witch finger pretzel sticks if you want to include them! You’ll begin by melting the green candy melts, then dip one end of the pretzel rods in the candy and place them on parchment paper to set.
This is the candy melting pot (affiliate link) used in the photos and the dual divider (affiliate link) that goes with it.
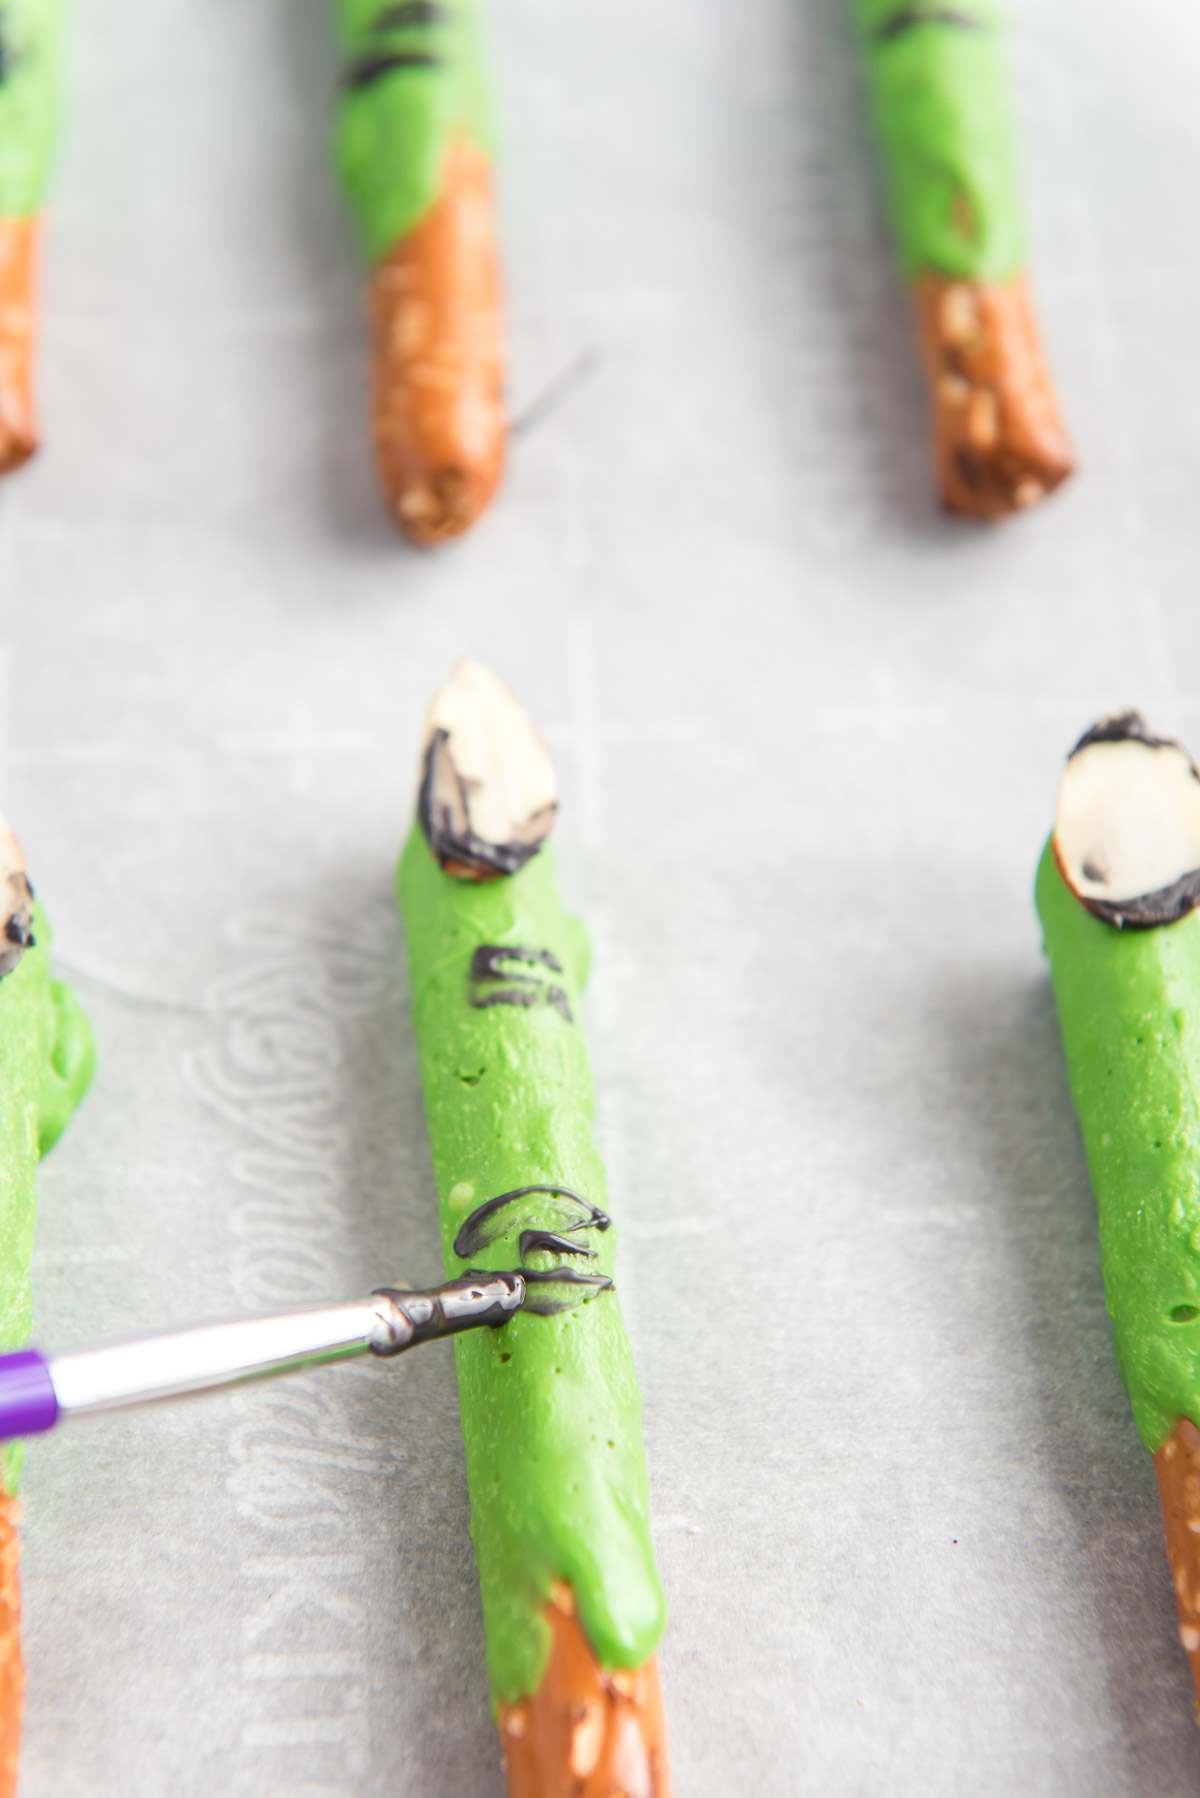
Melt the black candy melts and use a food-safe paint brush or toothpick to draw lines on the pretzel rods to create knuckles. Then brush some on the back of the almond slices and adhere them to the ends of the pretzel rods.
Add the Oreos to a food processor and process until a fine crumb forms.
In a large bowl, beat together the cream cheese, butter, and powdered sugar until smooth. Then in two large separate bowls, prepare the vanilla and chocolate puddings and place in the fridge for a few minutes to soft-set.
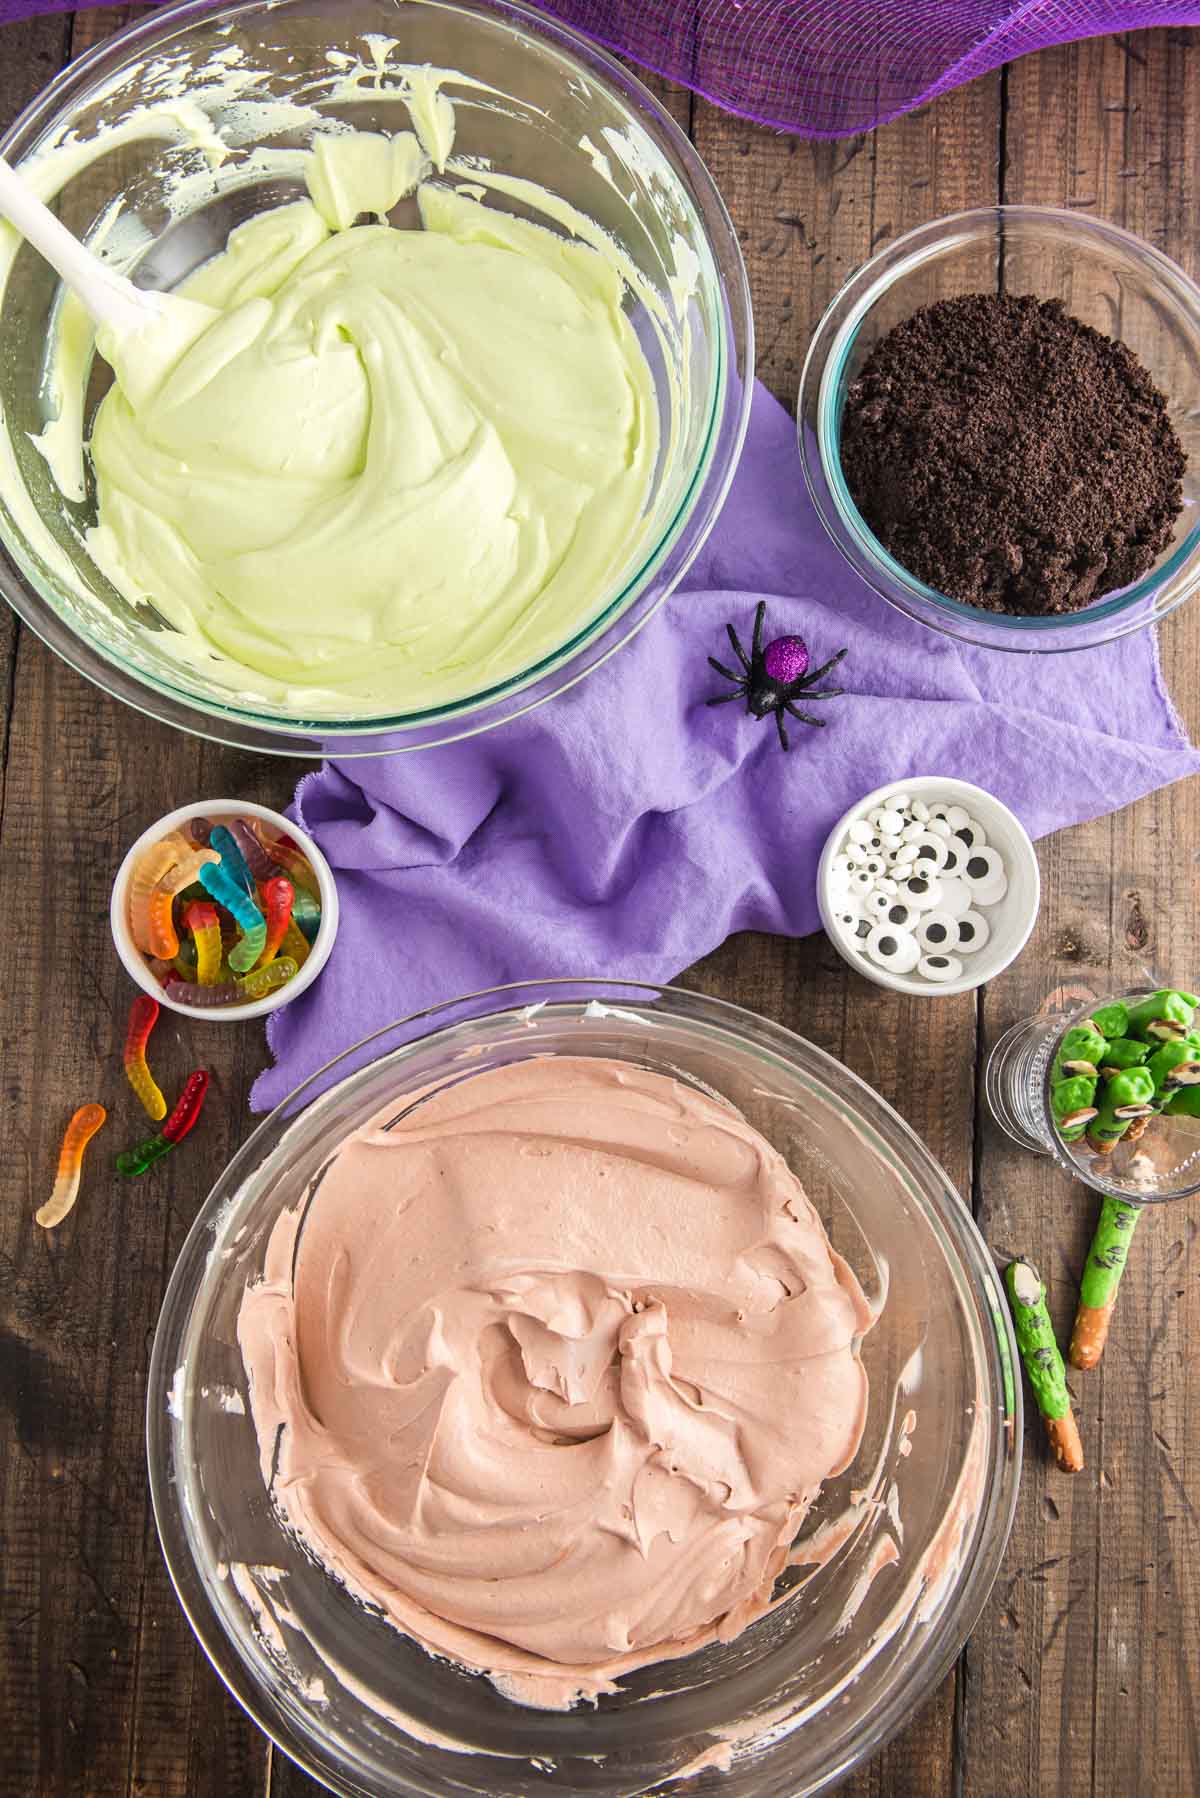
After the pudding has set, divide the cream cheese mixture evenly between the puddings and mix until combined.
Then fold in half of the thawed cool whip into each pudding mixture. Add some green food coloring to the vanilla pudding to finish it off.
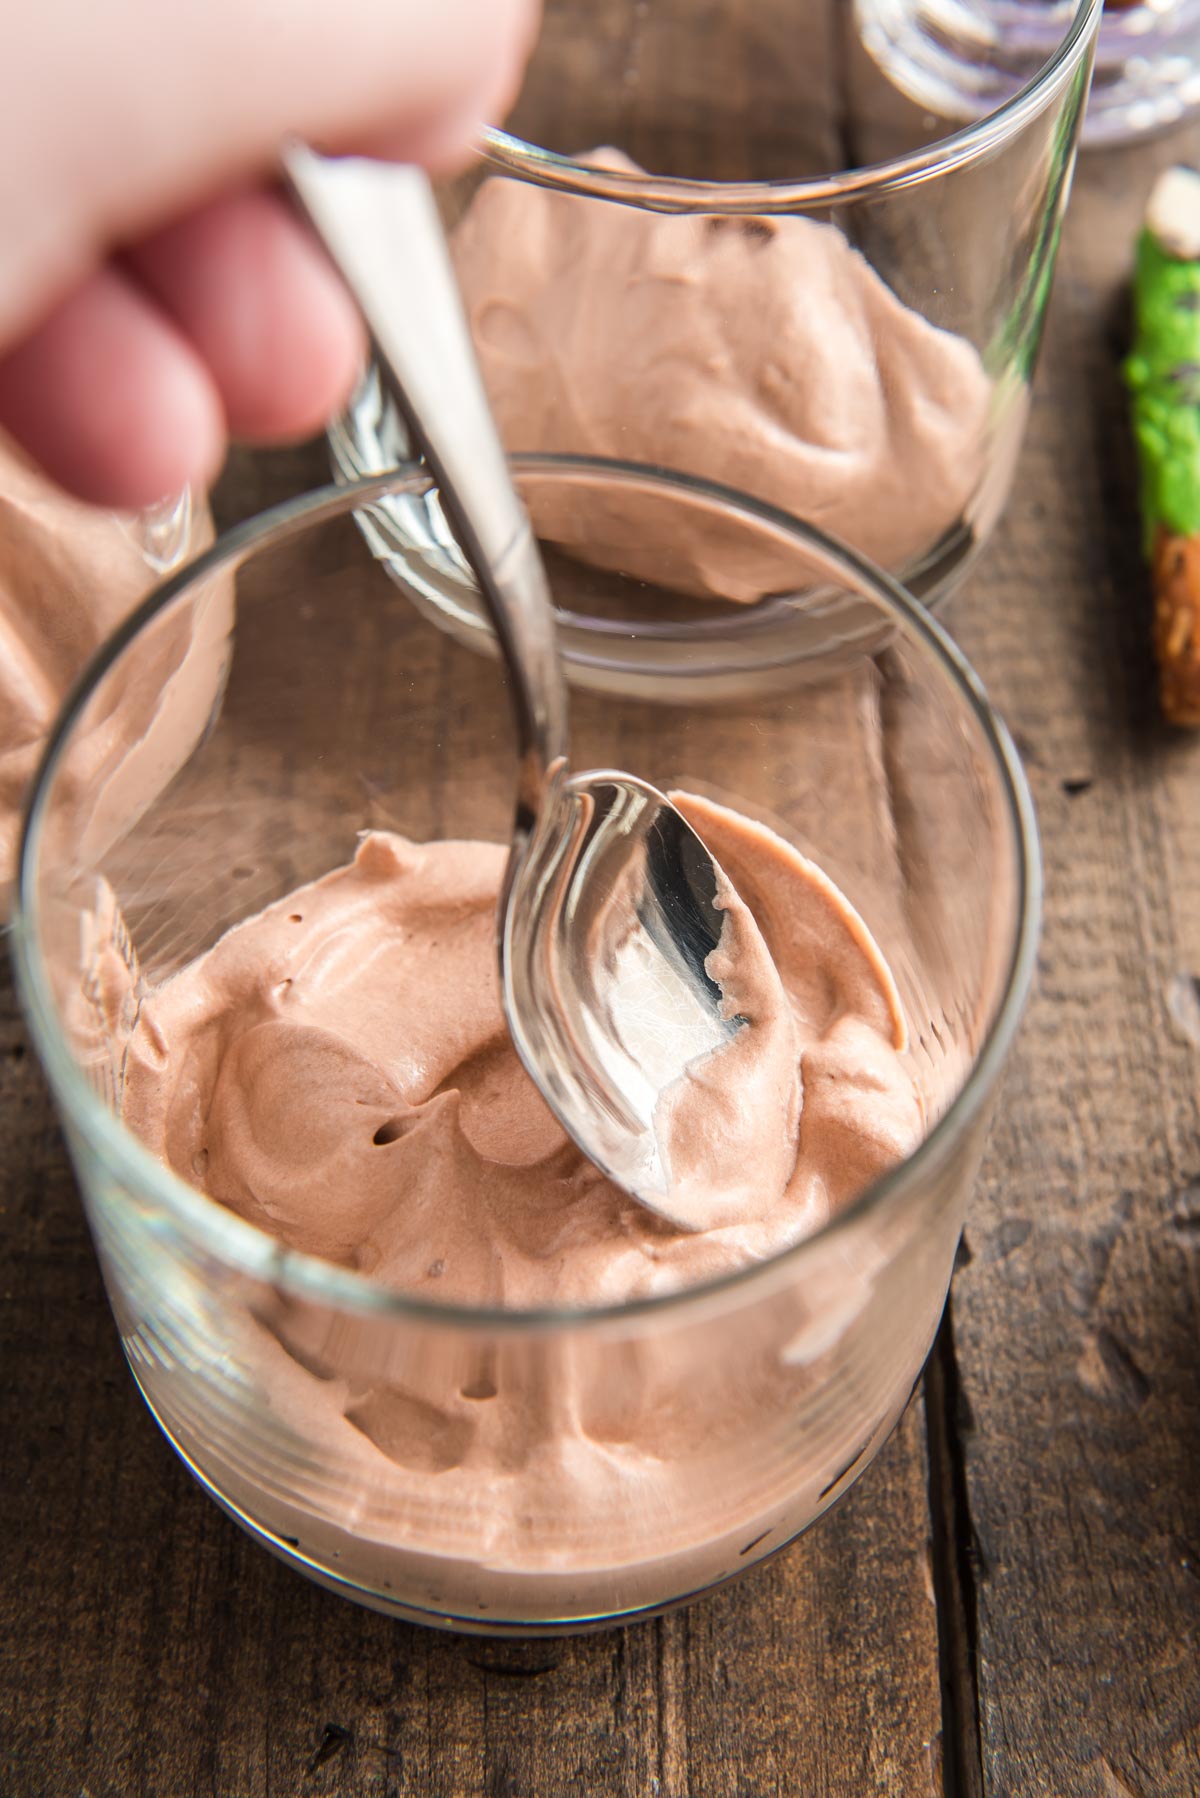
Now it’s time to assemble the dirt cups. Begin by adding some of the chocolate pudding mixture to the bottoms of the serving cups, then layer with oreo crumbs, then layer with vanilla pudding, and repeat until you get to the top.
Decorate your dirt cups by adding the monster fingers, gummy worms, and candy eyes.
Frequently Asked Questions:
How do you make dirt cups for Halloween?
Are they peanut-free?
Can I make dessert dirt cups the night before?
How long do Oreo dirt cups last?
Substitutions & Variations:
There are tons of ways to customize this dirt pudding recipe!
- Making Oreo crumbs without a food processor: Place the cookies in a large zip bag and roll over them with a rolling pin until they’re finely crushed.
- Making Oreo crumbs without a food processor: Place the cookies in a large zip bag and roll over them with a rolling pin until they’re finely crushed.
- Gummy bugs
- Halloween sprinkles
- Chocolate chips
- Crushed Andes Candies, Heath bars, Reese’s cups, or Kit Cats
- Reeses Pieces
- M&M’s
- Candy corn
- Mini marshmallows
- Graham cracker sticks
- Chopped nuts
- Shredded coconut
More Halloween Desserts:
- Halloween Chocolate Covered Oreos – What’s better than Oreos? Oreos dipped in chocolate!
- Halloween Seven Layer Magic Bars – Like an entire trick-or-treating haul in one square!
- Halloween Monster Cookies Recipe – Chocolate cookies made with oats, peanut butter, chocolate chips, and M&Ms.
- Melted Witch Cupcakes – Cute, clever, and so easy to make!
- Goosebumps Punch – Lemon-lime soda topped with a scoop of sherbet and gummy worms looks like a potion and tastes delicious.
Halloween Dirt Cups
Pin It For LaterClick the button above to save this delicious recipe to your board!
Let’s Connect!
If you’ve tried this recipe, please let me know how you liked it in the comments below and leave a review. I love hearing from you!
Don’t forget to tag me – @sugarandsoulco – on Instagram and Pinterest with your photos or join our Sugar & Soul Show-offs Community and share them there, where you can join our recipe challenges!
Halloween Dirt Cups
Ingredients
Monster Fingers:
- 20 large pretzel rods
- 1 (12oz.) package green candy melts
- Sliced Almonds
- 1 (12oz.) package black candy melts
Dirt Cups:
- 1 (14.3oz.) package Oreo cookies
- 8 ounces cream cheese softened
- ½ cup salted butter softened
- ¾ cup powdered sugar
- 3 cups whole milk divided
- 1 (3.5oz.) package Instant vanilla pudding mix dry
- 1 (3.5oz.) package Instant chocolate pudding mix dry
- 1 (12oz.) package whipped topping thawed and divided
- Green food coloring
Garnish:
- Gummy worms
- Edible Candy Eyeballs
Instructions
Monster fingers:
- Break pretzel rods in half and set aside.
- Place green candy melts in your candy melting pot and heat, (Please see notes if you do not have an electric melting pot) stirring until smooth. Add a few drops of water and stir into the chocolate to give a lumpy, uneven texture for the monster fingers.
- Line a baking sheet or large tray with parchment paper. Dip your pretzel rod into the green melts, leaving the small area where you are holding it. Place your candy dipped pretzels on the parchment paper to cool. Repeat until all pretzels have been dipped.
- Next, place black candy melts in your candy melting pot and heat, stirring until smooth. Using a food-grade paintbrush or toothpick, brush the melted black candy melts onto the edges of the sliced almonds. Proceed to paint knuckles and wrinkles on the candy-dipped pretzel rods.
- Attach the sliced almonds onto the fingers by adding a small amount of melted chocolate to the back of each one and pressing down onto the tip of each monster finger. Set aside and allow to cool.
Dirt Cups:
- Place Oreo cookies in a food processor and blend into crumbs. Set aside.
- In a large mixing bowl, beat softened cream cheese, butter, and powdered sugar until smooth.
- In a separate bowl, whisk 1½ cups of milk and the vanilla pudding and refrigerate for 5 to 10 minutes until soft-set.
- In a separate bowl, mix 1½ cups of milk and the chocolate pudding until combined and refrigerate for 5 to 10 minutes until soft-set.
- Add half of the cream cheese mixture to vanilla pudding and mix until well combined. Fold in half of the container of whipped topping. Stir in a few drops of green food coloring (small amounts at a time to reach desired color).
- Add remaining half of cream cheese mixture to chocolate pudding and mix until well combined. Fold in the second half of the container of whipped topping.
- In small cups, layer chocolate pudding, cookie crumbles, green vanilla pudding, and cookie crumbles. Repeat until filled to the top.
- Add 3 monster fingers, candy eyes, and gummy worms to the top of each cup. Enjoy!
Notes
- This recipe could easily serve a classroom size of around 20-24 if smaller cups are used. You could also layer this in a 9”x13” pan and serve it family style.
- If you do not have an electric melting pot, you can use a double boiler or a glass bowl. Just make sure the glass bowl says microwave safe on the bottom. Heat in increments of 30 seconds, taking out to stir each time until smooth.
- This dish can be made the night before. Just wait to add the garnishes until right before serving!
- If you want extra crunch in this recipe, reserve a few cookies, and crush them in a plastic bag, leaving larger pieces.
- If you don’t have a food processor, place your Oreos in a large plastic bag and use a rolling pin over it to crush the cookies quickly and easily.
- If serving this to small children, just be sure to take out the pretzel rods with nuts and other garnishes that may be a choking hazard.
- The monster fingers can be made several days ahead and stored in an airtight container at room temperature.
- You could use any candy melting colors that you like (orange, purple, and green are great for Halloween). You could also use red on the monster fingernails to make this extra creepy!
Nutrition
Did You Make This Recipe?
Don’t forget to share it with me on Instagram @sugarandsoulco and follow on Tiktok @sugarandsoulco and Pinterest @sugarandsoulco for more!


Share your thoughts!
Love this recipe? Share your thoughts with me and leave a review! And don’t forget to connect on your favorite social platform below!