
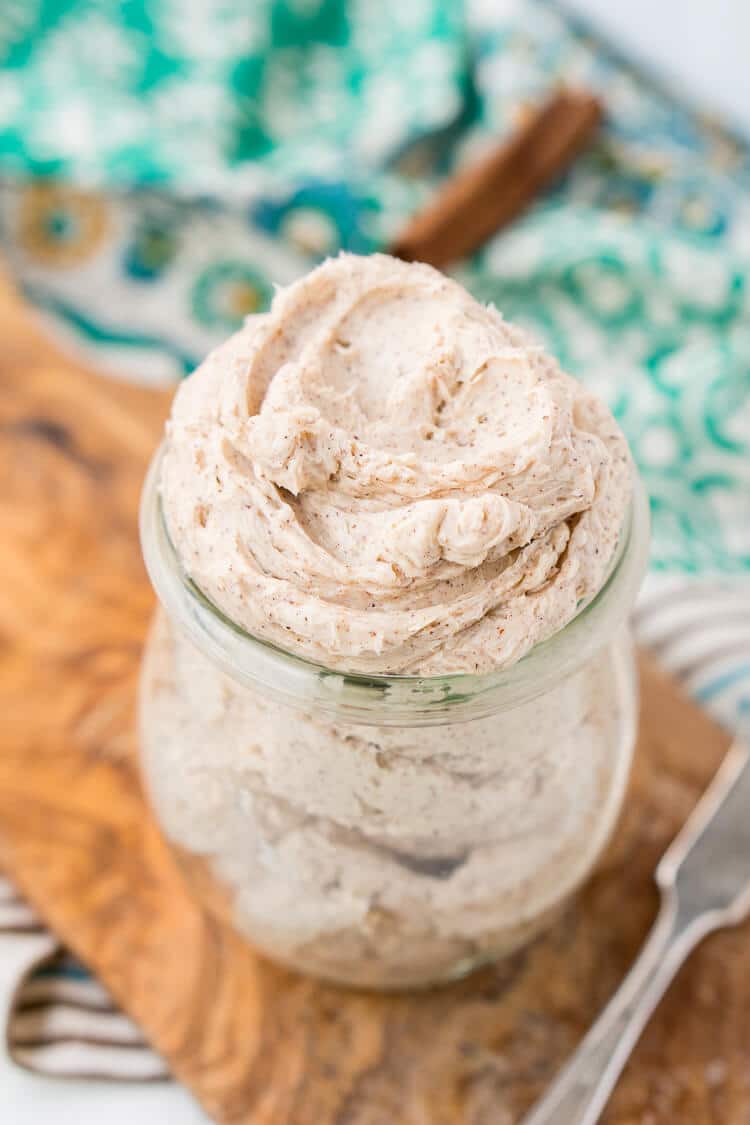
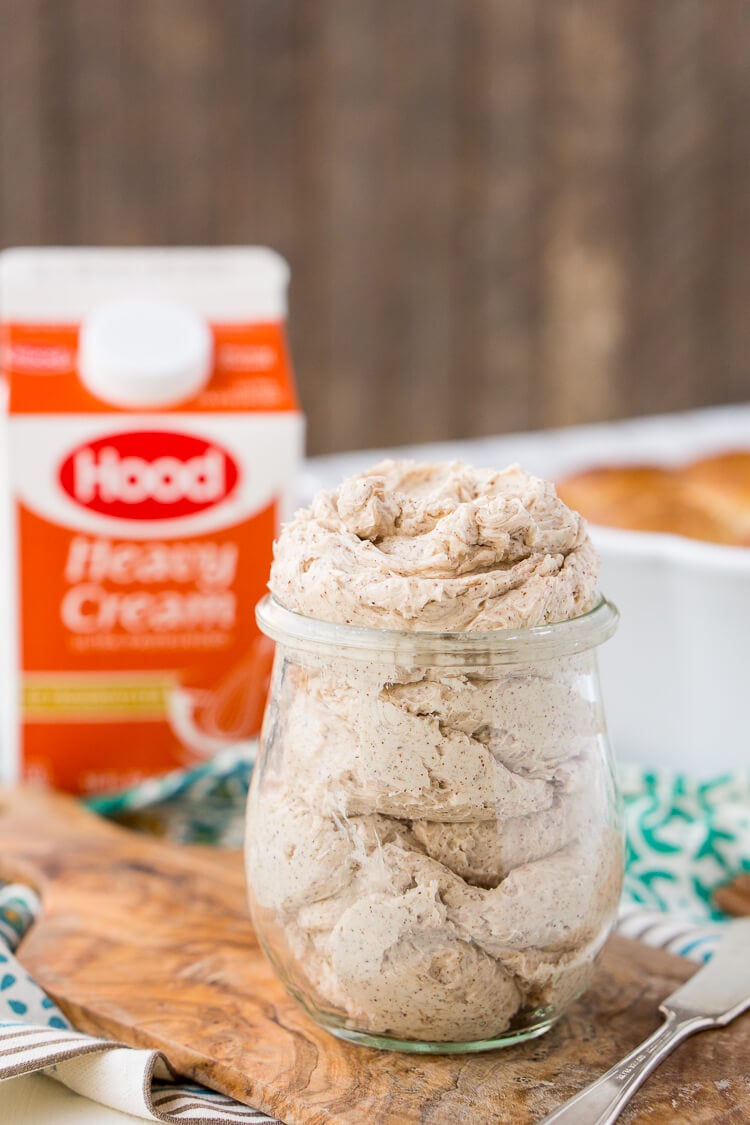
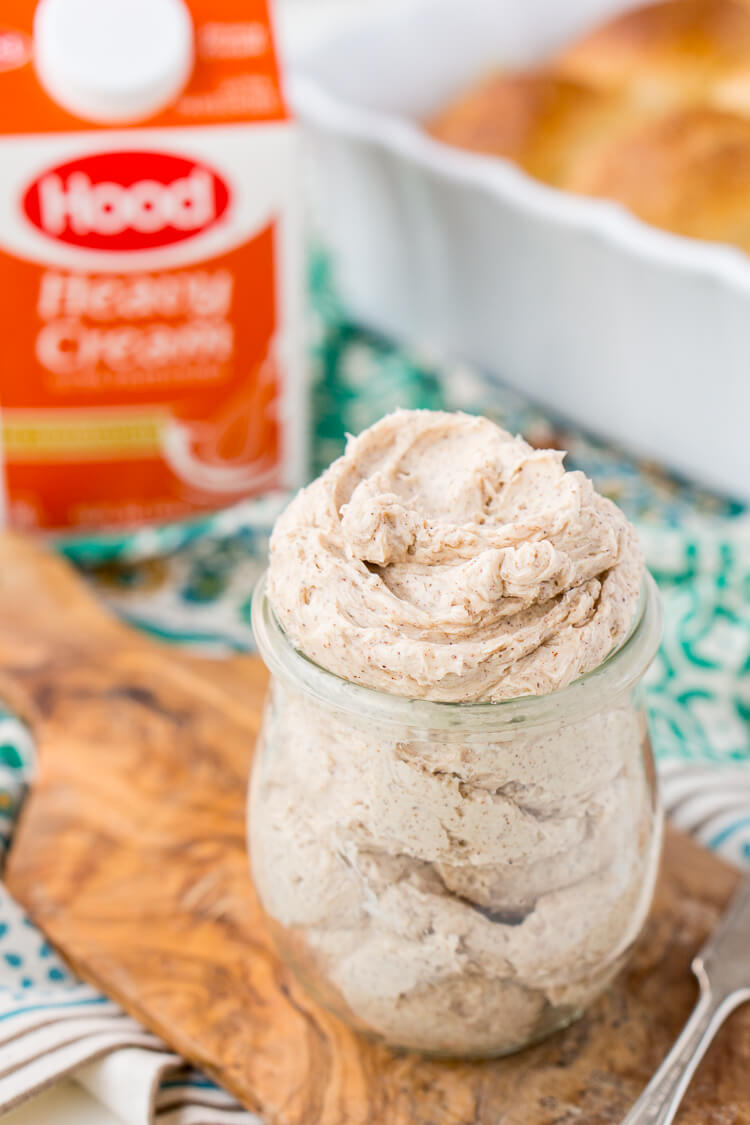
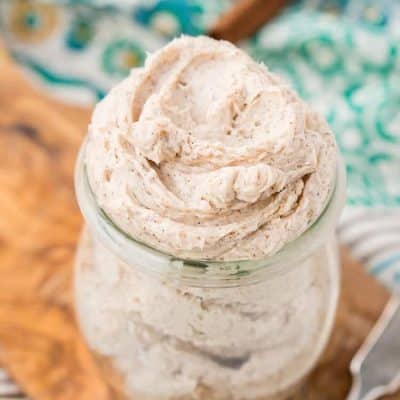
Homemade Cinnamon Butter

This Homemade Cinnamon Butter is bound to become a household staple as well as a holiday necessity. Made in minutes in your stand mixer or blender, you can whip up this delicious, creamy, and spicy butter that’s perfect for spreading on dinner rolls, toast, and sweet potatoes!
The Best Homemade Cinnamon Butter
If you’ve never made homemade butter, rest assured that it’s EASY! And SO worth it since it tastes great on lots of yummy things from fluffy dinner rolls to thick buttermilk pancakes!
When your family starts going crazy over this homemade cinnamon butter, that’s when you tell them you made it yourself; talk about impressive! But the nice thing is that this recipe requires so little time and just three ingredients that it almost makes itself!
The good news is that you can make it in a stand mixer OR a blender, so there’s almost no excuse not to give this incredible butter a try! Especially with the holidays rolling in now since this butter is the perfect chance to add a little sugar to the savory holiday meal!
I promise that you’ll be hooked after just one taste!
Homemade Cinnamon Butter Recipe Ingredients
Making homemade butter doesn’t get any easier than this recipe! We begin by whipping heavy cream until the butter separates from the buttermilk.
Then the butter is transferred to a new bowl where it combines with salt and ground cinnamon and continues to be whipped. The end result is sweet yet salty butter with the perfect balance of cinnamon flavor that tastes so much better than store-bought!
Aside from simple, minimal ingredients, do you know what the best part is? You can make this butter in a stand mixer OR blender! Using a stand mixer is definitely the easiest way to go, but if you don’t have one, you can follow the steps for my Blender Butter and use the same measurements in the recipe provided here.
How To Make Homemade Cinnamon Butter
- Add heavy cream to a stand mixer that’s fitted with a whisk attachment.
- Whip the heavy cream on medium-high speed, scraping down the side of the bowl as needed. Once stiff peeks form, turn the mixer speed to high and let it whip for several minutes. Continue beating on high until the butter and buttermilk have separated.
- Pour the contents of the bowl over a cheesecloth in a strainer. Then use the cheesecloth to squeeze out any excess liquid from the butter.
- Place the butter back in the bowl and then add in salt and cinnamon. Next, whip the butter while adding more cinnamon or salt to reach your desired taste.
Rebecca’s Recipe Tips
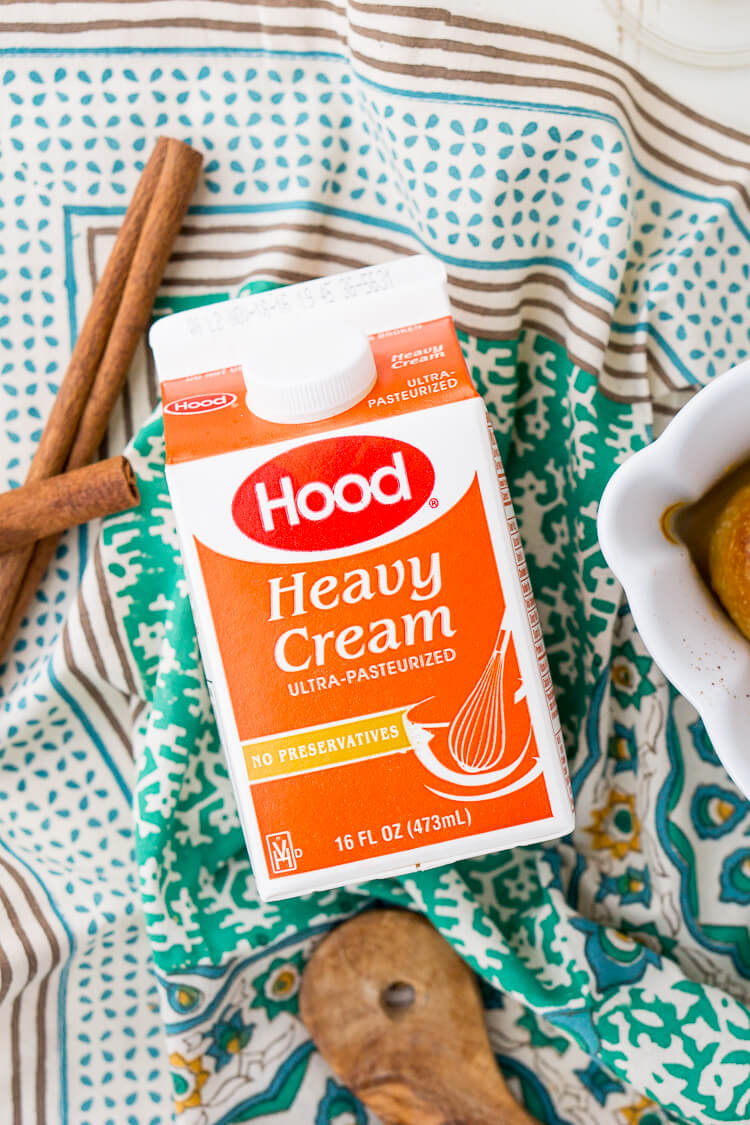
- Use a high-quality heavy cream such as Hood to achieve the best results when making this butter.
- Cover your mixing bowl with a cover that was designed for it or by simply stretching plastic wrap over the top and securing it to the bowl. This will drastically cut down on the mess when whipping the heavy cream.
- Keep in mind that the mixture will begin to appear grainy and then it will start to separate, this is what we want!
- A cheesecloth works best when straining the liquid from the butter. Just be sure to squeeze out any excess liquid from the butter or it could go rancid after just a few days.
- Add in additional salt and/or ground cinnamon until the butter reaches your desired taste!
The Best Ways To Enjoy Cinnamon Butter
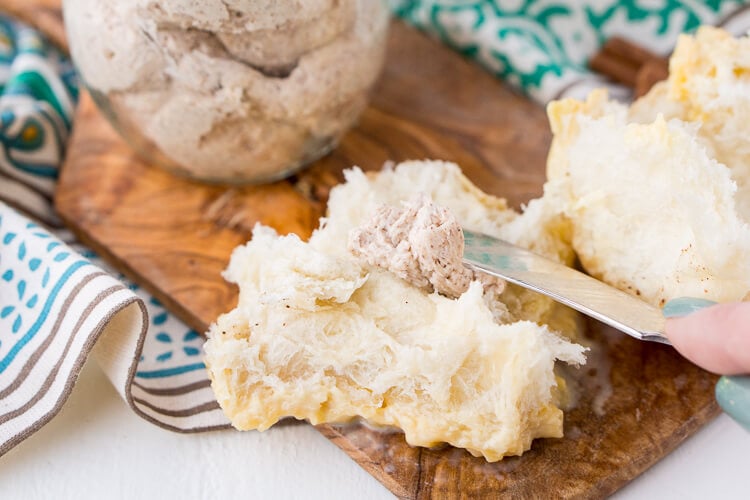
- Around the holiday table, of course! Slather this butter on warm, fluffy Homemade Yeast Rolls and sweet potatoes!
- At breakfast on all of your waffles and pancakes from Homemade Pancakes to Blueberry Pancakes and even Sheet Pan Pancakes.
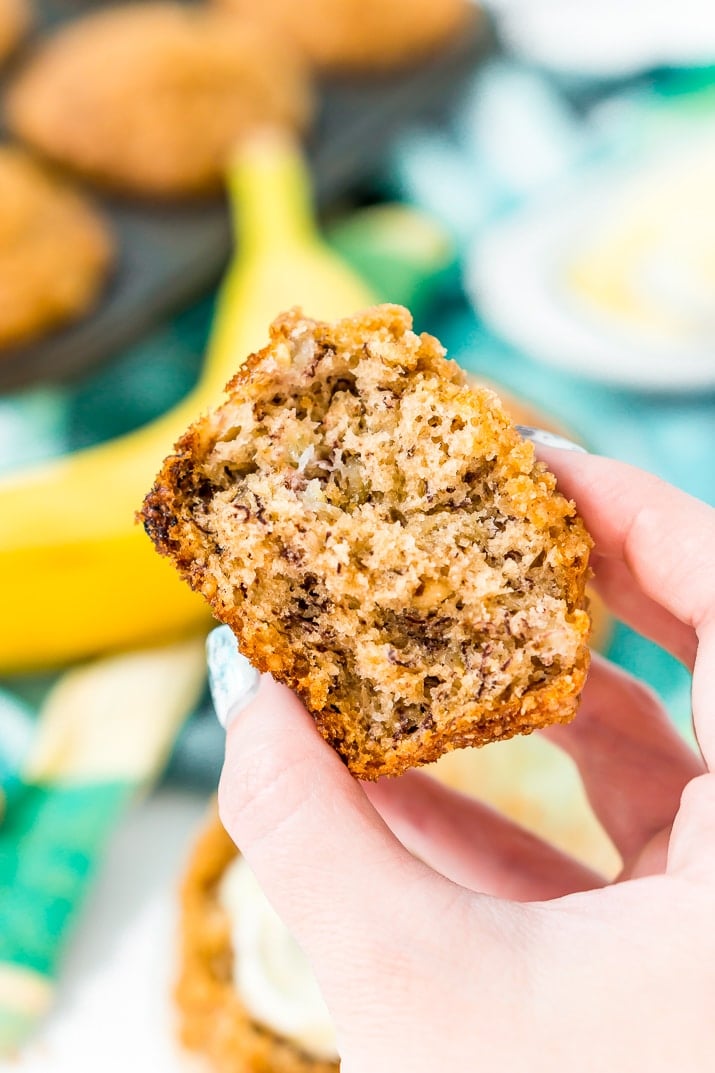
- On warm muffins such as my Vanilla Chai Muffins and Banana Muffins!
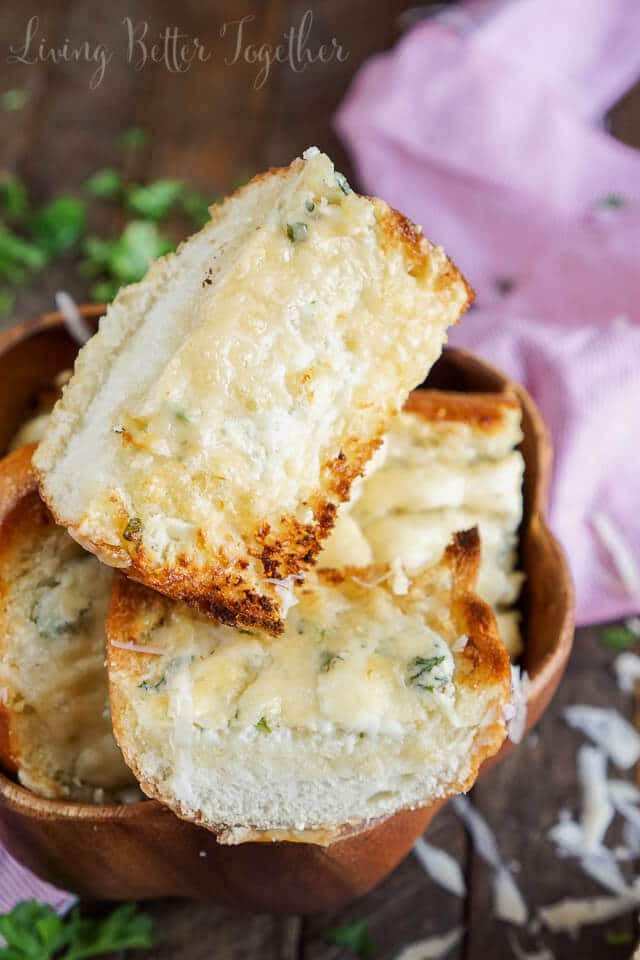
- Spread a thick layer of this cinnamon butter on a slice of golden-brown toast made from Cinnamon Swirl Bread or Homemade Bread.
- Not a toast person? Then use this cinnamon butter on Homemade Bagels instead!
How To Store Homemade Cinnamon Butter
Store the homemade butter in an airtight container or jar in the fridge. The butter can then be enjoyed for 2 to 3 weeks!
More Cinnamon Recipes
- Cozy Cinnamon Chocolate Chip Cookies – Trade in those basic cookies for this tasty twist on the classic cookie!
- Cinnamon Frosting – A simple yet sweet buttercream frosting to finish off all of your desserts!
- Homemade Cinnamon Swirl Bread – Calls for only 30 minutes of hands-on time to prep!
- Cinnamon Toast Crunch Cake – A show-stopping cake that’s an absolutely delicious masterpiece!
- Healthy Cinnamon Persimmon Banana Smoothie – A flavorful blend of sweet fruit and cinnamon!
Homemade Cinnamon Butter
Ingredients
- 32 ounces Hood Heavy Cream
- 1/2 teaspoon salt
- 1 tablespoon ground cinnamon
Instructions
- Add heavy cream to a stand mixer fitted with a whisk attachment, cover your stand mixer with a cover that was designed for it, or by simply stretching plastic wrap over the top and securing around the bowl.
- Begin whipping the heavy cream on medium-high speed, scraping down the sides as needed, but always replacing the cover. Once stiff peaks form, turn the speed to high and let it go for several minutes, the mixture will look grainy and then it will begin to separate, this is what you want. Continue beating on high and for another 2 minutes or so until the butter and buttermilk have separated.
- Place a cheesecloth in a strainer and pour the contents of the bowl into the strainer, then use the cheesecloth to squeeze any excess liquid from the butter. This is important or your butter with go rancid after a few days. Place the butter back in the bowl and add in the salt and cinnamon and whip for 2 to 3 minutes. Add more cinnamon or salt to reach desired taste.
Notes
- Butter will last for 2 to 3 weeks in the fridge.
Nutrition
Did You Make This Recipe?
Don’t forget to share it with me on Instagram @sugarandsoulco and follow on Tiktok @sugarandsoulco and Pinterest @sugarandsoulco for more!
Share your thoughts!
Love this recipe? Share your thoughts with me and leave a review! And don’t forget to connect on your favorite social platform below!


Do you use the heavy whipping cream straight out of the fridge or does it need to be room temp before mixing?
Straight out of the fridge.
Ahhhhhmazing! I made this over the winter and it got pushed to the back of the fridge and forgotten…It’s now June and I just found it and remembered what it was. I AND WHAT A TREAT ON MY SWEET POTATO!!
A sweet potato sounds like the perfect use of this butter, so glad you enjoyed it!
How long will it stay good in the refrigerator?
2 to 3 weeks.
Sounds good won’t be able to have the other people i going to see thuday this but o well i will have to just try it myself
I have read the recipe and can’t find when to add the other 2 ingredients.
Hi Karen, they’re added in the last part of the recipe, after the straining of the liquid.