
Russian Buttercream Recipe

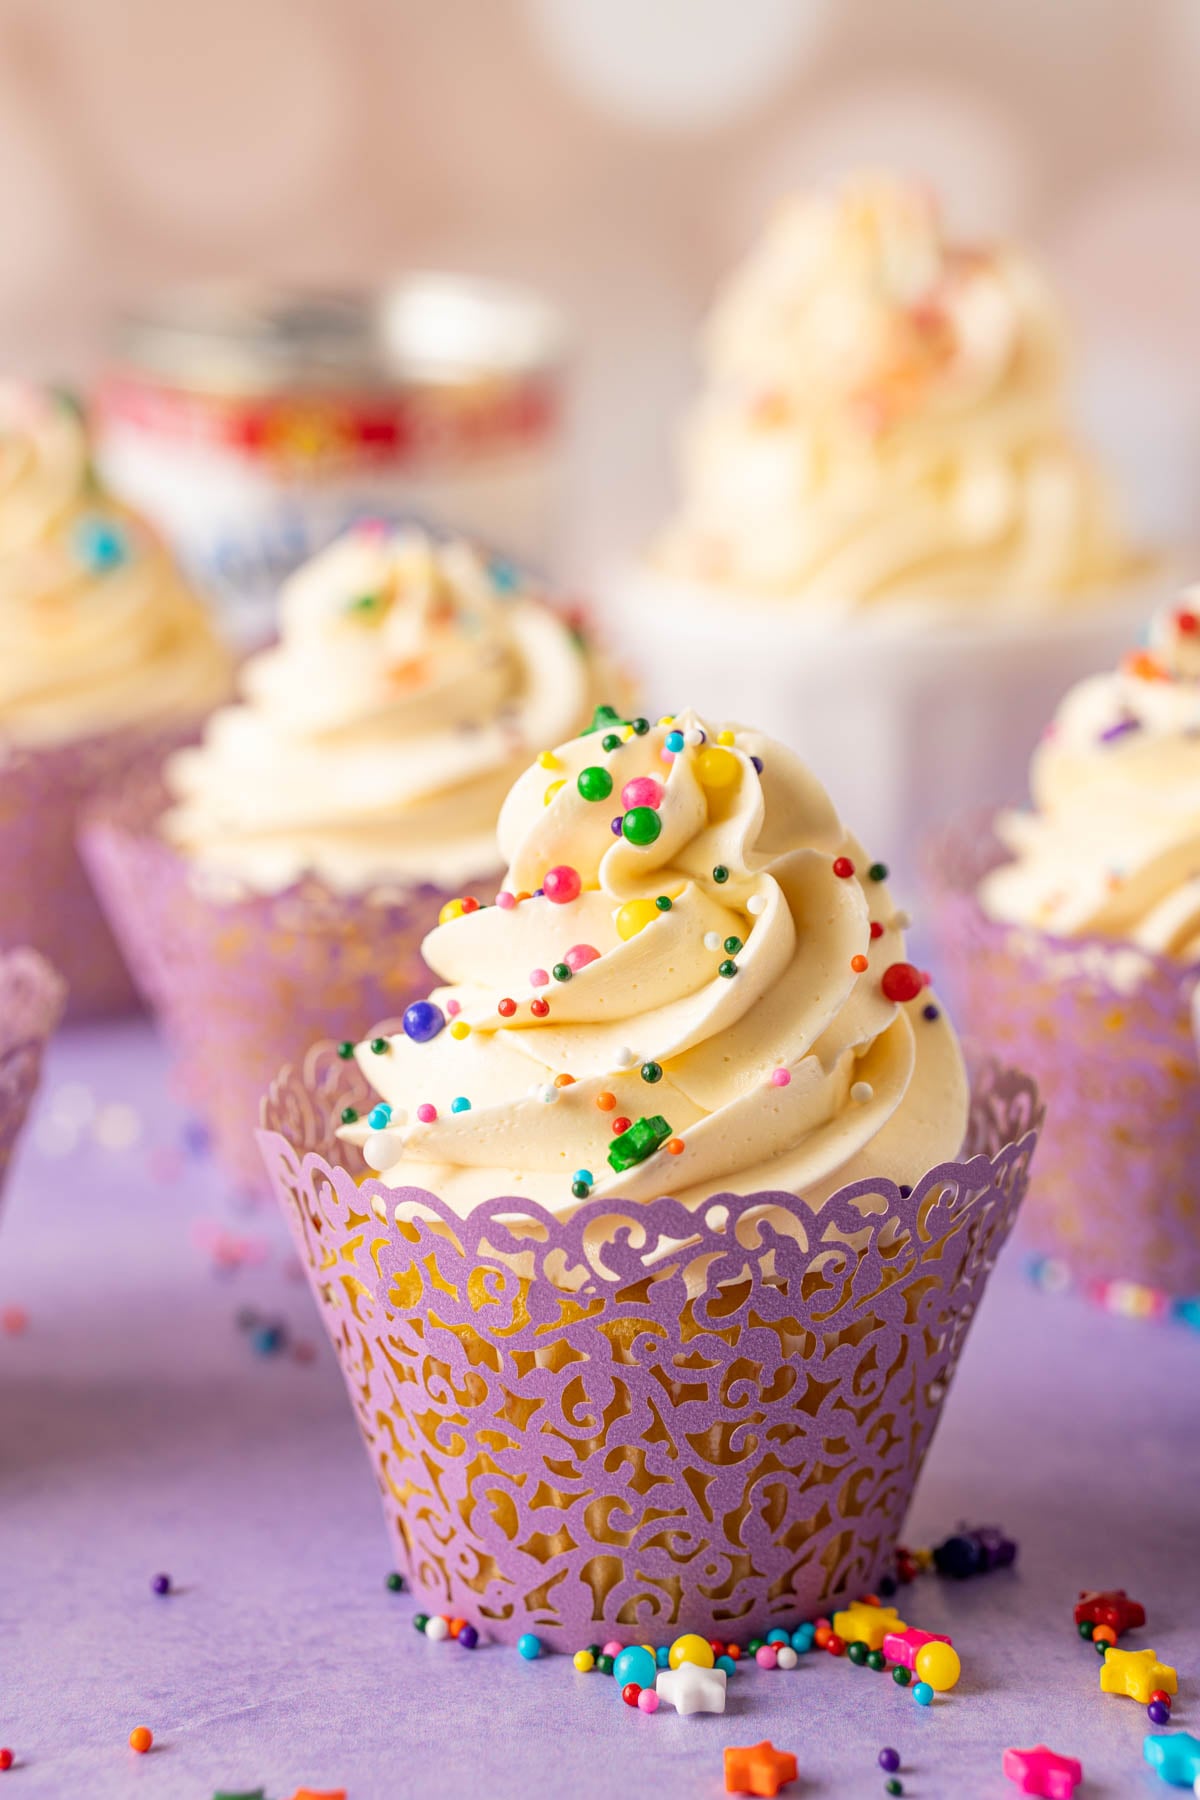
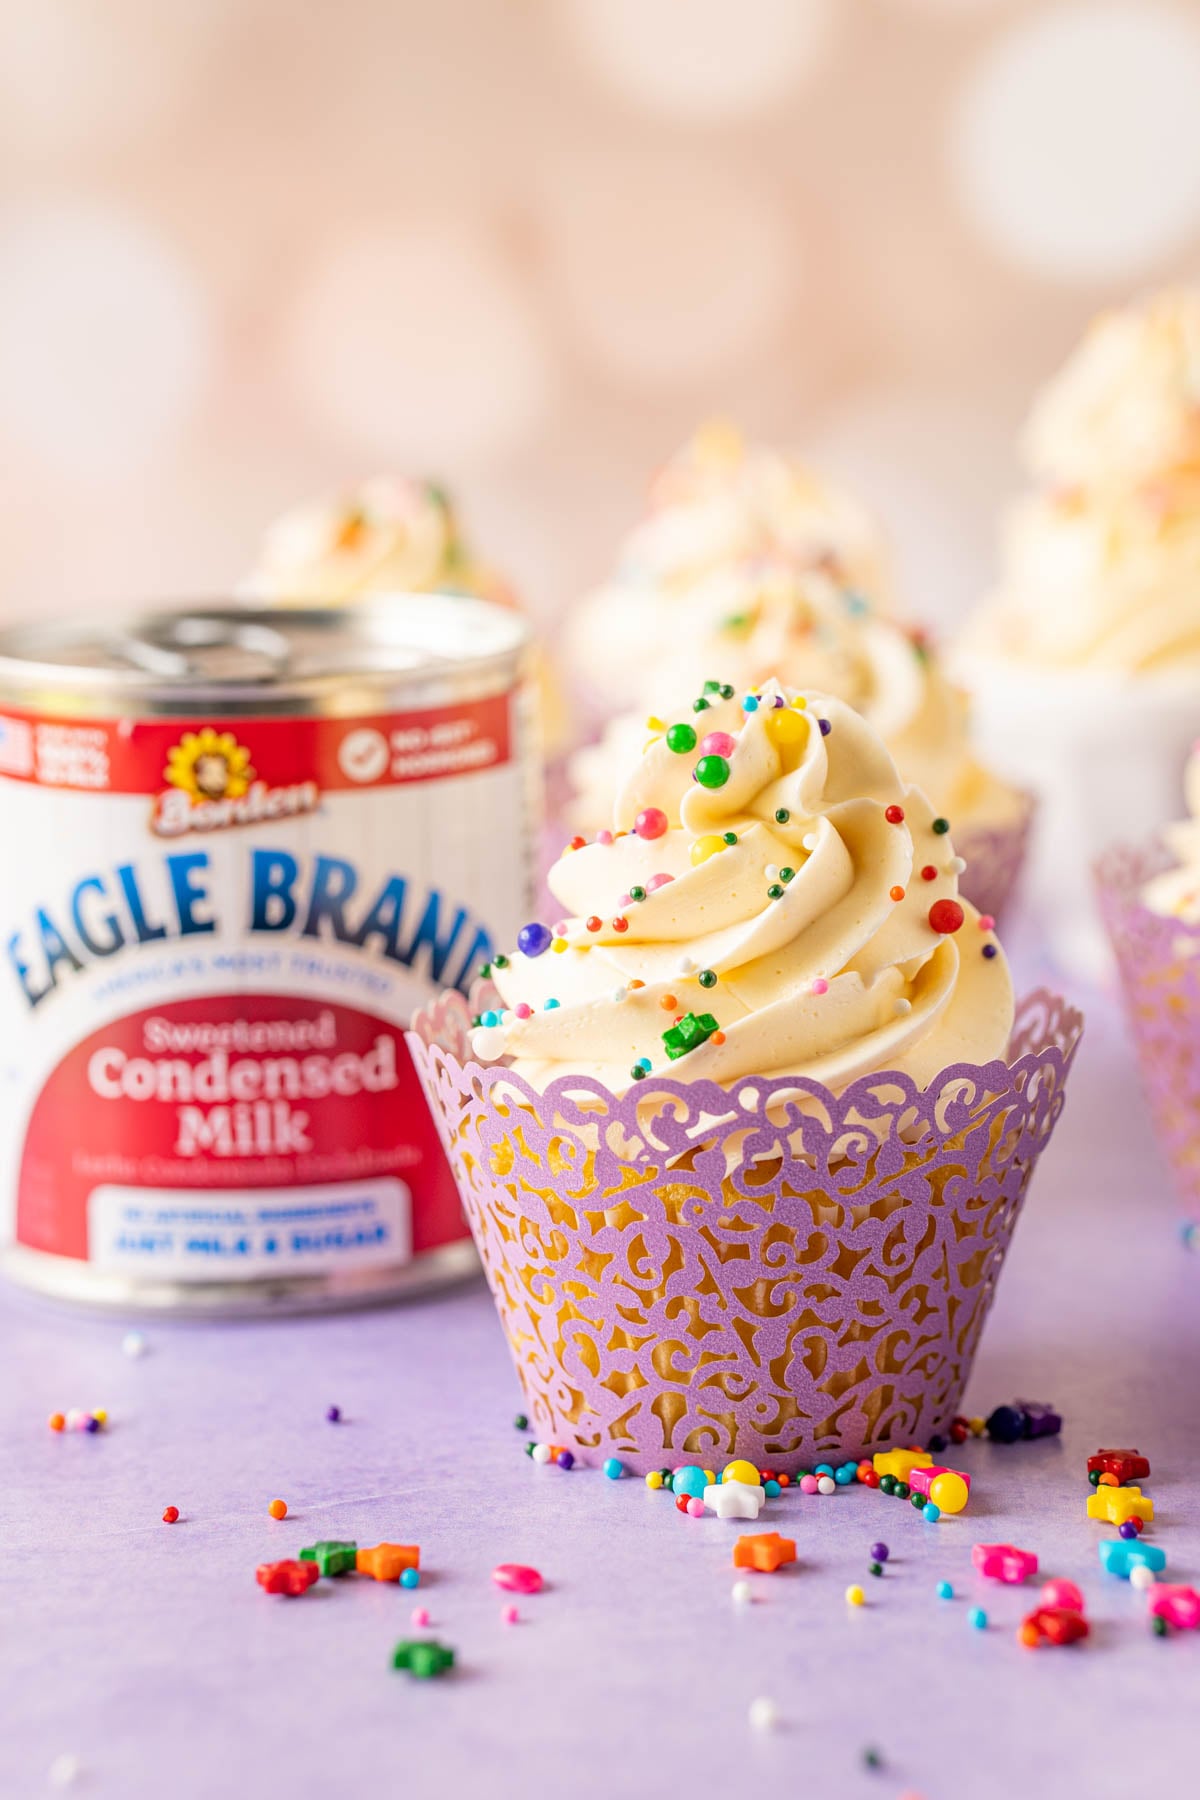
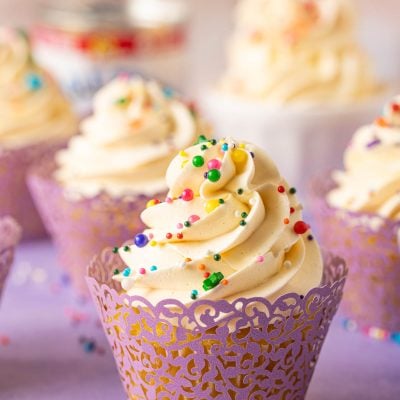
Russian Buttercream is the easiest homemade buttercream to make! Also known as Condensed Milk Frosting, this silky-smooth buttercream is made with just two ingredients – unsalted butter and sweetened condensed milk! The MAGIC is in the method!
Pipe this amazing frosting onto all of your favorite desserts such as Ice Cream Cone Cupcakes! I even like to use it with my homemade Oatmeal Cream Pies!
Sweetened Condensed Milk Frosting
If you’re new to making buttercream, there’s no better place to start than with this easy-to-make Russian Buttercream Recipe! Made with only two ingredients using a mixer, this recipe is as simple as it gets!
Though if you already know your way around frosting and buttercream, this Russian buttercream is still a great go-to when you need something quick that’s still at a bakery-level taste!
In less than 10 minutes, you’re left with a dreamy, silky-smooth buttercream that will make you think you are eating something from a bakery! Just like my American Buttercream, this Russian Buttercream can be enjoyed on all of your favorite cakes and cupcakes, as well as cookies!
Rebecca’s Recipe Review
Taste: This Buttercream Frosting has a sweet, buttery flavor that makes it totally irresistible! You’ll definitely be licking the spatula every time you whip this recipe up!
Texture: The result of this simple 2-ingredient buttercream is a silky smooth frosting! Its light, yet buttery and creamy consistency are just what you need to finish off all of your desserts!
Ease: 1/10
Pros: Made with only 2 ingredients in 9 minutes or less!
Cons: None.
Would I Make This Again? Yes, this is one of my go-to buttercream recipes!
Russian Buttercream Ingredients
- Unsalted butter
- Sweetened Condensed Milk
No Sugar Added: This Russian Buttercream Recipe has no added sugar! With no granulated sugar and no powdered sugar, this buttercream gets its rich flavor from sweetened condensed milk.
Sweetened condensed milk is a canned product that’s used in lots of dessert recipes. It has a thick, syrupy consistency with a sweet, milky, and slightly caramelized flavor that brings crave-worthy flavor to anything it’s added to!
Russian Buttercream Variations
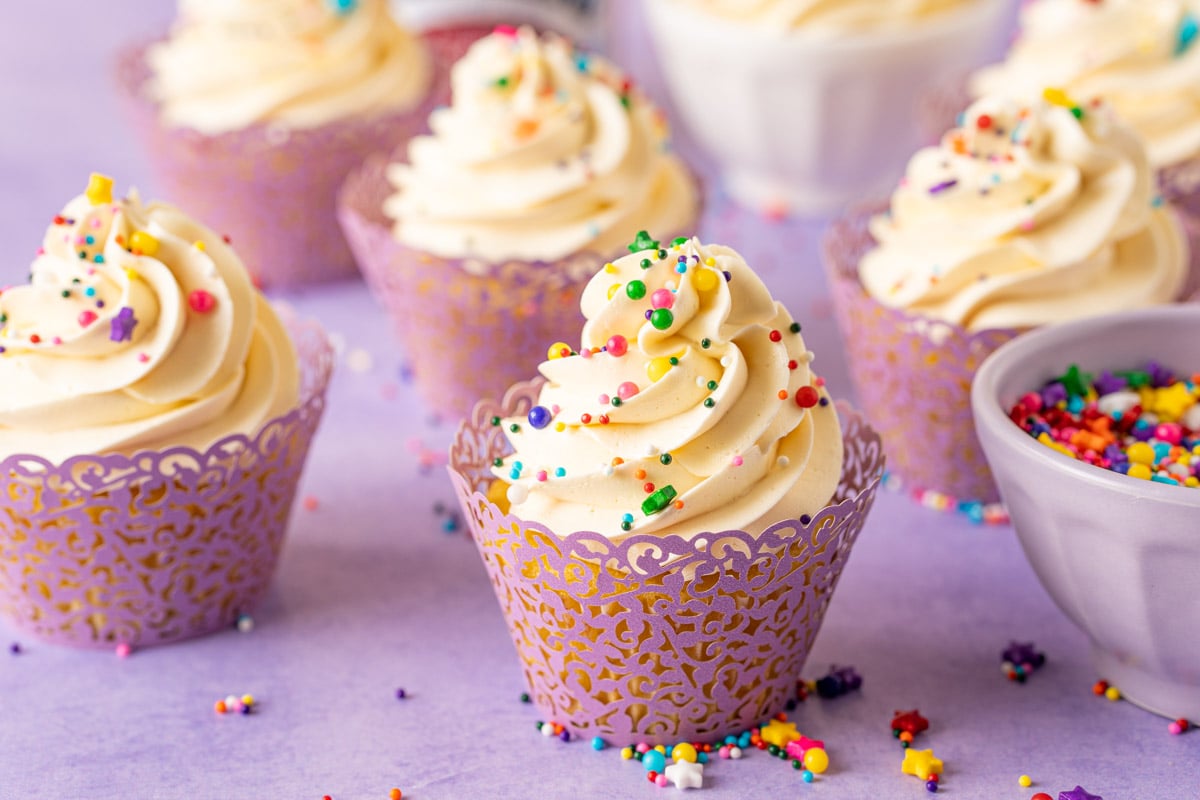
- Add Color – For a colored buttercream simply add a drop or two of gel food coloring! I don’t recommend using regular food coloring as the liquid will impact the consistency of the buttercream.
- Flavor Variations – Whipping up a flavor variation of this buttercream is as easy as it is to make it! Extracts like vanilla extract can be added to make a vanilla Russian buttercream! Whereas a drop of peppermint quickly turns this frosting into a sensational topping for Christmastime! And for all the chocolate lovers a 1/4 cup of cocoa powder can be mixed in to make Russian chocolate buttercream!

How To Make Russian Buttercream
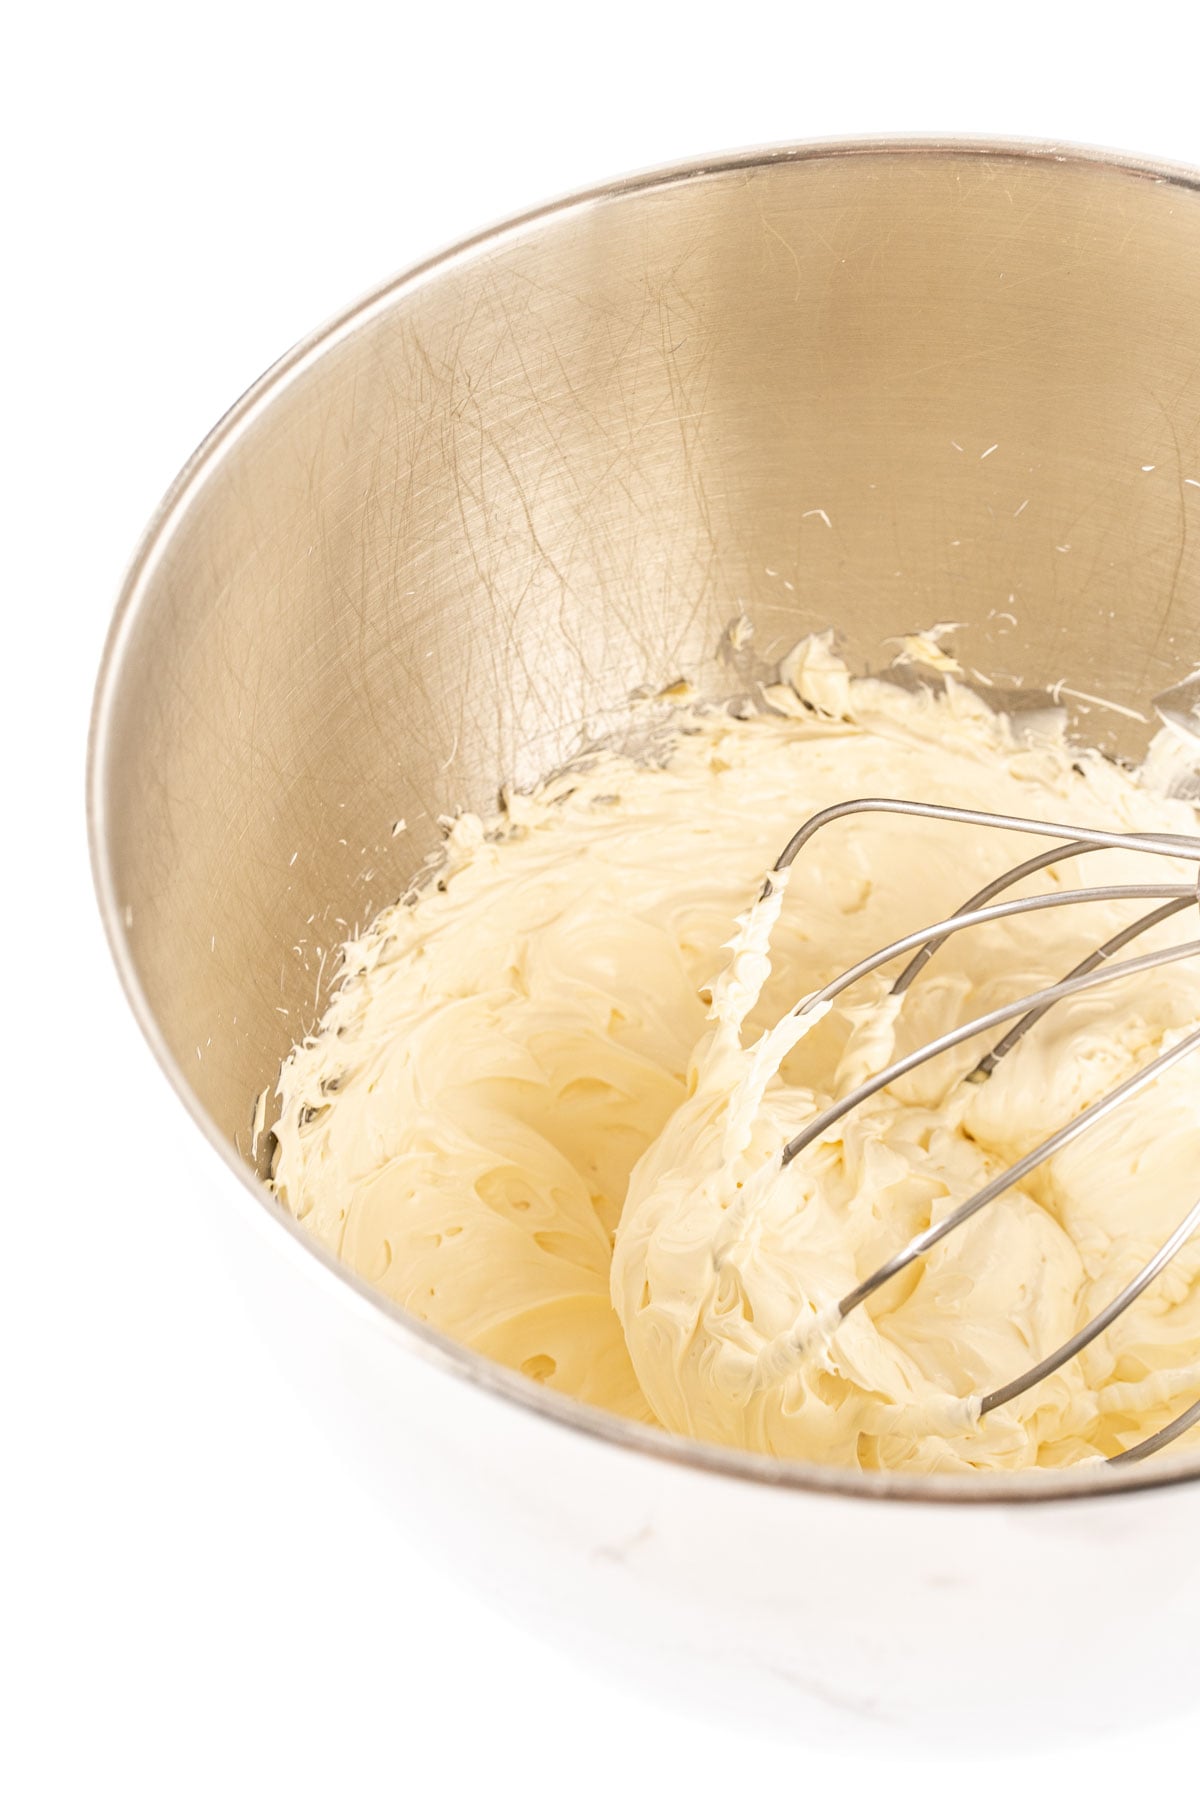
- Add unsalted butter to the large bowl of a stand mixer and whip at high speed using the whisk attachment.
- Pour the sweetened condensed milk in slowly while the mixer is on low speed. Pouring slowly allows the two to combine without any separation.
- Whip at high speed until fully incorporated with the frosting becoming light and fluffy.
How to Use Buttercream with Condensed Milk
- Cakes – Cover your favorite cakes such as Red Velvet Cake and The Best Carrot Cake with this sweet, delicious frosting!
- Cupcakes – This Russian Buttercream is also the perfect consistency for piping! Pipe smooth swirls on top of chocolate cupcakes, Birthday Cupcakes, and even Pumpkin Cupcakes!
- Surprise Filling And Layered Cakes – Tuck this buttercream inside cored-out cupcakes as well as between tender layers of cake!
- Cookies – Bake up a batch of Soft Sugar Cookies to pair with this Russian Buttercream Frosting!
- Macarons – Use this recipe as the filling in your next batch of Macarons!
This silky buttercream frosting is best made fresh and consumed shortly after. Keep in a cool area until ready to serve – even a 70 degree room can cause the frosting to start melting. You can place frosting cakes, cupcakes, and cookies in the fridge to stay firm, then pull out 30 to 60 minutes before enjoying – although you may not get quite the consistency you would have had with the fresh frosting.
Rebecca’s Tips
- The high ratio of butterfat in Russian buttercream makes it stable. However, you’ll want to avoid storing it in warm areas because it will melt easily in the heat.
- This recipe for Russian Buttercream yields 3 cups of frosting. Giving you plenty to frost about 2 dozen cupcakes or a cake!
- If the frosting has separated once you’ve added the condensed milk, then the butter was likely too warm or soft from the start. To fix this, just place the bowl of Russian buttercream into the fridge for 10 to 15 minutes. After, re-whip the frosting and it should come together just fine!
- If your buttercream didn’t turn out to be light and fluffy,, the butter was likely too cold when you began making the frosting. No worries though this is a simple fix! Place half of the frosting into a microwave-safe bowl and heat it in the microwave for about 10 seconds. Next, place the heated half of the buttercream back in with the remaining half. Then continue to beat the mixture until it becomes light and fluffy.
- The Russian buttercream does become grainy once the sweetened condensed milk is added to the whipped butter. If the frosting is still grainy after whipping the two ingredients together, it means that it wasn’t whipped long enough. Be sure to first whip the butter alone for 5 to 7 minutes, scraping the sides down every couple of minutes. Then add the sweetened condensed milk and whip it on high speed until the two are combined and the frosting is fluffy.
- To thicken up Russian Butter Cream, simply pop it in the fridge. This will chill the butter in the frosting and give it a thicker consistency. If it gets too hard, let it soften and rewhip.
How To Store Condensed Milk Buttercream
Store this buttercream in an airtight container in the refrigerator for up to a week. Once it’s been refrigerated the buttercream will need to be re-whipped before using it.
To do so, first, allow it to come to room temperature. Then re-whip with a stand hand mixer.
What is the difference between American Buttercream and Russian Buttercream?
They are very different recipes. In fact, the only ingredient they have in common is, well, butter.
Russian buttercream uses sweetened condensed milk to sweeten the frosting. In contrast, American Buttercream is made with powdered sugar and milk or cream.
This difference also creates different consistencies between the two buttercreams. Russian buttercream has a thinner consistency, while American buttercream tends to be slightly heavier.
However, both are wonderful frosting choices as they’re silky, smooth, and delicious!
More Amazing Buttercream Recipes:
- Best Chocolate Buttercream Frosting – Made with chocolate liqueur!
- American Buttercream Frosting – Classic vanilla flavor made in 10 minutes with 5 ingredients!
- Strawberry Buttercream Frosting – Sweet, fruity frosting perfect for summer treats!
- Chocolate Malt Buttercream – Made with Ovaltine malt powder!
- Lemon Buttercream – Silky lemon frosting made with fresh lemon juice!
Did You Make This Recipe?
If you’ve tried this recipe, please let leave a review in the comments below. I love hearing from you! Don’t forget to tag me – @sugarandsoulco – on Instagram and Pinterest with your photos, or join our Sugar & Soul Show-offs Community and share them there.
Sweetened Condensed Milk Frosting (Russian Buttercream)
Ingredients
- 1 cup unsalted butter very soft – not melted
- 14 ounces sweetened condensed milk
Instructions
- Add the butter to a large bowl or stand mixer fitted with a whisk attachment and whip at high speed for 5 to 7 minutes, scraping down the sides of the bowl every minute or so.1 cup unsalted butter
- With the mixer on low speed, slowly pour the sweetened condensed milk into the butter.14 ounces sweetened condensed milk
- Scrape the sides and bottom of the bowl then whip at high speed for 1 until full incorporated.
Notes
- This frosting is best made fresh and consumed shortly after. Keep in a cool area until ready to serve – even a 70 degree room can cause the frosting to start melting. You can place frosting cakes, cupcakes, and cookies in the fridge to stay firm, then pull out 30 to 60 minutes before enjoying – although you may not get quite the consistency you would have had with the fresh frosting.
- Vanilla or almond extract may be added to the frosting.
- 1/4 teaspoon of salt may be added if desired.
- 1/4 cup of cocoa powder may be added for a chocolate flavor.
- Storage Instructions: Store this buttercream in an airtight container in the refrigerator for up to a week. Once it’s been refrigerated the buttercream will need to be re-whipped before using it. To do so, first, allow it to come to room temperature. Then re-whip with a stand hand mixer.
- How Many Cupcakes Will This Recipe Be Able To Frost? This recipe for Russian Buttercream yields 3 cups of frosting. Giving you plenty to frost about 2 dozen cupcakes or a cake!
- What Should I Do If My Russian Buttercream Has Separated? If the frosting has separated once you’ve added the condensed milk, then the butter was likely too warm or soft from the start. To fix this, just place the bowl of Russian buttercream into the fridge for 10 to 15 minutes. After, re-whip the frosting and it should come together just fine!
- How Come My Buttercream Didn’t Turn Out Light And Fluffy? The butter was likely too cold when you began making the frosting. No worries though this is a simple fix! Place half of the frosting into a microwave-safe bowl and heat it in the microwave for about 10 seconds. Next, place the heated half of the buttercream back in with the remaining half. Then continue to beat the mixture until it becomes light and fluffy.
Nutrition
Did You Make This Recipe?
Don’t forget to share it with me on Instagram @sugarandsoulco and follow on Tiktok @sugarandsoulco and Pinterest @sugarandsoulco for more!


Share your thoughts!
Love this recipe? Share your thoughts with me and leave a review! And don’t forget to connect on your favorite social platform below!